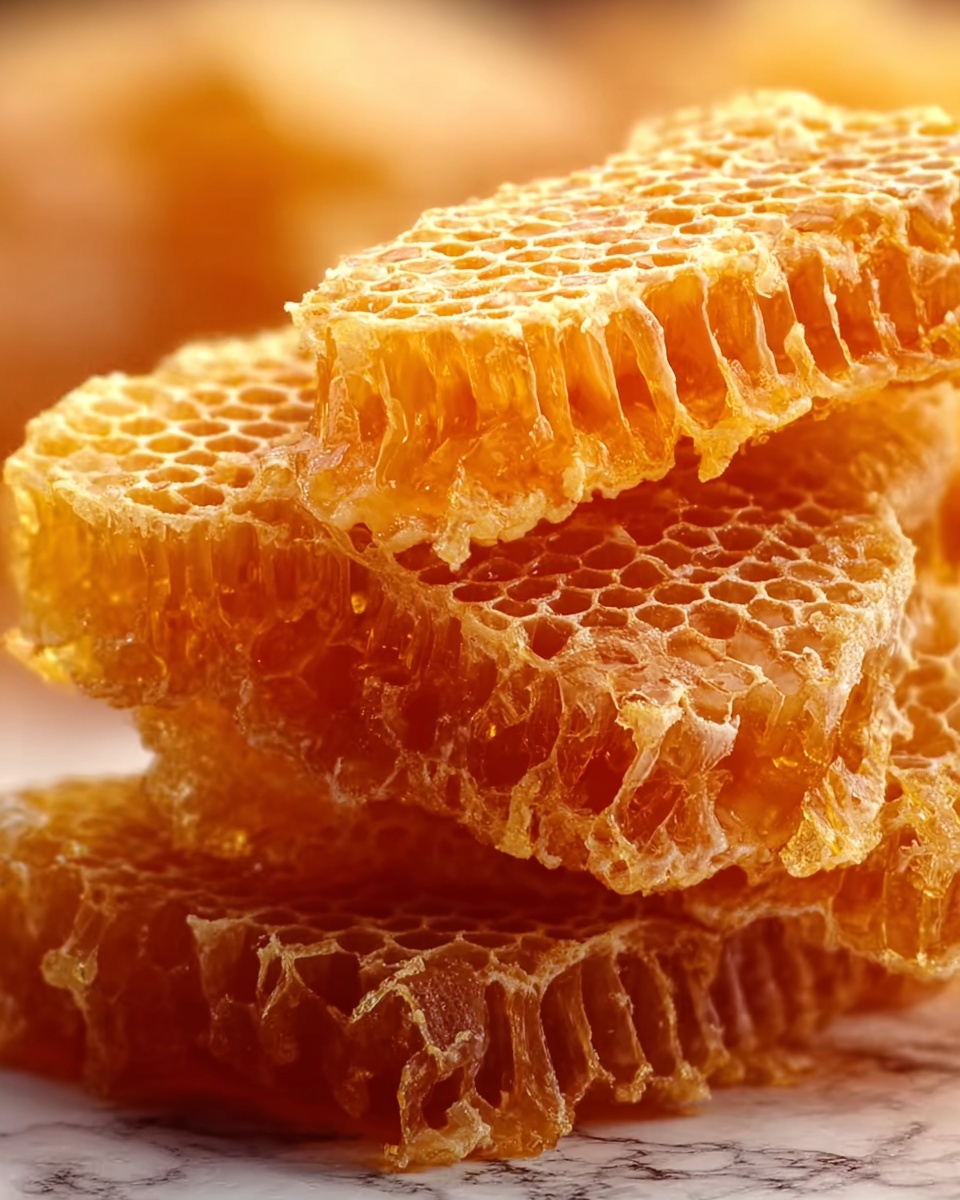
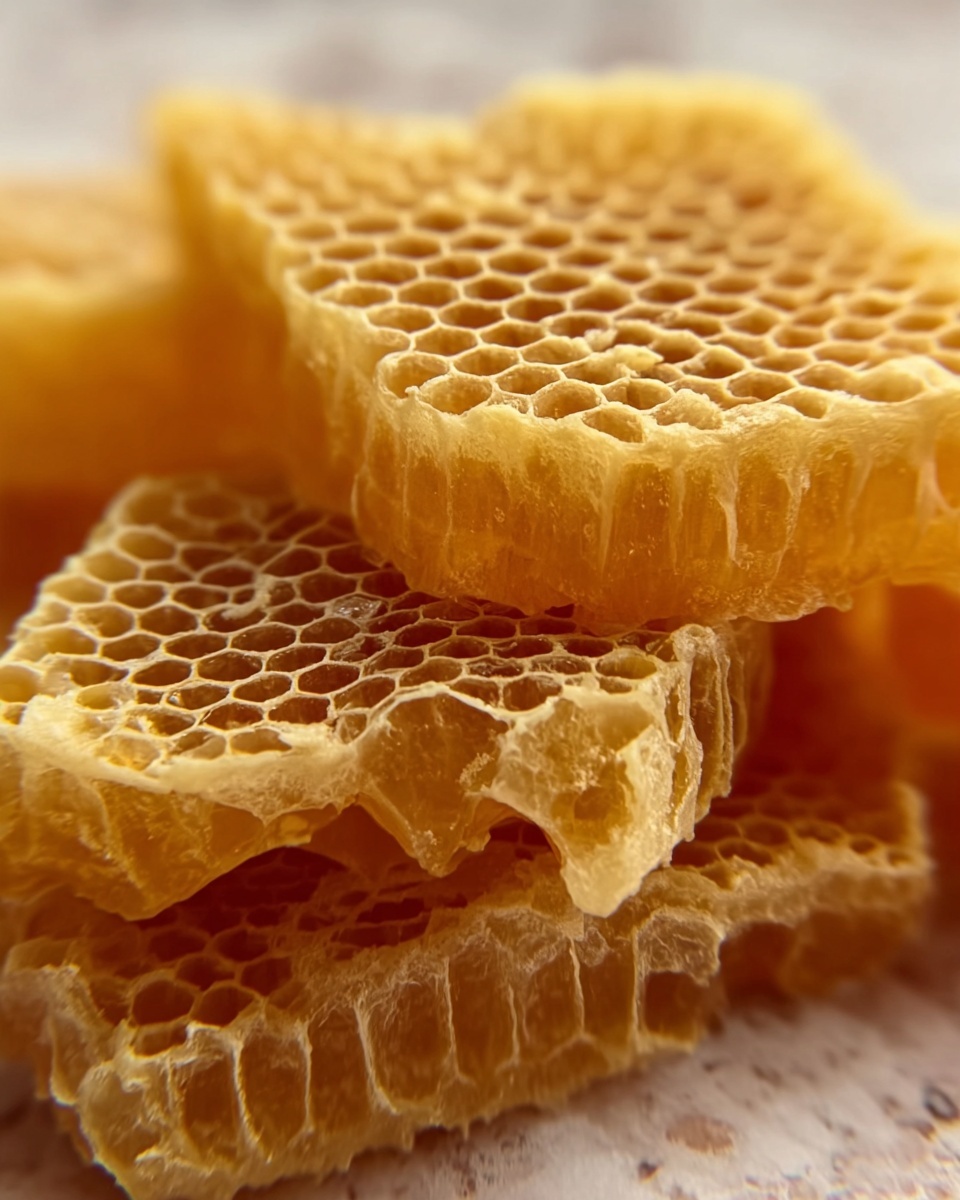
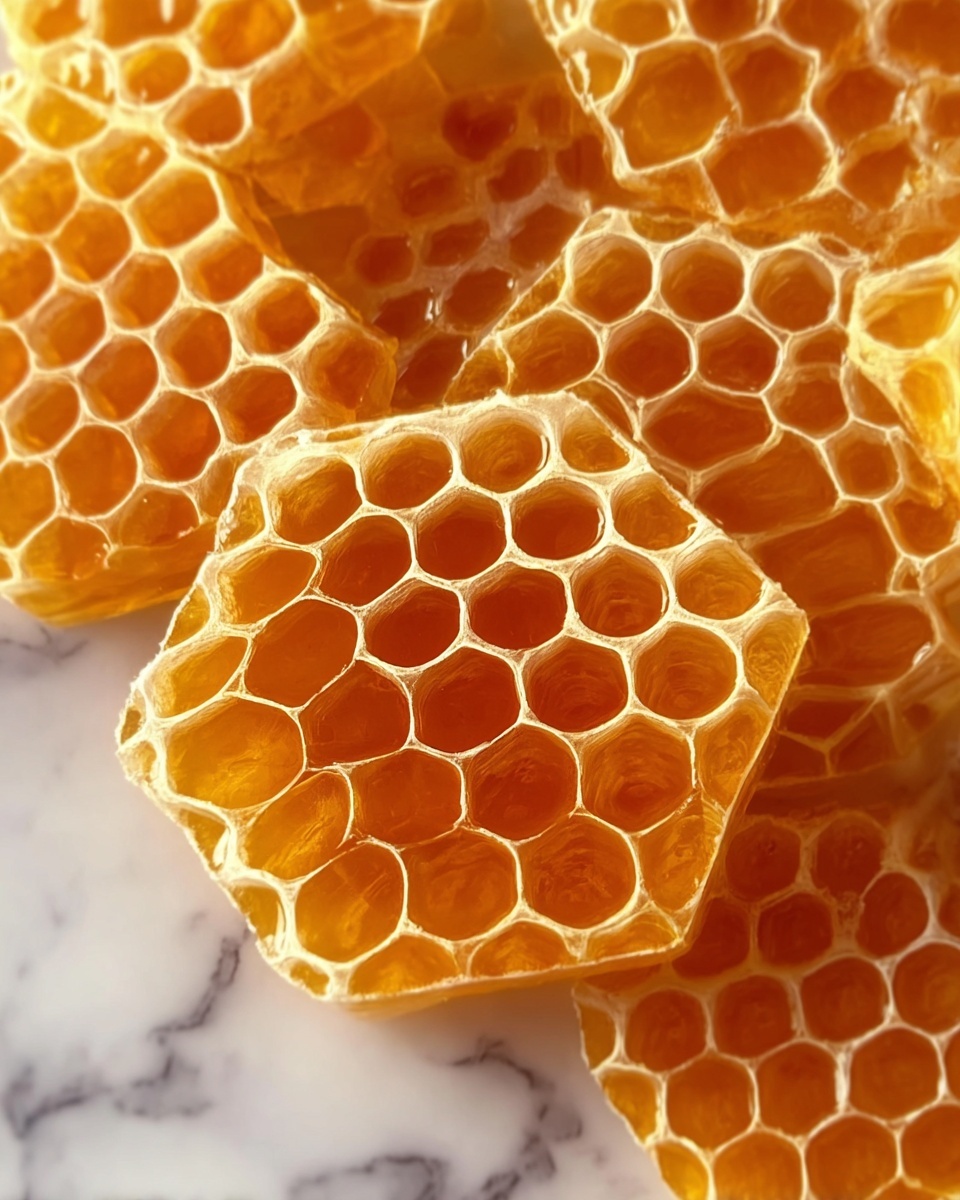
If you’ve ever been enchanted by the sweet crunch of golden honeycomb candy at fairs or in candy shops, you’re going to adore this Honeycomb Candy Recipe. It’s charmingly simple but yields a delightfully light, airy treat that shatters with a satisfying snap and melts with a delicate honeyed sweetness. Whether you’re a seasoned candy maker or just starting out, this recipe brings the magic of homemade honeycomb right into your kitchen with easy-to-find ingredients and straightforward steps. Get ready to fall in love with a classic confection that’s as stunning as it is scrumptious.
Ingredients You’ll Need
These ingredients are simple but each one is crucial for crafting the perfect honeycomb candy. They work together to create the ideal texture, sweetness, and golden color that’s signature to this treat.
- 1 cup granulated sugar: The backbone for sweetness and caramelization, granulated sugar must dissolve fully for a smooth finish.
- 1/4 cup light corn syrup or golden syrup: Prevents crystallization and adds a lovely chewiness to the honeycomb.
- 2 tablespoons honey (optional for flavor): Adds a natural floral sweetness that deepens the candy’s flavor.
- 1/4 cup water: Helps dissolve the sugar evenly and ensures the mixture cooks properly.
- 2 teaspoons baking soda (sifted): The secret to that iconic airy, bubbly texture — it reacts to create the honeycomb’s signature holes.
- Optional: melted chocolate for dipping: Adds a rich, decadent coating to elevate your honeycomb candy.
How to Make Honeycomb Candy Recipe
Step 1: Prepare Your Equipment
Start by lining an 8×8-inch baking pan with parchment paper and lightly greasing it. Having your baking soda sifted and ready to go before you start cooking is crucial since timing is everything once we reach that final step where the magic happens.
Step 2: Cook the Sugar Mixture
In a deep, heavy-bottomed saucepan, combine the granulated sugar, corn syrup (or golden syrup), honey, and water. Stir these ingredients gently over medium heat until the sugar fully dissolves, giving you a smooth base for your candy.
Step 3: Boil Without Stirring
Once the sugar has dissolved, resist the urge to stir again. Allow the mixture to boil until it reaches 300°F — known as the hard crack stage — which takes about 5 to 8 minutes. You’ll notice the syrup turning a light amber color, signaling that the perfect caramelization is underway.
Step 4: Add the Baking Soda
Remove the pan from heat and immediately whisk in the sifted baking soda. The mixture will froth and foam vigorously — this is the key reaction that creates that light, bubbly texture unique to honeycomb candy. Quickly pour it into your prepared pan, being careful not to spread it; letting it settle naturally preserves the airy structure.
Step 5: Cool Completely
Set your pan aside to cool at room temperature for about an hour until the honeycomb hardens completely. Patience here rewards you with candy that shatters easily and melts beautifully on the tongue.
Step 6: Optional Chocolate Dip
If you want to amp up the decadence, dip your honeycomb pieces into melted chocolate and place them on parchment paper to set. The contrast of rich chocolate with crisp honeycomb is utterly irresistible.
How to Serve Honeycomb Candy Recipe
Garnishes
Honeycomb candy is beautiful on its own, but you can sprinkle a few finishing touches to elevate its presentation. Try dusting pieces with a light sprinkle of sea salt to highlight the sweetness or adding a few crushed nuts for extra crunch and texture.
Side Dishes
This candy pairs wonderfully with hot beverages like coffee or tea, where the warmth contrasts your honeycomb’s crunchy texture. It also makes a fantastic accompaniment for ice cream or yogurt, breaking the smoothness with delightful bursts of caramelized crunch.
Creative Ways to Present
Present your honeycomb candy broken into irregular shards for a rustic, homemade vibe, or cut into neat squares for gifting. Wrapping pieces in parchment or cellophane tied with ribbon turns your creation into a charming homemade gift perfect for any occasion.
Make Ahead and Storage
Storing Leftovers
Keep your honeycomb candy fresh by storing leftover pieces in an airtight container at room temperature. Avoid moisture as it will make the candy sticky and soggy, so a cool, dry spot is best to maintain that crispy texture.
Freezing
While freezing isn’t generally recommended for honeycomb candy because it can attract moisture and lose crunch, if you must, wrap pieces tightly in plastic wrap and place them in a freezer-safe container. Thaw at room temperature before serving.
Reheating
Instead of reheating honeycomb directly, which can melt it, consider using it as a topping on warm desserts. The residual heat will soften the candy slightly, releasing more flavor without losing its iconic texture entirely.
FAQs
Can I substitute honey for corn syrup?
Honey adds a lovely depth of flavor but using it alone instead of corn syrup may cause crystallization. For best results, stick with corn syrup or use a combination of both as suggested in this Honeycomb Candy Recipe.
What if my candy doesn’t bubble properly?
Make sure your baking soda is fresh and sifted, and add it immediately after removing the syrup from heat. Timing is crucial; any delay can stop the necessary chemical reaction for that airy texture.
Why does my honeycomb candy get sticky?
Honeycomb is highly sensitive to humidity and moisture. Store your candies in an airtight container at room temperature in a dry environment to keep them crisp and prevent stickiness.
Can I add flavors or colors?
Absolutely! A few drops of vanilla extract or food coloring can be added before cooking the syrup. Just be careful with quantities to keep the structural integrity and signature taste of the honeycomb.
Is it safe to use any pan for this recipe?
It’s best to use a heavy-bottomed saucepan to ensure even heat distribution. This prevents burning and helps the sugar mixture reach exactly the right temperature needed for perfect honeycomb candy.
Final Thoughts
This Honeycomb Candy Recipe is a joyful way to bring a timeless treat into your home with surprisingly little fuss. Whether you enjoy it plain, dipped in chocolate, or as a charming gift, it’s sure to wow friends and family with its crunchy texture and sweet, golden flavor. Give it a try and watch how quickly this delicate crunch becomes a favorite!
Print
Honeycomb Candy Recipe
- Prep Time: 5 minutes
- Cook Time: 10 minutes
- Total Time: 1 hour 15 minutes
- Yield: About 20 pieces
- Category: Dessert
- Method: Stovetop
- Cuisine: British
Description
Experience the delight of homemade honeycomb candy, a classic crunchy treat with an airy, bubbly texture and a rich amber flavor. This simple recipe uses basic pantry ingredients and transforms them into a sweet, crunchy confection perfect for snacking or dessert decoration. Ready in just about 15 minutes plus cooling, you can enjoy or gift these golden pieces with optional chocolate dipping for an indulgent twist.
Ingredients
Honeycomb Candy
- 1 cup granulated sugar
- 1/4 cup light corn syrup or golden syrup
- 2 tablespoons honey (optional for flavor)
- 1/4 cup water
- 2 teaspoons baking soda (sifted)
Optional
- Melted chocolate for dipping
Instructions
- Prep your equipment: Line an 8×8-inch baking pan with parchment paper and lightly grease it to prevent sticking. Have your baking soda sifted and ready as timing is crucial in the next steps.
- Cook the sugar mixture: In a deep, heavy-bottomed saucepan, combine the granulated sugar, light corn syrup (or golden syrup), honey if using, and water. Stir over medium heat until the sugar completely dissolves, ensuring a smooth base.
- Boil without stirring: Once the sugar has dissolved, stop stirring and allow the mixture to boil. Continue cooking until it reaches 300°F (hard crack stage) on a candy thermometer. This takes about 5 to 8 minutes and the syrup should become a light amber color, indicating caramelization.
- Add the baking soda: Remove the pan from heat. Quickly whisk in the sifted baking soda; the mixture will foam and expand rapidly. Immediately pour this frothy mixture into the prepared baking pan without spreading it, to preserve the characteristic bubbles and airy texture.
- Cool completely: Let the honeycomb candy cool and harden at room temperature for about 1 hour. Once fully set, break the honeycomb into bite-sized pieces.
- Optional chocolate dip: For an extra indulgent treat, dip the broken pieces in melted chocolate. Allow them to set on parchment paper until the chocolate hardens, adding a rich contrast to the crunchy candy.
Notes
- Ensure the syrup reaches exactly 300°F for the perfect hard crack texture; using a candy thermometer is essential.
- Do not stir the syrup during boiling to avoid premature crystallization.
- Work quickly when adding baking soda and pouring the mixture, as it sets fast.
- Optional honey adds depth of flavor but can be omitted.
- Store honeycomb candy in an airtight container to keep it crisp and prevent moisture absorption.
- For a gluten-free treat, verify that ingredients such as corn syrup are certified gluten free.


