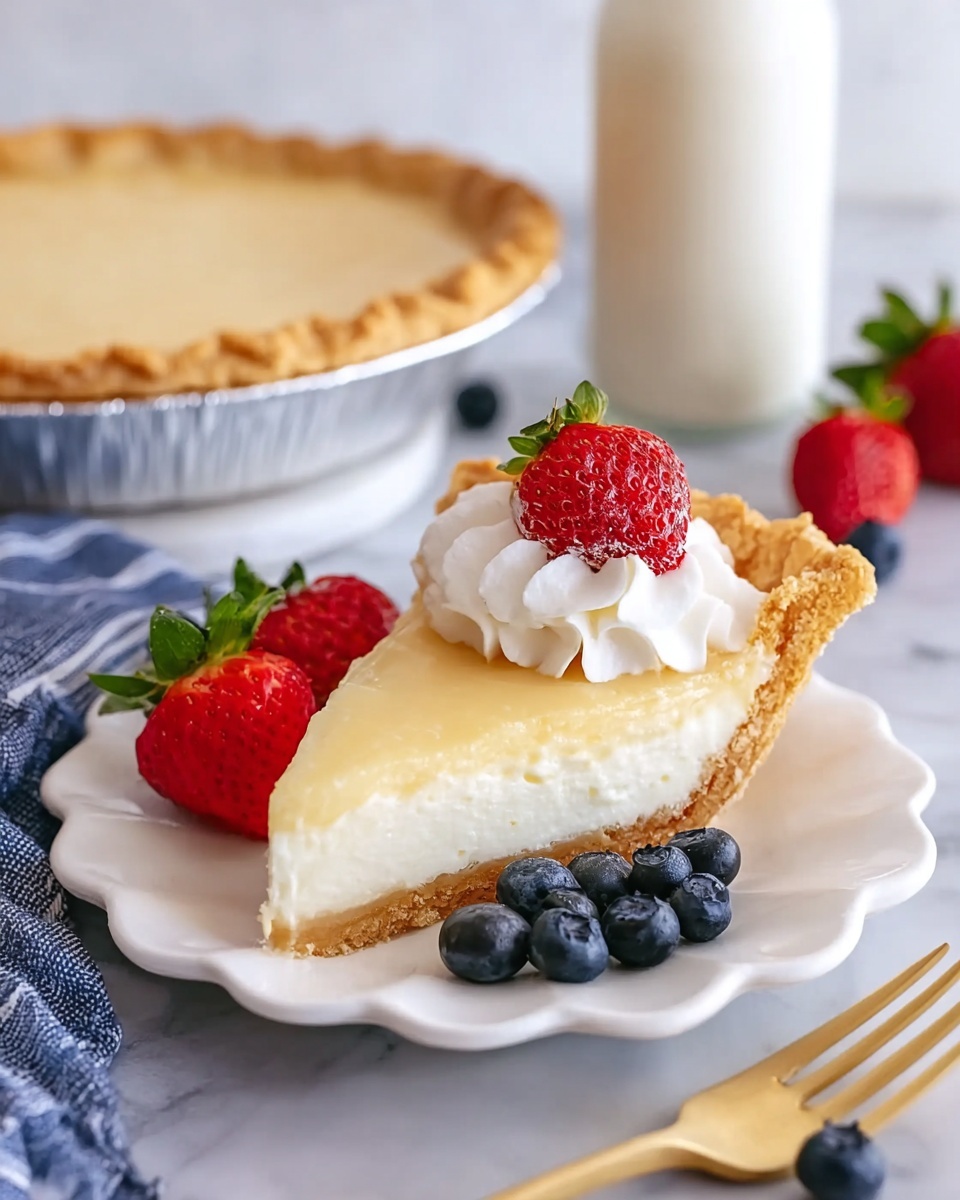
If you’re on the hunt for a dessert that perfectly balances a smooth texture with a delicate tang, this Rich & Creamy Buttermilk Pie Recipe is about to become your new favorite. It’s a timeless Southern classic that brings together simple pantry ingredients into a luscious pie filling that’s just bursting with flavor. Every bite melts in your mouth, offering a creamy richness heightened by subtle notes of vanilla, lemon, and even a whisper of coconut. Whether you’re making it for a family gathering or just to treat yourself, this pie promises both comfort and elegance with minimal fuss.
Ingredients You’ll Need
These ingredients are beautifully straightforward but essential for capturing that perfect balance of creaminess, sweetness, and a slight tang in the pie. Each component plays a role in building the rich texture and luscious flavor we love in this dessert.
- 1½ cups granulated sugar: Sweetens the pie without overpowering the delicate buttermilk tang.
- ¼ cup all-purpose flour: Acts as a gentle thickener to give the filling its silky texture.
- ¼ teaspoon salt: Enhances all the flavors, making each element shine.
- 2 eggs, room temperature: Provide structure and richness for that creamy custard base.
- 1 egg yolk, room temperature: Adds extra silkiness and depth to the filling.
- 5 tablespoons unsalted butter, melted: Brings a luscious, velvety mouthfeel and subtle richness.
- 1½ teaspoons pure vanilla extract: Infuses warmth and classic flavor to brighten the pie.
- ¼ teaspoon lemon extract: Offers a fresh, citrusy lift that balances the sweetness perfectly.
- ⅛ teaspoon coconut extract: Adds subtle tropical notes that make this pie uniquely irresistible.
- 1 cup buttermilk, warm: The star ingredient that gives the pie its characteristic tang and creaminess.
- 1 (9-inch) unbaked pie shell, chilled: A crisp and tender base to cradle the luscious filling.
How to Make Rich & Creamy Buttermilk Pie Recipe
Step 1: Preheat Your Oven
Getting your oven ready at 350°F (175°C) is key to ensuring even baking. This temperature allows the pie to set gently without browning too quickly, giving you that perfect creamy texture that defines a great buttermilk pie.
Step 2: Combine the Dry Ingredients
Whisk together the granulated sugar, flour, and salt in a large bowl. For the smoothest filling possible, consider sifting these ingredients so no lumps sneak into your batter.
Step 3: Prepare the Eggs
In another large bowl, whisk the eggs and egg yolk until completely combined and uniform in color. This step ensures your custard base mixes together smoothly.
Step 4: Mix Dry Ingredients Into Eggs
Gradually add the dry mixture to the eggs, whisking continuously. Keep going until your batter is silky smooth and perfectly lump-free, setting the stage for that divine texture.
Step 5: Add the Butter and Extracts
Whisk in the melted butter, vanilla, lemon, and coconut extracts until everything is fully incorporated. This flavorful blend is what makes your Rich & Creamy Buttermilk Pie Recipe stand out from the crowd.
Step 6: Stir in the Warm Buttermilk
Slowly add the warm buttermilk to your mixture, gently stirring until the batter is smooth and free of streaks. If you notice bubbles forming on the surface, let the mixture rest for a minute before moving on.
Step 7: Pour Into Pie Shell
Carefully pour the luscious filling into your chilled, unbaked pie shell, making sure to distribute it evenly. This step sets the foundation for an even bake.
Step 8: Bake the Pie
Start on the lower oven rack and bake for 25 minutes. Then shift the pie to the middle rack and bake another 25 minutes or until the edges are set with a slightly wobbly center. This technique helps the pie cook evenly and develop a tender custard.
Step 9: Cool the Pie
Remove your pie and place it on a cooling rack. Let it cool for 2 to 3 hours until the bottom is no longer hot, allowing the filling to set and firm up beautifully.
Step 10: Chill for Final Set
To achieve that perfect sliceable texture, refrigerate the pie for at least 2 hours. This final chilling step transforms the filling into a creamy, luscious wonder.
Step 11: Serve and Enjoy
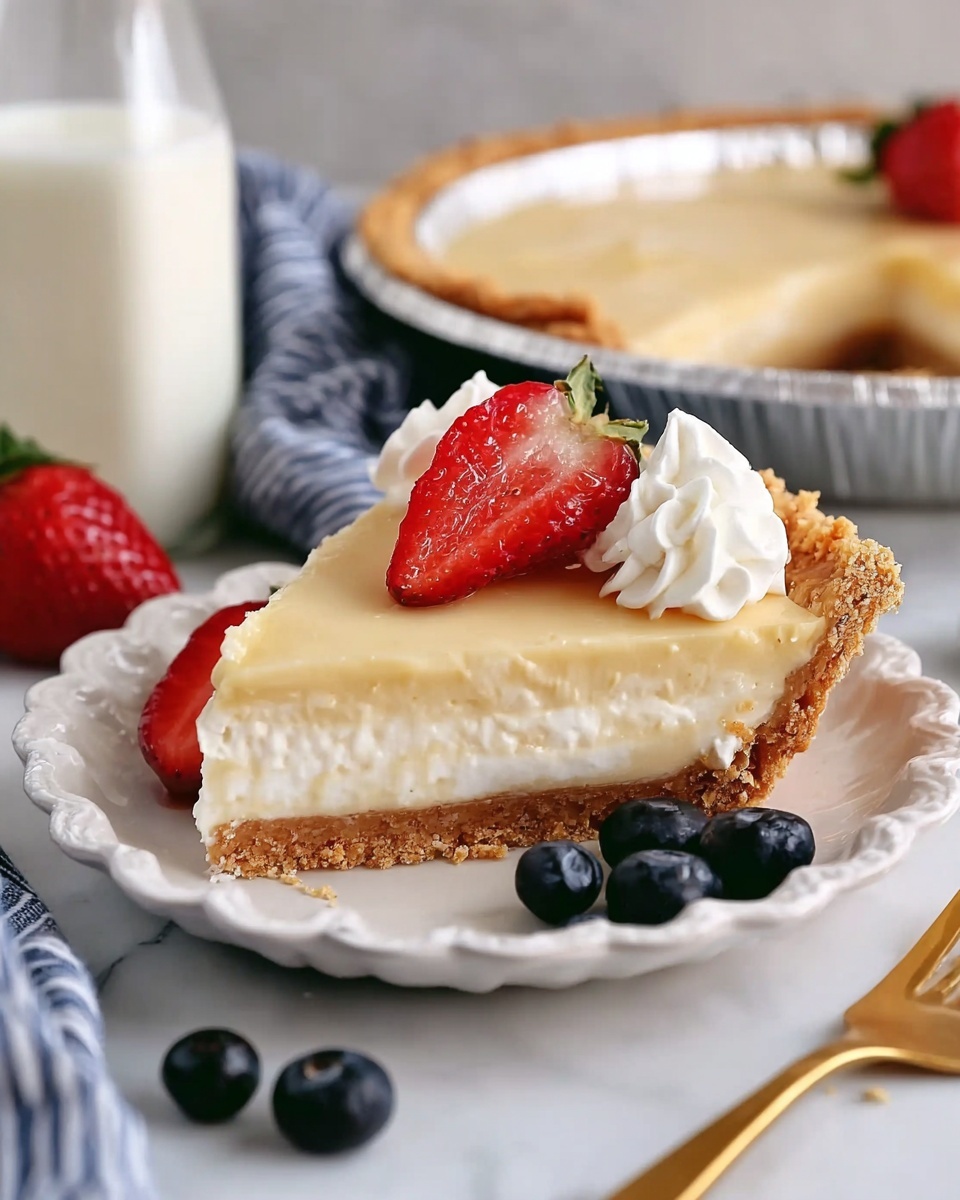
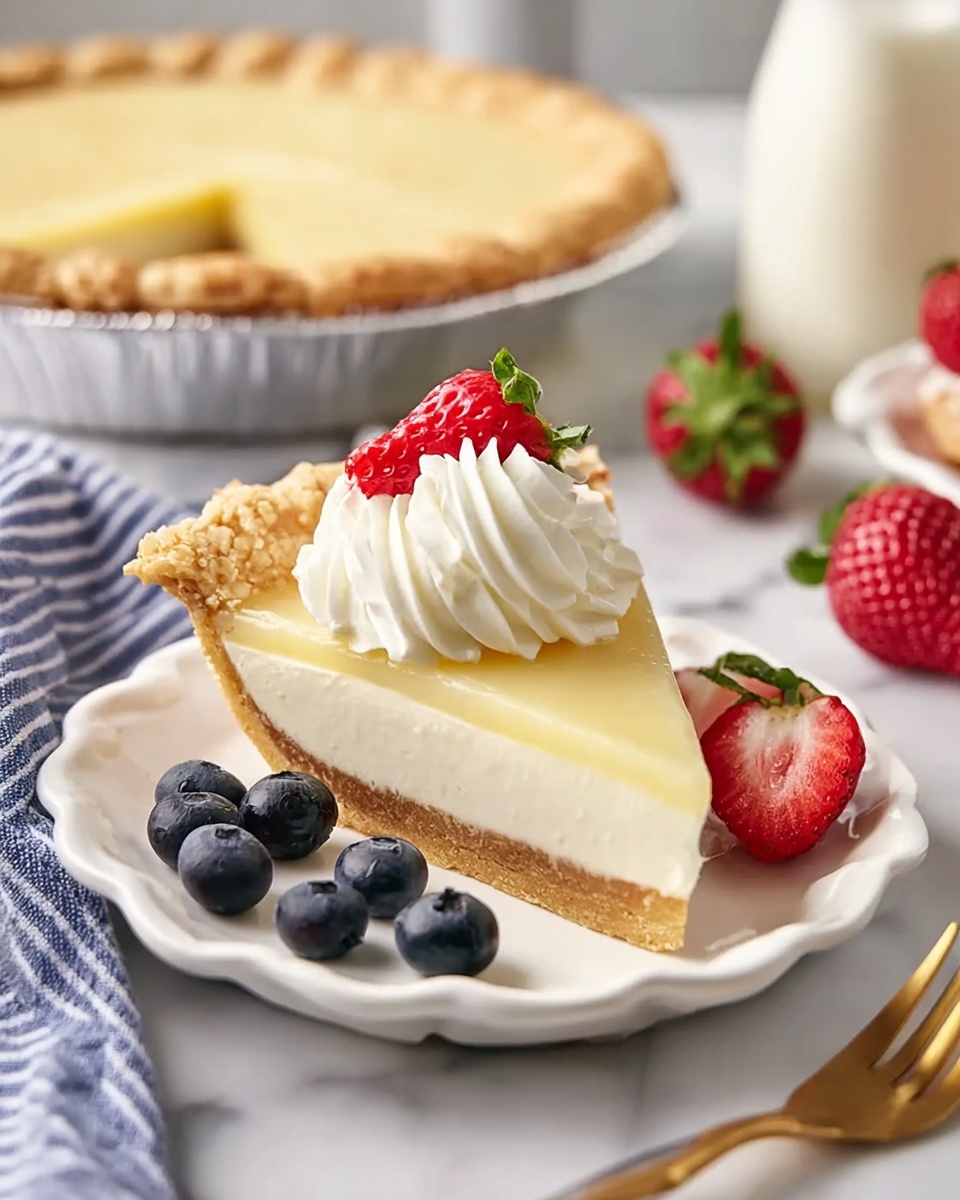
Whether you prefer it chilled or at room temperature, this pie shines plain or dressed up with a dollop of whipped cream and fresh berries for a delightful, elegant finish.
How to Serve Rich & Creamy Buttermilk Pie Recipe
Garnishes
A little goes a long way when it comes to garnishes. A whipped cream topping brightens the richness, while fresh berries add bursts of color and a natural tartness that contrast delightfully with the creamy filling. Toasted coconut flakes make an excellent final touch, emphasizing that subtle coconut note in the pie.
Side Dishes
Serve this pie alongside light, fresh accompaniments like a crisp green salad or a refreshing sorbet between bites. These pairings balance the richness perfectly, keeping your palate excited and ready for another forkful of the luscious Rich & Creamy Buttermilk Pie Recipe.
Creative Ways to Present
Why not impress guests by serving mini versions in individual tart pans? You could also present slices on pretty dessert plates with a drizzle of homemade berry coulis or a sprinkle of powdered sugar for added flair. This pie effortlessly adapts whether you want a rustic, homey feel or a polished, elegant dessert.
Make Ahead and Storage
Storing Leftovers
After enjoying your pie, store any leftovers in the refrigerator, covered tightly with plastic wrap or foil. It will keep its creamy texture and fresh flavor for up to 3 days, making it perfect for savoring over several sittings.
Freezing
Rich & creamy buttermilk pie does freeze well if you want to prepare it ahead of time. Wrap the pie securely in plastic wrap and then a layer of foil before freezing. Thaw overnight in the refrigerator when ready to enjoy, and avoid freezing if you plan to add whipped cream toppings until serving.
Reheating
This pie is best enjoyed cold or at room temperature. If you prefer it warmed, gently heat individual slices in the microwave for about 10-15 seconds, but be mindful not to overheat as the filling can become too soft or separate.
FAQs
Can I use regular milk instead of buttermilk?
For this Rich & Creamy Buttermilk Pie Recipe, buttermilk is key because it adds the characteristic tang and helps stabilize the texture. Regular milk won’t give you the same flavor or texture, but if needed, you can create a buttermilk substitute by adding a tablespoon of lemon juice or vinegar to a cup of milk and letting it sit for 5 minutes.
Why does my pie crack on top?
Cracking usually happens if the oven is too hot or if the pie is overbaked. Following the baking steps carefully and checking for slight jiggle in the center will help avoid cracks while maintaining that creamy texture.
Can I make this pie gluten-free?
Absolutely! Substitute the all-purpose flour with a gluten-free flour blend that measures cup-for-cup. Just make sure your pie crust is also gluten-free to keep everything consistent.
How do I know when the pie is done?
Look for set edges and a center that’s only slightly jiggly. The pie will continue to set as it cools, so it’s better to err on underbaking slightly than overbaking.
Is it necessary to chill the pie before serving?
Yes, chilling for at least 2 hours gives the filling time to firm up, making slicing cleaner and enhancing the creaminess that makes this pie so special.
Final Thoughts
This Rich & Creamy Buttermilk Pie Recipe is one of those magical desserts that feels both nostalgic and fresh, bringing smiles with every creamy, tangy bite. It’s surprisingly simple to make but delivers a wow factor that never fails to impress. So gather your ingredients, give it a try, and get ready to enjoy a slice of Southern comfort that will soon become a beloved staple in your dessert rotation.
Print
Rich & Creamy Buttermilk Pie Recipe
- Prep Time: 20 minutes
- Cook Time: 55 minutes
- Total Time: 3 hours 15 minutes
- Yield: 8 servings
- Category: Dessert
- Method: Baking
- Cuisine: Southern American
Description
This Rich & Creamy Buttermilk Pie is a classic Southern dessert featuring a smooth, custard-like filling made with warm buttermilk, eggs, and hints of vanilla, lemon, and coconut extracts. It is baked in a flaky 9-inch pie crust until perfectly set, creating a luscious, tangy-sweet treat that’s ideal for any occasion.
Ingredients
Dry Ingredients
- 1½ cups granulated sugar
- ¼ cup all-purpose flour
- ¼ teaspoon salt
Wet Ingredients
- 2 eggs, room temperature
- 1 egg yolk, room temperature
- 5 tablespoons unsalted butter, melted
- 1½ teaspoons pure vanilla extract
- ¼ teaspoon lemon extract (adjust to taste)
- ⅛ teaspoon coconut extract (adjust to taste)
- 1 cup buttermilk, warm
Other
- 1 (9-inch) unbaked pie shell, chilled
Instructions
- Preheat Oven: Preheat your oven to 350°F (175°C) to ensure even baking throughout the pie.
- Mix Dry Ingredients: In a large bowl, whisk together granulated sugar, all-purpose flour, and salt. For a smoother filling, sift these together before mixing.
- Beat Eggs: In another bowl, whisk the eggs and egg yolk until uniform in color and fully combined.
- Combine Dry and Egg Mixtures: Gradually whisk the dry ingredients into the egg mixture until smooth and lump-free.
- Add Flavorings and Butter: Whisk in melted butter, vanilla extract, lemon extract, and coconut extract until fully incorporated.
- Incorporate Buttermilk: Slowly stir in the warm buttermilk, mixing until the batter is smooth without streaks. Allow bubbles on the surface to settle before proceeding.
- Fill Pie Shell: Pour the batter into the chilled, unbaked 9-inch pie shell, distributing it evenly.
- Bake on Lower Rack: Place pie on the lower oven rack and bake for 25 minutes.
- Finish Baking on Middle Rack: Move the pie to the middle rack and continue baking for another 25 minutes, until edges are set and center is slightly jiggly.
- Cool on Rack: Remove pie from oven and place on a cooling rack. Let it cool for 2-3 hours until the bottom is no longer hot.
- Refrigerate: Refrigerate the pie for at least 2 additional hours to fully set before slicing and serving.
- Serve: Serve the pie chilled or at room temperature, plain or topped with whipped cream and fresh berries if desired.
Notes
- Use room temperature eggs to ensure smooth batter consistency.
- Adjust lemon and coconut extract quantities to suit your flavor preference, but avoid overpowering the buttermilk flavor.
- Letting bubbles settle before baking improves the texture of the custard filling.
- Chilling the pie after baking is essential for proper setting and clean slicing.
- Serve with whipped cream and fresh berries for an elegant presentation and added flavor contrast.
