
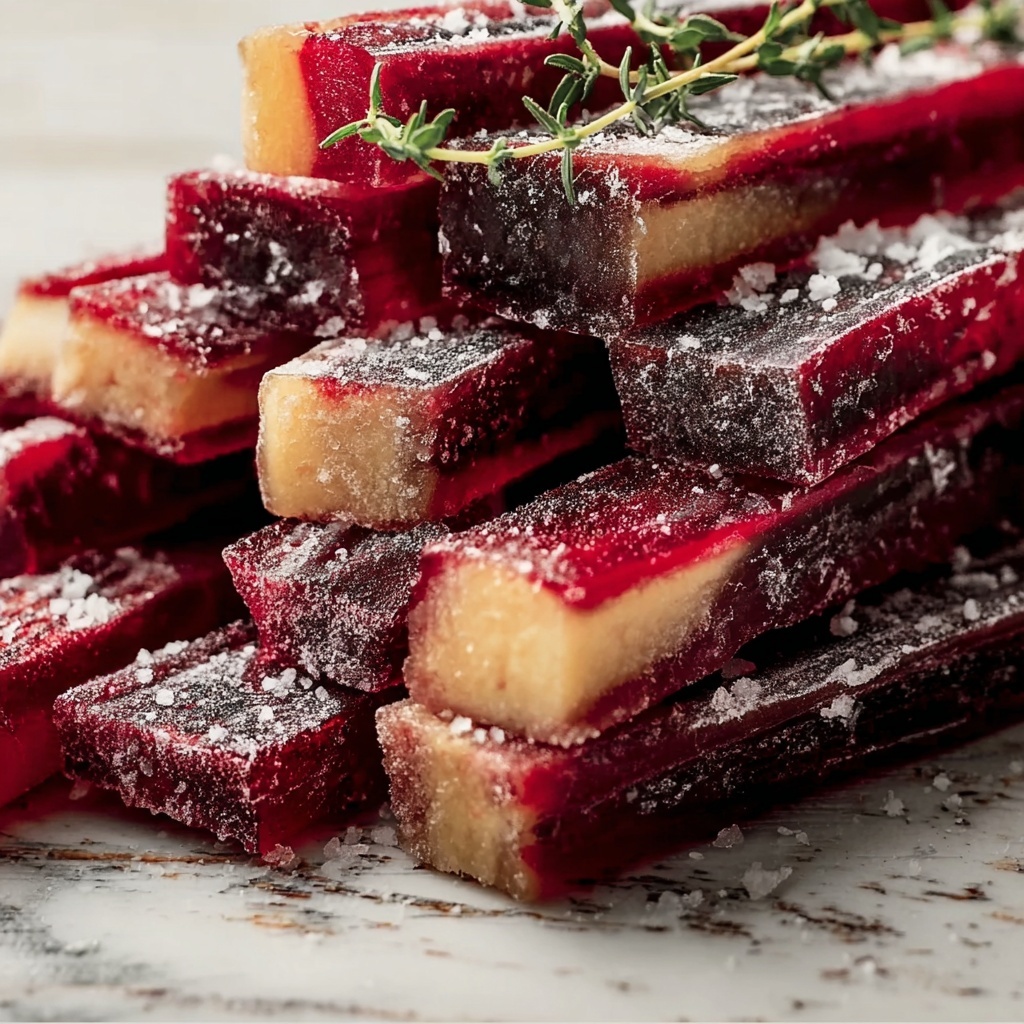
If you are looking for a wholesome, tasty treat that also helps keep your furry friend’s smile bright, this Apple & Cranberry Dog Dental Sticks Recipe is an absolute winner. Combining the natural sweetness of fresh apples and unsweetened dried cranberries with the wholesome goodness of oat flour and rolled oats, these dog dental sticks deliver delightful flavor and texture while supporting dental health. Every bite is packed with ingredients that dogs love, and the homemade element means you know exactly what’s going into your pup’s snack, making this recipe a favorite choice for any dog owner who wants to blend nutrition with fun.
Ingredients You’ll Need
These ingredients are wonderfully simple yet thoughtfully chosen to bring the perfect balance of flavor, moisture, and chewiness to your Apple & Cranberry Dog Dental Sticks Recipe. Each one plays a special role in creating a dog treat that is both delicious and beneficial.
- Finely grated apple (1/2 cup): Adds natural sweetness and essential vitamins, plus gentle fiber to aid digestion.
- Finely chopped unsweetened dried cranberries (1/4 cup): Offers a tart zing along with antioxidants, perfect for a dog’s immune system.
- Oat flour (1/2 cup): Provides a wholesome base that’s gentle on sensitive tummies and helps bind the sticks.
- Rolled oats (1/4 cup): Introduces a hearty texture dogs love and adds extra fiber for digestive health.
- Large egg (1): Acts as a natural binder to hold everything together while adding protein.
- Coconut oil (1 tablespoon, optional): Enhances moisture and offers healthy fats for shiny coats and skin.
How to Make Apple & Cranberry Dog Dental Sticks Recipe
Step 1: Preheat and Prepare
Start by preheating your oven to 325°F (165°C) and lining a baking sheet with parchment paper. This setup ensures your dental sticks bake evenly and won’t stick to the pan, making cleanup effortless and the treats perfect every time.
Step 2: Mix the Wet Ingredients
In a mixing bowl, thoroughly combine the finely grated apple, chopped cranberries, egg, and coconut oil if you’re using it. This mixture blends juicy fruit flavors with the richness of egg and coconut oil, creating a moist foundation that your dog’s taste buds will adore.
Step 3: Incorporate Dry Ingredients
Gradually add the oat flour and rolled oats to the wet mixture. Stir well until a sticky dough forms. If the dough feels too wet to handle, simply add an extra tablespoon of oat flour at a time until you reach the perfect consistency for shaping. This step is crucial to ensure the sticks hold their shape while baking.
Step 4: Shape the Dental Sticks
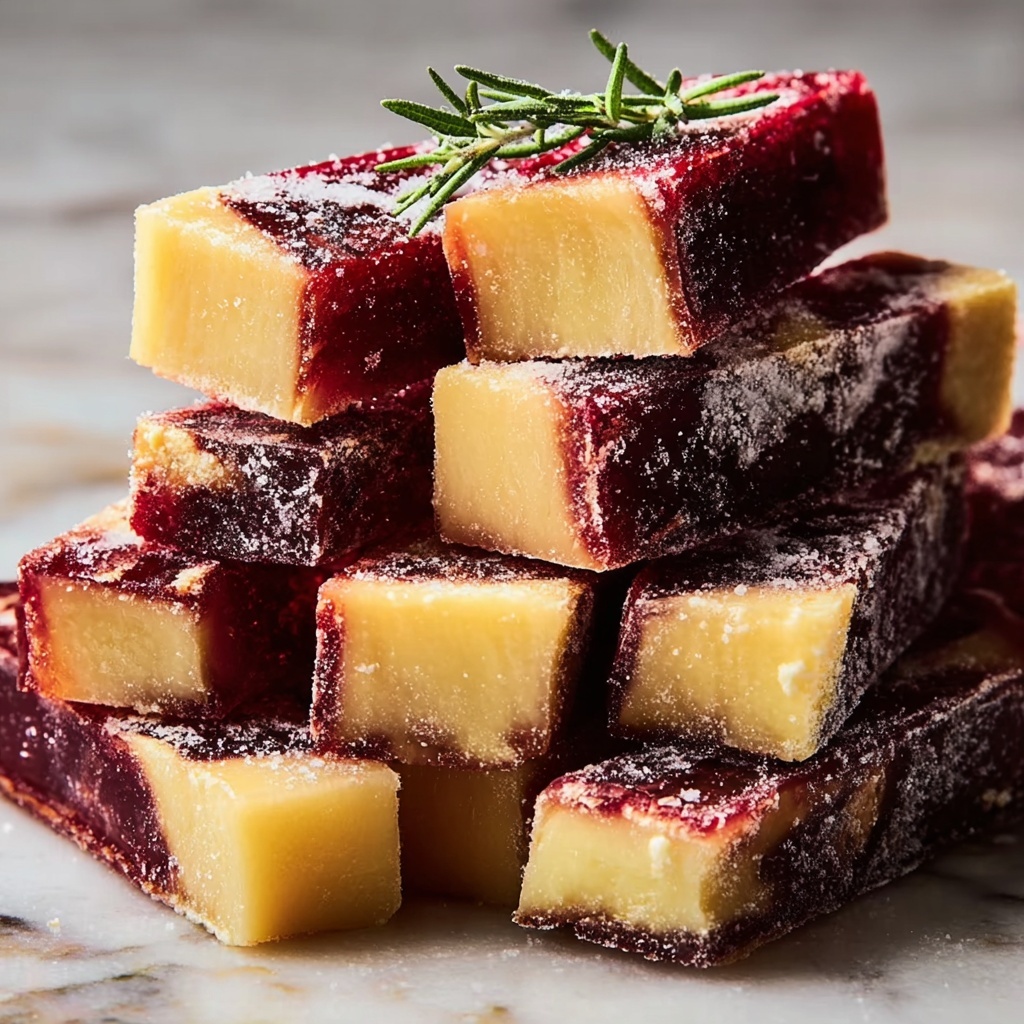
Divide the sticky dough into 12 equal portions and roll each into sticks approximately 4 to 5 inches long and half an inch thick. The size is ideal for your pup to chew easily, while the shape encourages natural dental benefits through chewing action.
Step 5: Bake to Perfection
Arrange the sticks on your prepared baking sheet and bake at 325°F (165°C) for 20 to 25 minutes until they’re firm and lightly golden. For a crunchier texture that lasts longer during playtime, reduce the oven temperature to 250°F (120°C) after baking and let them bake for another 10 to 15 minutes. This extra step enhances the dental effect by making the sticks tougher.
Step 6: Cool Before Serving
Once baked, transfer the dental sticks to a wire rack to cool completely. Cooling ensures they firm up to the ideal chewiness and prevents any risk of burning your dog’s mouth. Once cooled, they’re ready to delight your pet.
How to Serve Apple & Cranberry Dog Dental Sticks Recipe
Garnishes
You might think dog treats don’t need any garnish, but a little sprinkle of finely chopped parsley or a light dusting of turmeric can add subtle extra benefits and a pop of color. These simple additions can freshen breath and help reduce inflammation, making your Apple & Cranberry Dog Dental Sticks Recipe even more powerful.
Side Dishes
Pairing these dental sticks with your dog’s regular meal can encourage slower eating and promote better digestion. Serve them alongside a bowl of high-quality kibble or a small scoop of natural yogurt to balance the treat with probiotics, adding to your dog’s overall wellness.
Creative Ways to Present
Turn treat time into a delightful event by hiding the sticks inside a puzzle toy or wrapping them in a thin layer of mashed banana for a special twist. Not only does this provide mental stimulation, but it also freshens the experience, making this Apple & Cranberry Dog Dental Sticks Recipe a real highlight of your pet’s day.
Make Ahead and Storage
Storing Leftovers
If your dog doesn’t finish the batch in one go, simply store the leftover dental sticks in an airtight container at room temperature. They will stay fresh and chewy for about 5 days, so you can always have a handy treat ready when your pup needs a little extra joy in their day.
Freezing
For longer storage, place the cooled dental sticks in a freezer-safe bag or container and freeze them. When stored this way, they can last up to three months without losing flavor or texture. Just thaw them at room temperature before serving to keep that perfect chewiness intact.
Reheating
If you want to freshen up the texture of frozen or stale sticks, pop them in the oven at 300°F (150°C) for 5 minutes. This simple reheating trick re-crisps them, making each bite feel freshly baked and irresistibly crunchy in your dog’s mouth.
FAQs
Can I use other types of flour besides oat flour?
Absolutely! While oat flour is gentle and nutritious, you can substitute with whole wheat flour if your dog doesn’t have any grain sensitivities. Just keep an eye on the dough consistency, as different flours may require slight adjustments in quantity.
Are these dental sticks suitable for puppies?
Yes, these treats are ideal for puppies as long as they are broken into appropriately sized pieces to avoid choking hazards. Always supervise your puppy when giving new treats, and consult with your vet if your pup has any dietary restrictions.
Why use unsweetened dried cranberries?
Unsweetened dried cranberries provide antioxidants and a tart flavor without added sugars, which can be harmful to dogs. It keeps the treats healthy while giving that delightful cran-apple combination your dog will love.
Can I omit the coconut oil?
You sure can. Coconut oil adds moisture and healthy fats, but the recipe will still work well without it. The dental sticks may be slightly less soft but still delicious and chewy.
How do these sticks help with dental health?
Chewing on these sticks helps naturally scrape away plaque and tartar buildup on your dog’s teeth. The texture combined with the act of chewing boosts saliva production, contributing to fresher breath and better oral hygiene.
Final Thoughts
Making your own dog treats is such a rewarding experience, and this Apple & Cranberry Dog Dental Sticks Recipe offers a tasty, nutritious way to keep your pup happy and healthy. They’re easy to make, use simple ingredients, and provide a fun chewing experience that supports dental care naturally. I truly encourage you to give this recipe a try—you and your furry friend will both love the results!
Print
Apple & Cranberry Dog Dental Sticks Recipe
- Prep Time: 15 minutes
- Cook Time: 25 minutes
- Total Time: 40 minutes
- Yield: 12 dental sticks (12 servings)
- Category: Dog Treats
- Method: Baking
- Cuisine: Pet Nutrition
- Diet: Gluten Free
Description
These Apple & Cranberry Dog Dental Sticks are a wholesome and tasty treat designed to support your dog’s dental health. Made with natural ingredients like apple, unsweetened dried cranberries, oat flour, and a touch of coconut oil, these baked dental sticks are easy to make and packed with fiber and antioxidants for your furry friend.
Ingredients
Ingredients
- 1/2 cup finely grated apple (peeled, core removed)
- 1/4 cup finely chopped unsweetened dried cranberries
- 1/2 cup oat flour (or whole wheat flour)
- 1/4 cup rolled oats
- 1 large egg
- 1 tablespoon coconut oil (optional, for added moisture)
Instructions
- Preheat the Oven: Preheat your oven to 325°F (165°C) and line a baking sheet with parchment paper to prevent sticking and ensure even baking.
- Prepare the Dough: In a mixing bowl, combine the grated apple, chopped cranberries, egg, and coconut oil (if using). Stir well until the mixture is evenly combined.
- Add Dry Ingredients: Gradually incorporate the oat flour and rolled oats into the wet mixture, stirring continuously until a sticky dough forms. If the dough is too wet, add more oat flour one tablespoon at a time until the right consistency is achieved.
- Shape the Dental Sticks: Divide the dough into small portions and roll each into sticks about 4-5 inches long and 1/2 inch thick, perfect for your dog to chew on.
- Bake: Arrange the sticks on the lined baking sheet and bake for 20-25 minutes until they are firm and lightly golden. For extra crunchiness, lower the oven temperature to 250°F (120°C) and bake for an additional 10-15 minutes.
- Cool Completely: Remove the sticks from the oven and allow them to cool completely on a wire rack before serving them to your dog to ensure safety and maximum crunch.
Notes
- Make sure the apple is finely grated to avoid large chunks that could be difficult for your dog to chew.
- Use unsweetened dried cranberries to avoid added sugars harmful to dogs.
- Coconut oil is optional but adds moisture and a subtle flavor that many dogs enjoy.
- Store dental sticks in an airtight container for up to a week or freeze for longer storage.
- Always consult your veterinarian before introducing new treats into your pet’s diet, especially if your dog has allergies or health conditions.

