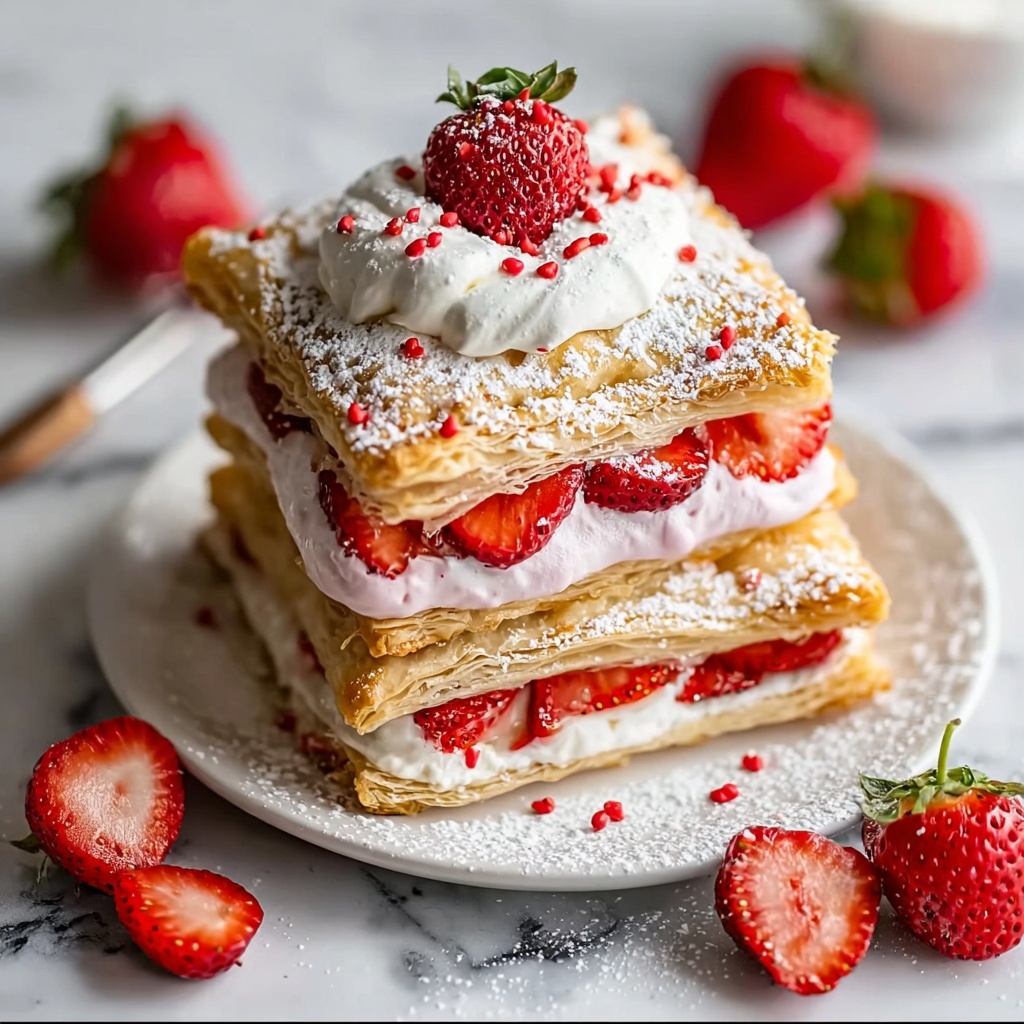
If you’ve ever dreamed of recreating a nostalgic breakfast favorite in your own kitchen, then this Homemade Strawberry Pop-Tarts Recipe is exactly what you need. There is something truly magical about flakey, buttery pastry encasing a luscious, sweet strawberry filling that calls back memories of cozy mornings and simple joys. This recipe brings that comfort food delight right to your countertop with fresh ingredients and a touch of love, making it even better than store-bought versions. You’ll adore how the golden crust perfectly hugs the vibrant strawberry preserves and the delicate glaze adds a sparkle that makes each bite irresistible.
Ingredients You’ll Need
These ingredients are wonderfully simple but essential in creating the perfect balance of tender dough, sweet filling, and a glossy finish. Each element adds its own unique character to these pop-tarts, from the flakiness of the butter to the fragrant vanilla and sparkling red sugar.
- 2½ cups all-purpose flour: The foundation for tender and flaky pastry.
- 2 tbsp granulated sugar: Adds a subtle sweetness to the dough without overpowering.
- 1 cup cold butter, cubed: Crucial for flakiness, keep it cold for the best texture.
- ½ cup cold water: Binds the dough just right without making it tough.
- 1 tsp vanilla extract: A warm note that elevates the flavor beautifully.
- 12 tbsp strawberry preserves: Loads of fruity goodness that’s the star of the show.
- 1 cup powdered sugar: For the sweet, shiny glaze finish.
- 1-2 tbsp milk: Adjusts glaze consistency for a perfect drizzle.
- Red sanding sugar (optional): Adds a festive sparkle and a little crunch on top.
How to Make Homemade Strawberry Pop-Tarts Recipe
Step 1: Prepare the Dough
Start by mixing the flour and sugar in a large bowl to ensure even distribution of sweetness. Then, cut the cold butter into the mixture until you get coarse crumbs—this step is the secret to that signature flakiness. Slowly stir in the cold water and vanilla extract to bring the dough together gently. Don’t rush this part; once combined, wrap the dough in plastic wrap and chill it for at least 30 minutes to relax and firm up before rolling.
Step 2: Roll and Cut the Dough
When your dough has chilled, preheat your oven to 400°F (200°C) for a vibrant bake. Roll out the dough on a lightly floured surface until it’s about ¼-inch thick. This thickness is key to balance between a tender crust and sturdy enough to hold the filling. Cut the rolled dough into 3×4-inch rectangles, which will be your pop-tart shapes.
Step 3: Fill and Seal the Pop-Tarts
Place a generous spoonful of strawberry preserves onto half of the rectangles—don’t be shy, that jam is what brings the flavor explosion. Top each with another rectangle of dough and carefully press around the edges to seal. Then, crimp the edges with a fork to keep the preserves from oozing out during baking and to add a charming detail.
Step 4: Bake to Golden Perfection
Arrange your assembled pop-tarts on a baking sheet lined with parchment to prevent sticking. Slide them into the oven and bake for about 15 minutes or until they turn a gorgeous golden brown, signaling flaky, cooked dough. Once baked, transfer them to a wire rack to cool, allowing the crust to set up and the preserves to thicken just right.
Step 5: Glaze and Decorate
The finishing touch is a sweet glaze made by mixing powdered sugar with milk until smooth, adding just enough milk to create a lovely drizzling consistency. Drizzle this over each cooled pop-tart and, if you want a bit of festive flair, sprinkle some red sanding sugar on top. This adds not only sparkle but also a little crunch that complements the soft crust.
How to Serve Homemade Strawberry Pop-Tarts Recipe
Garnishes
Think fresh and fun when garnishing your pop-tarts. A few fresh strawberries on the side add a burst of freshness and brighten up your presentation. You can also add a light dusting of powdered sugar or a mint leaf for a pop of green—small touches that make your pop-tarts look as good as they taste.
Side Dishes
Pair these with a warm cup of your favorite morning drink—whether that’s coffee, tea, or a glass of milk—to balance the sweetness and round out your breakfast or snack. A small bowl of Greek yogurt with honey or granola also pairs wonderfully and adds a creamy contrast to the flaky pastry.
Creative Ways to Present
For a whimsical brunch or kids’ party, arrange the pop-tarts on a tiered cake stand for a fabulous display. You can even cut them into smaller shapes using cookie cutters to create bite-sized treats perfect for sharing. Another idea is to drizzle extra glaze in fun patterns or pipe little dots of whipped cream beside each for added elegance and indulgence.
Make Ahead and Storage
Storing Leftovers
Keep your freshly baked pop-tarts in an airtight container at room temperature for up to 2 days. This helps preserve the crispness of the pastry while keeping the filling moist and flavorful. If you prefer, store them in the refrigerator to extend freshness by a day or so, but allow them to reach room temperature before enjoying.
Freezing
If you want to prepare these delicious treats ahead of time, freezing is a great option. Place unglazed pop-tarts on a baking sheet to freeze individually before transferring them to a freezer-safe container or bag. They will last up to 2 months and can be baked straight from the freezer, adjusting baking time accordingly. You can glaze them after baking for the freshest finish.
Reheating
To revive stored or frozen pop-tarts, warm them in a toaster oven or regular oven at 350°F for 5-8 minutes. This method refreshes the flaky crust and warms the strawberry filling beautifully without making the pastry soggy, unlike microwaving. For a glazed tart, wait until after reheating to drizzle on the icing so it stays fresh and shiny.
FAQs
Can I use other fruit preserves in this recipe?
Absolutely! While this recipe highlights strawberry preserves for that classic flavor, feel free to experiment with raspberry, blueberry, or even apricot preserves for a new twist. Each will bring its own unique sweetness and texture.
Is there a way to make this recipe gluten-free?
You can substitute the all-purpose flour with a gluten-free blend designed for baking. Ensure it contains xanthan gum or a similar binder to help maintain the structure of the dough for flaky pop-tarts.
Can I add fresh fruit inside the pop-tarts?
Fresh fruit can add moisture that might make the pastry soggy, so it’s better to stick with preserves or cooked fruit mixtures. If you want fresh berries, serve them on the side or as a garnish.
How long do these pop-tarts stay fresh?
Stored properly in an airtight container, they are best enjoyed within 2 days for optimal texture and flavor, although refrigeration can extend this by a day or two.
Can I make the dough in advance?
Yes! Making the dough ahead and refrigerating it overnight can actually improve its texture as the flour hydrates and the gluten relaxes, leading to a flakier crust when baked.
Final Thoughts
There is something truly rewarding about making your own Homemade Strawberry Pop-Tarts Recipe from scratch. From the buttery, tender crust to the generous strawberry filling and sweet glaze, each step is filled with anticipation and joy. Whether you’re treating yourself or impressing friends and family, these pop-tarts are sure to bring smiles and warm hearts. So go ahead, roll up your sleeves, and create a batch of these delightful pastries—you won’t regret it!
Print
Homemade Strawberry Pop-Tarts Recipe
- Prep Time: 30 minutes
- Cook Time: 15 minutes
- Total Time: 45 minutes
- Yield: 6 pop-tarts
- Category: Breakfast
- Method: Baking
- Cuisine: American
Description
These homemade Strawberry Pop-Tarts feature a flaky, buttery crust filled with sweet strawberry preserves and topped with a smooth vanilla glaze. Perfect for a nostalgic breakfast treat or a delightful snack, they combine classic flavors with a fun DIY approach, baking up golden and crisp in just 15 minutes.
Ingredients
Dough
- 2½ cups all-purpose flour
- 2 tbsp granulated sugar
- 1 cup cold butter, cubed
- ½ cup cold water
- 1 tsp vanilla extract
Filling
- 12 tbsp strawberry preserves
Glaze and Decoration
- 1 cup powdered sugar
- 1–2 tbsp milk
- Red sanding sugar (optional, for decoration)
Instructions
- Prepare the Dough: In a large bowl, combine the all-purpose flour and granulated sugar. Cut in the cold cubed butter using a pastry cutter or your fingers until the mixture resembles coarse crumbs. Stir in the cold water and vanilla extract until the dough just comes together. Wrap the dough tightly in plastic wrap and refrigerate for at least 30 minutes to chill and firm up.
- Roll and Cut Dough: Preheat your oven to 400°F (200°C). On a floured surface, roll out the chilled dough to about ¼-inch thickness. Using a knife or a rectangular cutter, cut the dough into rectangles measuring approximately 3 by 4 inches.
- Assemble Pop-Tarts: Place a spoonful of strawberry preserves in the center of half the dough rectangles, leaving a small border around the edges. Top each with another dough rectangle. Press the edges together firmly to seal and crimp the edges with a fork to ensure they don’t open during baking.
- Bake: Arrange the assembled pop-tarts on a baking sheet lined with parchment paper. Bake in the preheated oven for about 15 minutes or until they become golden brown and flaky. Remove from the oven and allow them to cool on a wire rack completely.
- Glaze and Decorate: Mix the powdered sugar with 1 to 2 tablespoons of milk until smooth and a drizzle-able consistency is achieved. Drizzle the glaze over the cooled pop-tarts. For an extra touch, sprinkle red sanding sugar on top before the glaze sets if desired.
Notes
- Ensure the butter and water are cold to achieve a tender, flaky crust.
- Do not overfill the pop-tarts; leaving a small border helps prevent leaks during baking.
- Allow pop-tarts to cool completely before glazing to prevent the icing from melting.
- Store leftovers in an airtight container at room temperature for up to 3 days.
- You can substitute strawberry preserves with your favorite jam or jelly for variety.


