
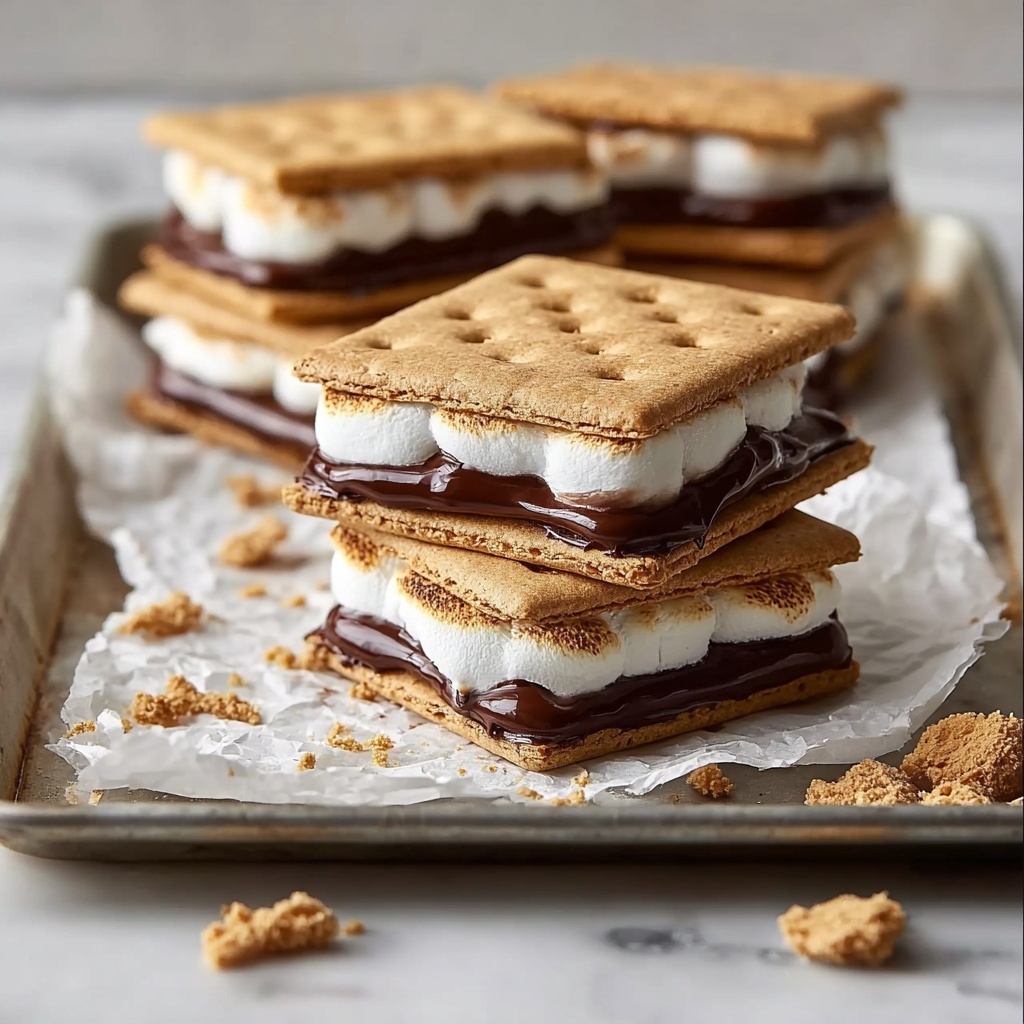
If you love the nostalgic flavors of a campfire classic but want a cool, refreshing twist, the Frozen S’mores Dream Bars Recipe is about to become your new go-to treat. These bars capture all the joy of toasted marshmallows, melted chocolate, and crunchy graham crackers, but in a luscious, frozen form that’s perfect for warm days or any time you crave a fun, no-bake dessert. Creamy vanilla yogurt adds a delightful tang and smooth texture, making each bite a dreamy balance of sweet, crunchy, and cold. Trust me, once you try these bars, they’ll be a permanent feature in your dessert rotation.
Ingredients You’ll Need
Getting started with this Frozen S’mores Dream Bars Recipe means gathering a handful of simple, everyday ingredients, each playing a key role in building layers of flavor and irresistible texture. From the buttery graham cracker crust to the creamy, chocolate-studded yogurt topping, every component is essential for creating the perfect bar.
- Graham cracker crumbs (1 1/2 cups): The crunchy base that gives you that classic s’mores flavor and texture.
- Melted coconut oil or butter (1/4 cup): Helps bind the crust while adding rich flavor and moisture.
- Honey or maple syrup (2 tablespoons): Adds a natural sweetness that perfectly complements the crunchy crust.
- Vanilla Greek yogurt or non-dairy yogurt (2 cups): Provides creamy tang and balances the sweetness, keeping the bars cool and refreshing.
- Mini chocolate chips (1/2 cup): Little pockets of melted chocolate joy in every bite.
- Mini marshmallows (1/2 cup): The fluffy, sweet highlight that you expect in any s’mores-inspired treat.
- Chocolate syrup (1/4 cup, optional): A luscious drizzle to amp up the chocolate experience and add visual appeal.
How to Make Frozen S’mores Dream Bars Recipe
Step 1: Prepare Your Pan
First things first, line an 8×8 inch baking dish with parchment paper. This step is a game-changer for easy removal and clean-up later, so don’t skip it. The parchment acts as your bar’s cozy little home while it freezes solid.
Step 2: Make the Graham Cracker Crust
Mix those graham cracker crumbs with melted coconut oil (or butter) and honey (or maple syrup). Stir well until everything is evenly coated and the mixture sticks together when pressed. This crust is the foundation of your Frozen S’mores Dream Bars Recipe, packing all the sweet and crunchy goodness you expect.
Step 3: Press the Crust Into the Pan
Use a spatula or your fingers to firmly press the crumb mixture into the bottom of your prepared pan. You want an even, compact layer that will hold together after freezing—this is where a little pressure goes a long way!
Step 4: Create the Yogurt Chocolate Layer
In a clean bowl, stir vanilla yogurt and mini chocolate chips together until the chocolate is evenly distributed. This creamy layer adds tang and richness to your bars, making them feel indulgent yet light. Then, spread this luscious mixture evenly over your crust.
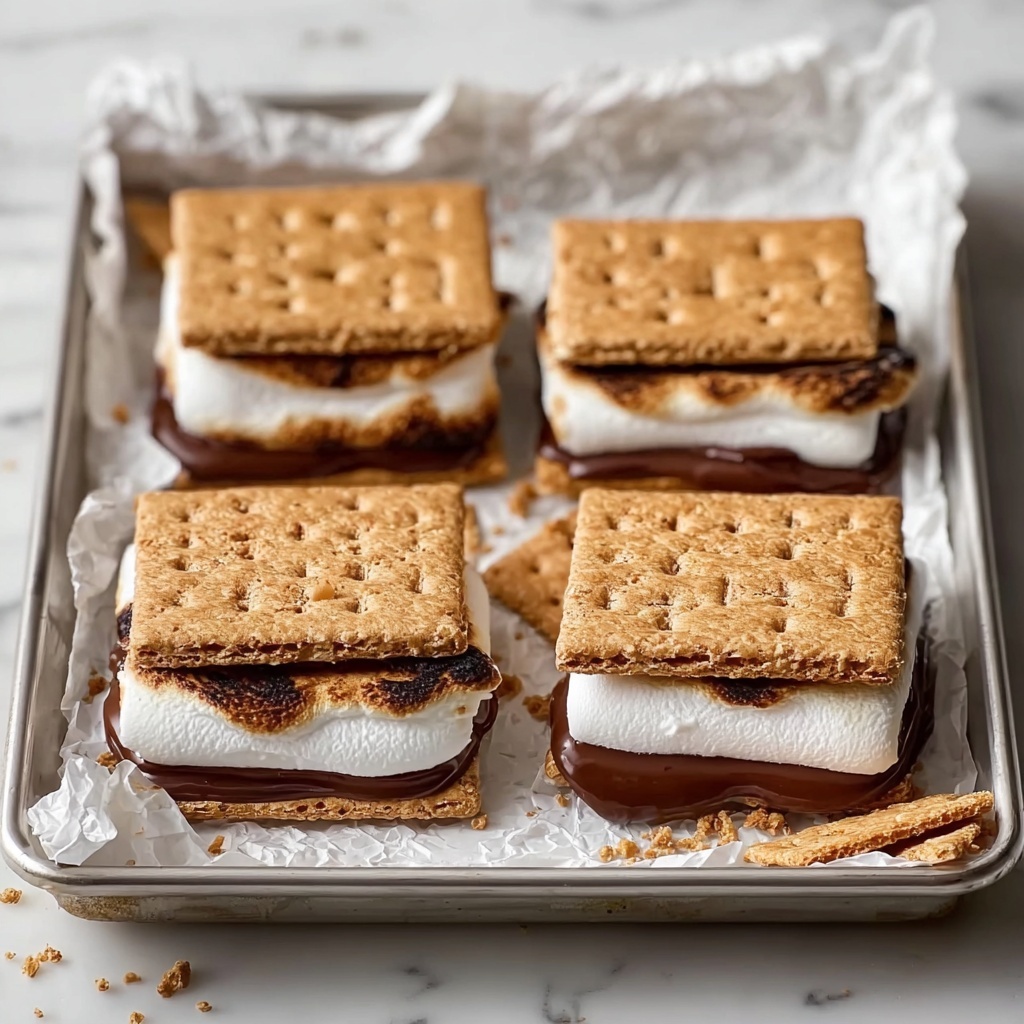
Step 5: Add Marshmallows and Chocolate Drizzle
Sprinkle mini marshmallows all over the yogurt layer—these will get delightfully soft but still hold their shape once frozen. If you’re feeling extra chocolatey, drizzle with chocolate syrup to boost the flavor and look amazing.
Step 6: Freeze Until Firm
Cover the dish with plastic wrap and pop it in the freezer for at least 3 to 4 hours. Patience here is key: the bars need enough time to set completely so they slice cleanly and maintain their dreamy texture.
Step 7: Cut and Serve
Once frozen solid, lift the entire slab from the pan using the parchment paper and cut into squares. Serve immediately or keep frozen until you’re ready to dive in. Watching everyone’s faces light up with the first bite of this Frozen S’mores Dream Bars Recipe is always the best reward!
How to Serve Frozen S’mores Dream Bars Recipe
Garnishes
Add a sprinkle of crushed graham crackers or a few more mini marshmallows on top right before serving for an extra pretty touch. A tiny dusting of cocoa powder or a drizzle of caramel sauce can also take these bars to the next level if you want to get fancy.
Side Dishes
These bars are pretty much a complete dessert experience on their own, but they pair beautifully with fresh berries or a scoop of vanilla ice cream. For a summer party, serve alongside cold-brew coffee or a fizzy soda for fun contrast.
Creative Ways to Present
Try serving Frozen S’mores Dream Bars Recipe layered in a clear trifle dish, alternating crust, yogurt, and marshmallow layers for a stunning look. Or, for a portable option, cut into bar shapes and wrap individually in parchment paper tied with twine—perfect for picnics or lunchbox treats.
Make Ahead and Storage
Storing Leftovers
After enjoying these bars, wrap any leftovers tightly in plastic wrap or store them in an airtight container in the freezer. This keeps them fresh and prevents freezer burn, so you can enjoy their original delicious texture later.
Freezing
The bars freeze beautifully—just make sure they’re well covered and kept in a container that prevents moisture from seeping in. You can store them frozen for up to 2 weeks without losing flavor or texture.
Reheating
Since these are frozen treats, they’re best enjoyed straight from the freezer or allowed to sit at room temperature for about 5 minutes to soften slightly before eating. Avoid microwaving, as it will melt the bars too much and lose that perfect frozen s’mores charm.
FAQs
Can I use regular yogurt instead of Greek yogurt?
Absolutely! Regular yogurt works fine but may result in a slightly less thick layer. Greek yogurt adds creaminess and helps the bars hold their shape better, but feel free to adapt based on your preference.
Is this recipe suitable for vegans?
Yes! Use non-dairy yogurt and substitute coconut oil for butter, plus opt for vegan marshmallows and chocolate chips. You’ll still get that indulgent Frozen S’mores Dream Bars Recipe experience in a plant-based version.
Can I make individual portions instead of a large pan?
You bet! Freeze the layers in small silicone molds or muffin tins to create single-serving Frozen S’mores Dream Bars. Just adjust the freezing time accordingly—it may be shorter for smaller portions.
Do I have to use mini marshmallows?
Mini marshmallows work best for even distribution and quick freezing, but chopped regular marshmallows can also be used if that’s what you have on hand. They may create a slightly different texture but just as tasty.
Can I add other mix-ins to the yogurt layer?
Yes! Feel free to stir in chopped nuts, dried fruit, or even a swirl of peanut butter for a personalized twist on the Frozen S’mores Dream Bars Recipe. Just be mindful of how extra ingredients might affect freezing time and texture.
Final Thoughts
Once you discover how easy and delightful the Frozen S’mores Dream Bars Recipe is to make, it will quickly become a dessert you turn to again and again. Whether you’re craving a sweet treat in the summertime or a fun no-bake dessert for unexpected guests, these bars deliver that perfect combination of flavor, texture, and nostalgia. Trust me, they’re simply irresistible, so gather your ingredients and get ready to make a frozen s’mores dream come true!
Print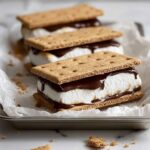
Frozen S’mores Dream Bars Recipe
- Prep Time: 10 minutes
- Cook Time: 0 minutes
- Total Time: 4 hours 10 minutes
- Yield: 8 servings
- Category: Dessert
- Method: No-Cook
- Cuisine: American
Description
This Frozen S’mores recipe offers a delightful twist on the classic campfire treat by combining a crunchy graham cracker crust with creamy vanilla yogurt, mini chocolate chips, and marshmallows—all frozen to perfection. It’s a no-bake, refreshing dessert that’s easy to prepare and perfect for hot days or anytime you crave a sweet, nostalgic treat.
Ingredients
Crust
- 1 1/2 cups graham cracker crumbs
- 1/4 cup melted coconut oil or butter
- 2 tablespoons honey or maple syrup
Filling & Toppings
- 2 cups vanilla Greek yogurt or non-dairy yogurt
- 1/2 cup mini chocolate chips
- 1/2 cup mini marshmallows
- 1/4 cup chocolate syrup (optional)
Instructions
- Prepare the baking dish: Line an 8×8 inch baking dish with parchment paper to ensure easy removal of the frozen s’mores later.
- Make the crust mixture: In a medium bowl, combine graham cracker crumbs, melted coconut oil or butter, and honey or maple syrup. Stir well until all crumbs are coated and the mixture holds together when pressed.
- Form the crust: Press the graham cracker mixture evenly into the bottom of the prepared baking dish, creating a firm, even crust layer. Set aside for now.
- Prepare the yogurt layer: In a separate bowl, mix the vanilla Greek yogurt or non-dairy yogurt with the mini chocolate chips to evenly distribute them throughout the yogurt.
- Assemble layers: Spread the yogurt and chocolate chip mixture evenly over the graham cracker crust. Then sprinkle mini marshmallows on top and drizzle with chocolate syrup if using.
- Freeze: Cover the dish tightly with plastic wrap and place it in the freezer for at least 3 to 4 hours or until the dessert is fully firm and frozen.
- Serve: Once frozen, remove from the freezer, cut into squares, and serve immediately for a cool, creamy take on traditional s’mores.
Notes
- You can substitute coconut oil with melted butter or use vegan butter for a dairy-free option.
- Maple syrup or honey both work as natural sweeteners for the crust; choose according to your taste preference and dietary needs.
- Non-dairy yogurt varieties like almond or coconut yogurt can be used to make this recipe vegan.
- If you prefer gooier marshmallows, you can broil them briefly before adding them on top, then freeze.
- This dessert should be kept frozen until serving as the texture softens quickly at room temperature.
- Store any leftovers covered in the freezer for up to 5 days for best freshness.

