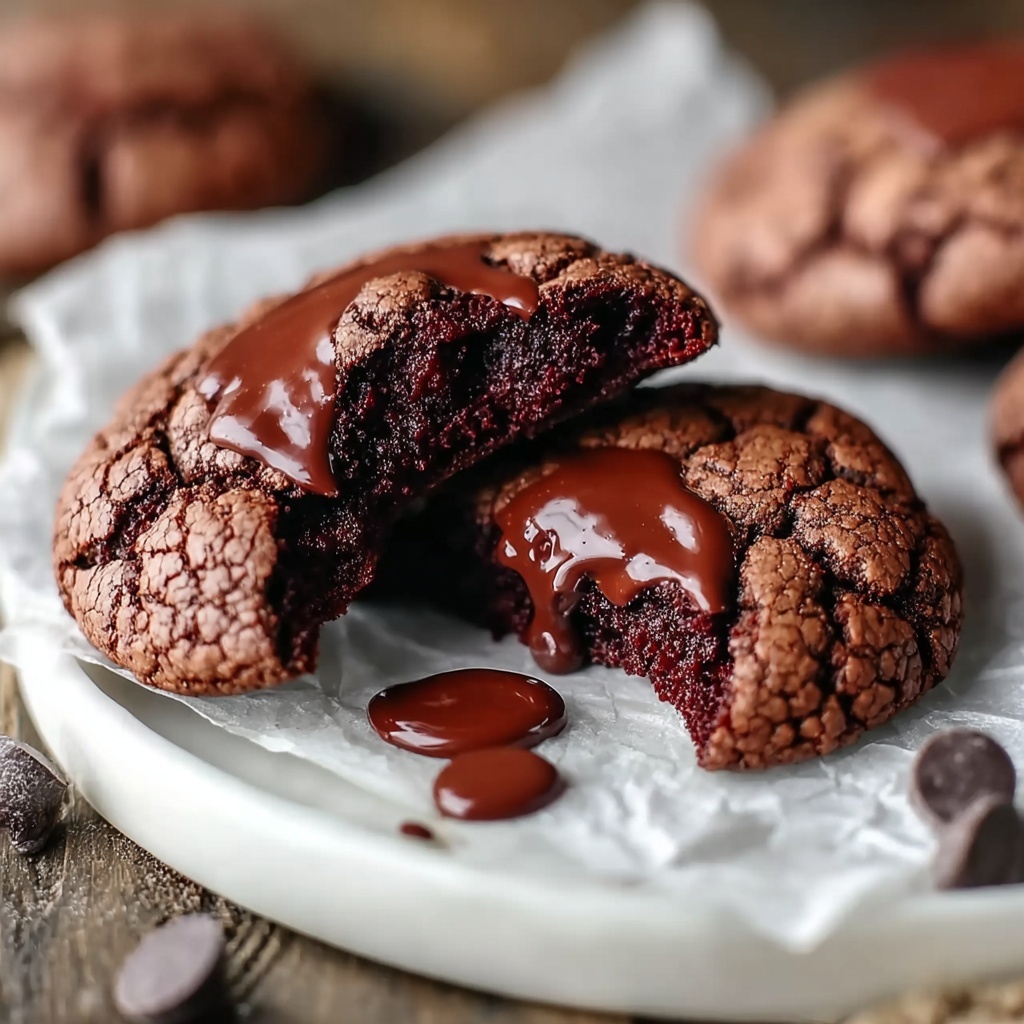
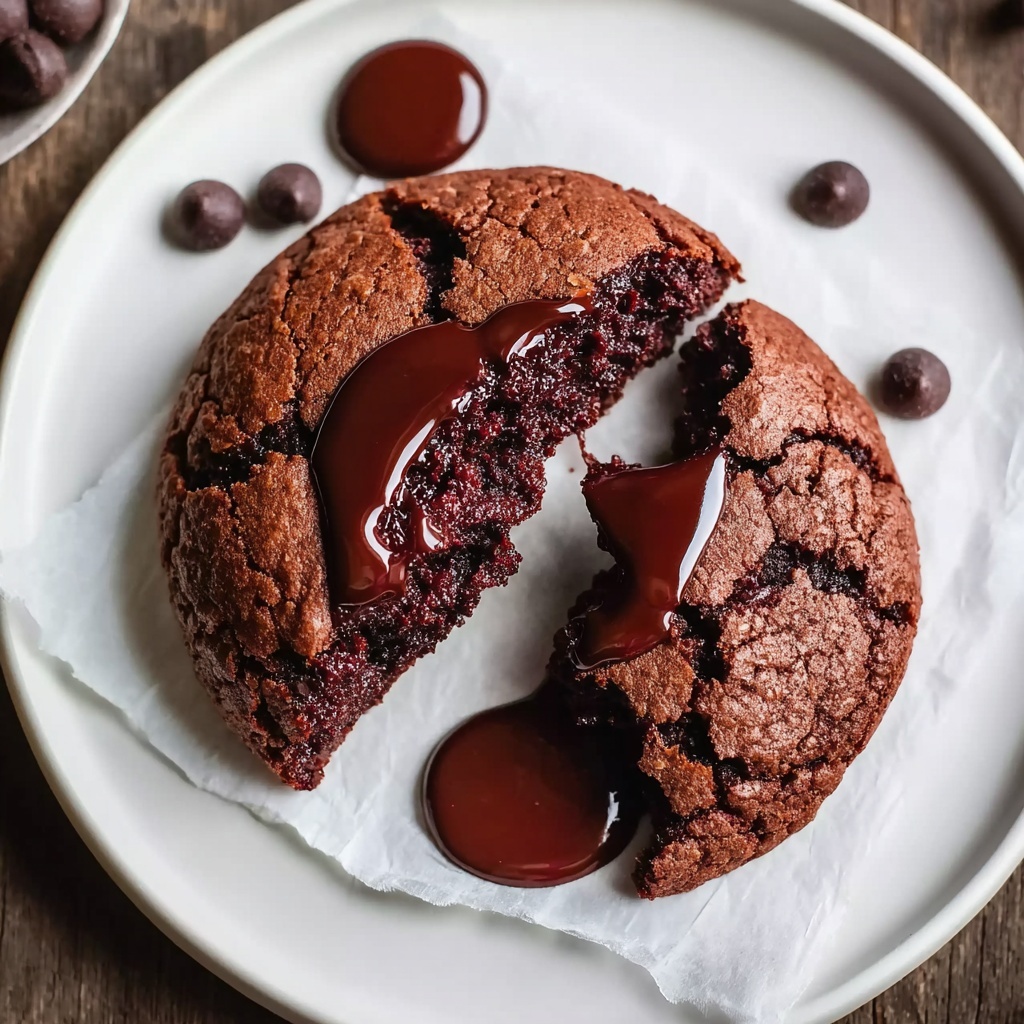
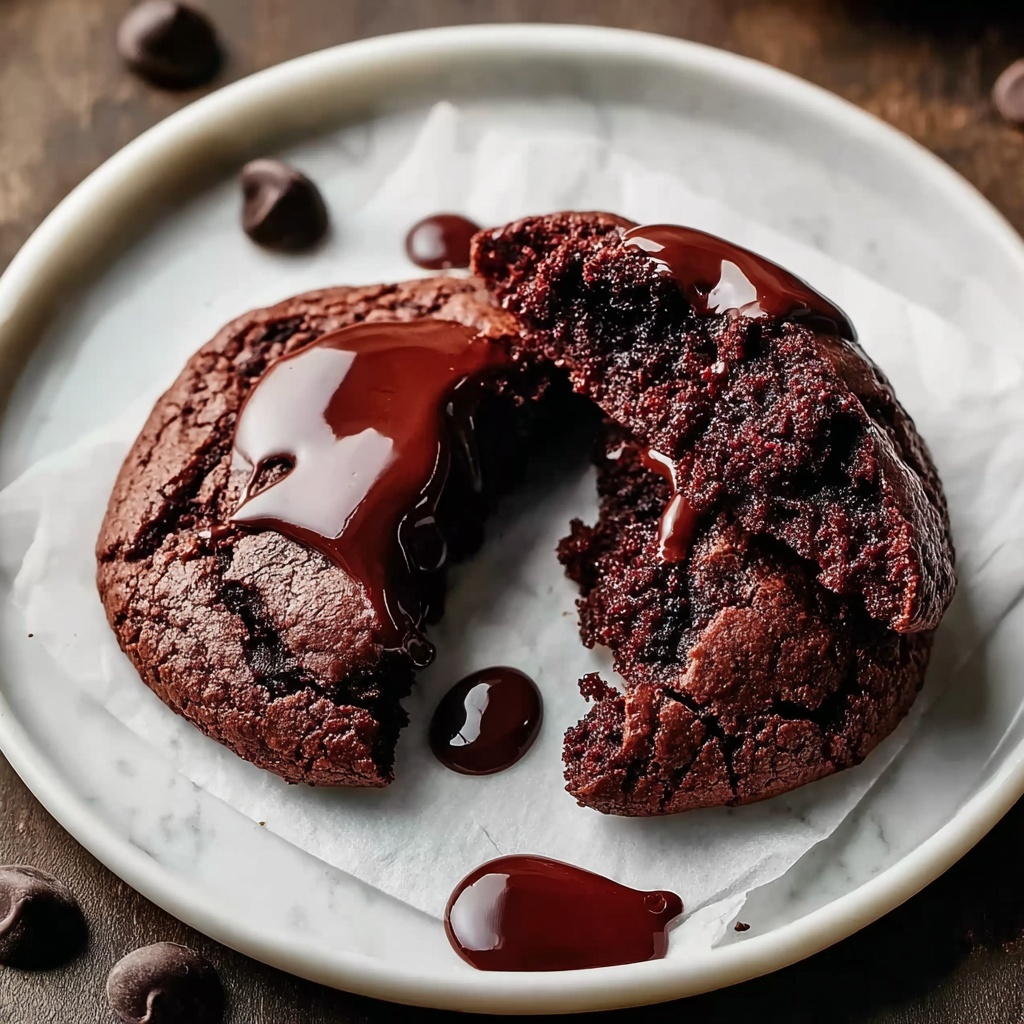
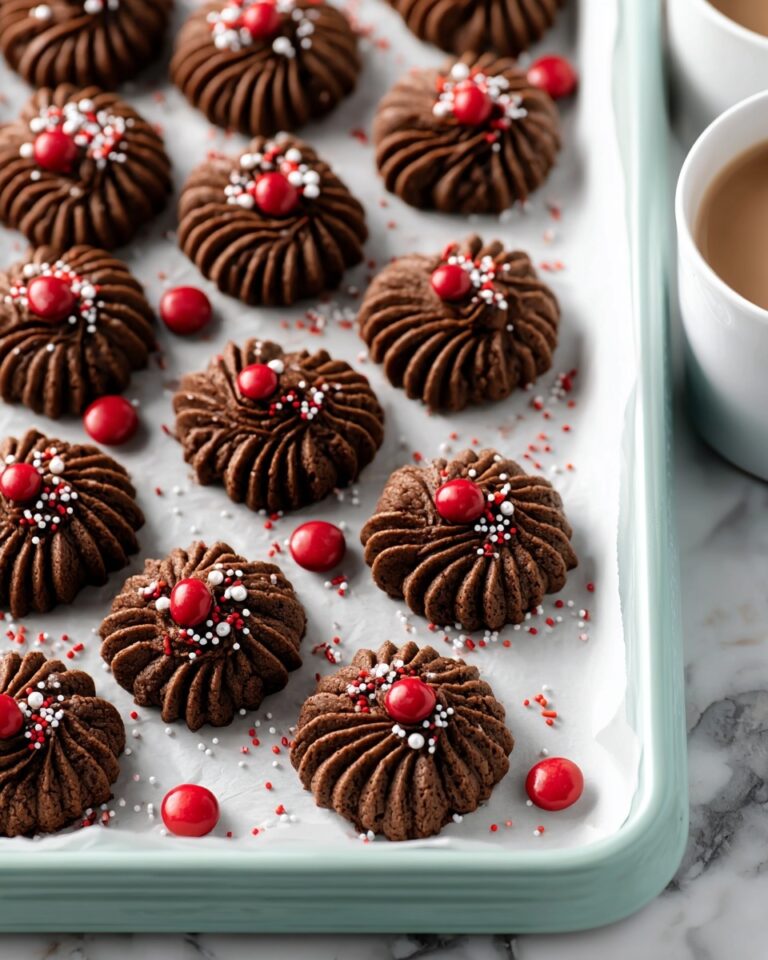
If you’re on the hunt for a cookie that brings a burst of flavor and a touch of indulgence, this Red Velvet Nutella Stuffed Cookies Recipe is the perfect treat to satisfy your sweet tooth. Imagine soft, red velvet dough hugging a gooey, rich Nutella center, accented with bursts of creamy white chocolate chips. It’s the kind of dessert that feels like a warm hug in cookie form and is sure to become a beloved favorite whether you’re baking for family, friends, or just yourself.
Ingredients You’ll Need
Gathering simple, quality ingredients makes all the difference in this recipe. Each item plays its unique role—from the deep red hue of the food coloring to the rich cocoa undertones and creamy Nutella filling, every element contributes to the irresistible taste and texture of these cookies.
- 1 ¾ cups all-purpose flour: Provides the perfect base and structure for your cookies.
- ¼ cup unsweetened cocoa powder: Adds a subtle chocolate flavor that deepens the red velvet taste.
- 1 teaspoon baking soda: Helps the cookies rise and stay light and tender.
- ¼ teaspoon salt: Balances the sweetness and enhances all the other flavors.
- ½ cup unsalted butter (softened): Gives the dough richness and the perfect chewy texture.
- ¾ cup brown sugar: Offers moisture and a slight caramel undertone.
- ¼ cup granulated sugar: Adds sweetness and helps with the cookies’ crisp edges.
- 1 large egg: Binds all ingredients together and adds moisture.
- 1 tablespoon milk: Keeps the dough soft and makes blending easier.
- 2 teaspoons vanilla extract: Brings warmth and depth to the overall flavor.
- 1 tablespoon red food coloring: Gives that signature bright red color that makes these cookies irresistible.
- ½ cup white chocolate chips: Add creamy bursts of sweetness in every bite.
- 12 teaspoons Nutella (frozen in dollops): The star filling, frozen to keep the gooey center intact while baking.
How to Make Red Velvet Nutella Stuffed Cookies Recipe
Step 1: Prepare the Nutella Centers
Start by spooning out 12 teaspoons of Nutella onto a parchment-lined baking sheet and freeze them until solid, about 30 minutes. This step is crucial for keeping your cookies perfectly stuffed without the Nutella melting and leaking during baking.
Step 2: Mix the Dry Ingredients
In a medium bowl, whisk together the flour, cocoa powder, baking soda, and salt. This well-combined dry mix ensures even flavor and a perfect rise throughout the cookies.
Step 3: Cream Butter and Sugars
Using a large bowl, beat the softened butter with both the brown and granulated sugars until the mixture is light and fluffy. This creates a smooth base for your dough and helps with a tender texture.
Step 4: Add the Wet Ingredients
Mix in the egg, milk, vanilla extract, and red food coloring into your creamed butter and sugars, stirring until well combined. This stage brings that unmistakable red velvet charm to life both in color and flavor.
Step 5: Combine Wet and Dry Mixtures
Gradually add the dry ingredients to the wet mixture, stirring until a soft dough forms. Then gently fold in the white chocolate chips, ensuring every cookie will have lovely pockets of creamy sweetness.
Step 6: Shape and Stuff the Cookies
Scoop about 2 tablespoons of dough and flatten it slightly in your palm. Nestle a frozen Nutella dollop in the center, then wrap the dough completely around it, sealing any gaps so the filling doesn’t escape while baking. Place each stuffed ball onto a parchment-lined baking sheet, repeating with the remaining dough.
Step 7: Chill the Dough Balls
Refrigerate the cookie dough balls for 20–30 minutes. This chilling helps the cookies maintain their shape and prevents the Nutella center from leaking out during baking.
Step 8: Bake to Perfection
Preheat your oven to 350°F (175°C). Bake the cookies for 10–12 minutes, until the edges are set but the centers remain soft and tender. Let them cool on the baking sheet for 5 minutes before transferring to a wire rack, so the cookies firm up without losing their chewy integrity.
How to Serve Red Velvet Nutella Stuffed Cookies Recipe
Garnishes
Sprinkle a little powdered sugar on top or drizzle with melted white chocolate for a pretty finish. A few fresh raspberries or edible gold dust can add a festive flair and make these cookies a stunning centerpiece for any occasion.
Side Dishes
These cookies pair beautifully with a tall glass of cold milk or a rich cup of coffee for afternoon indulgence. For a decadent dessert spread, serve alongside vanilla ice cream or whipped cream to balance the richness with some creamy freshness.
Creative Ways to Present
Try stacking the cookies with layers of cream cheese frosting for a red velvet cookie sandwich, or wrap them individually in parchment paper with a ribbon for gifting. They also make delightful party favors displayed in decorative tins or glass jars to brighten up any dessert table.
Make Ahead and Storage
Storing Leftovers
Keep any leftover cookies fresh by storing them in an airtight container at room temperature. They’ll stay deliciously soft and chewy for up to four days—perfect for savoring a little sweetness throughout the week.
Freezing
You can freeze the baked cookies for longer storage. Just place them in a freezer-safe container or ziplock bag, separating layers with parchment paper. When you’re ready to enjoy, thaw overnight at room temperature for the best texture.
Reheating
To bring back that fresh-baked warmth, pop your cookie in the microwave for 10 to 15 seconds or warm it in a low oven for a few minutes. This little trick revives the gooey Nutella center and softens the cookie just right.
FAQs
Can I use different filling instead of Nutella?
Absolutely! You can try peanut butter, caramel, or even a cream cheese filling. Just be sure to freeze dollops of any filling you choose so they hold their shape during baking.
Is it necessary to chill the dough before baking?
Yes, chilling helps the dough firm up and prevents the Nutella from melting and oozing out. It also helps the cookies bake evenly and develop their signature chewy texture.
Can I make these cookies gluten-free?
Yes, by substituting the all-purpose flour for a gluten-free flour blend, you can enjoy these cookies gluten-free. Just make sure your blend has similar baking properties for best results.
What if I don’t have red food coloring?
While the red color is iconic, you can leave it out or try natural alternatives like beet juice powder. Keep in mind it might slightly affect the flavor and color but won’t compromise the taste.
How do I prevent the Nutella from leaking?
Freezing the Nutella dollops before stuffing and chilling the dough balls before baking are key steps to keep the filling inside the cookies during baking and prevent any mess.
Final Thoughts
Give this Red Velvet Nutella Stuffed Cookies Recipe a try for your next baking adventure and prepare to be amazed by how effortlessly it turns ordinary ingredients into an extraordinary treat. With every bite, you’ll enjoy a perfect balance of soft, vibrant red velvet cookie and luscious, melty Nutella that feels like a secret waiting to be discovered. Happy baking!
Print
Red Velvet Nutella Stuffed Cookies Recipe
- Prep Time: 30 minutes
- Cook Time: 12 minutes
- Total Time: 1 hour 15 minutes
- Yield: 12 cookies
- Category: Dessert
- Method: Baking
- Cuisine: American
- Diet: Vegetarian
Description
Delight in these festive Red Velvet Nutella Stuffed Cookies, featuring a soft red velvet dough filled with creamy frozen Nutella and studded with white chocolate chips. Perfectly baked to achieve a tender edge with a gooey center, these cookies promise a rich, indulgent treat ideal for the holidays or any special occasion.
Ingredients
Dry Ingredients
- 1 ¾ cups all-purpose flour
- ¼ cup unsweetened cocoa powder
- 1 teaspoon baking soda
- ¼ teaspoon salt
Wet Ingredients
- ½ cup unsalted butter, softened
- ¾ cup brown sugar
- ¼ cup granulated sugar
- 1 large egg
- 1 tablespoon milk
- 2 teaspoons vanilla extract
- 1 tablespoon red food coloring
Add-ins
- ½ cup white chocolate chips
- 12 teaspoons Nutella, frozen in dollops
Instructions
- Freeze Nutella: Line a baking sheet with parchment paper and place 12 individual teaspoons of Nutella onto it. Freeze until solid, about 30 minutes, to prevent leaking during baking.
- Mix Dry Ingredients: In a medium bowl, whisk together the all-purpose flour, unsweetened cocoa powder, baking soda, and salt to ensure even distribution.
- Cream Butter and Sugars: In a large bowl, beat the softened butter with brown sugar and granulated sugar until the mixture is light and fluffy, creating a smooth base for the dough.
- Add Wet Ingredients: Incorporate the egg, milk, vanilla extract, and red food coloring into the creamed mixture, mixing until fully combined and the dough takes on a vibrant red hue.
- Combine Dry and Wet: Gradually add the dry ingredients to the wet mixture, stirring continuously until a soft dough forms that is neither too sticky nor too dry.
- Fold in White Chocolate Chips: Gently fold in the white chocolate chips to evenly distribute sweet bursts throughout the dough.
- Shape Cookies with Nutella Centers: Scoop 2 tablespoons of dough and flatten each portion slightly in your hand. Place one frozen Nutella dollop in the center and wrap the dough completely around it, sealing well to encase the filling.
- Chill Dough Balls: Arrange the filled dough balls on the prepared baking sheet and chill in the refrigerator for 20–30 minutes to help them hold their shape during baking.
- Preheat Oven: Preheat your oven to 350°F (175°C) while the dough chills.
- Bake Cookies: Bake the cookies for 10–12 minutes, or until the edges are set and the centers remain soft and slightly underbaked for a gooey texture.
- Cool Cookies: Allow the cookies to cool on the baking sheet for 5 minutes before transferring them to a wire rack to cool completely, ensuring they maintain their structure.
Notes
- Freezing the Nutella before wrapping it in dough is essential to prevent the filling from oozing out during baking.
- Chilling the cookie dough balls helps maintain their shape and results in a better texture.
- Store cookies in an airtight container at room temperature for up to 4 days, or freeze them for extended storage.
- Use good-quality red food coloring for the best vibrant color.
- For a chocolateier taste, you can add a bit more cocoa powder but adjust flour accordingly.
