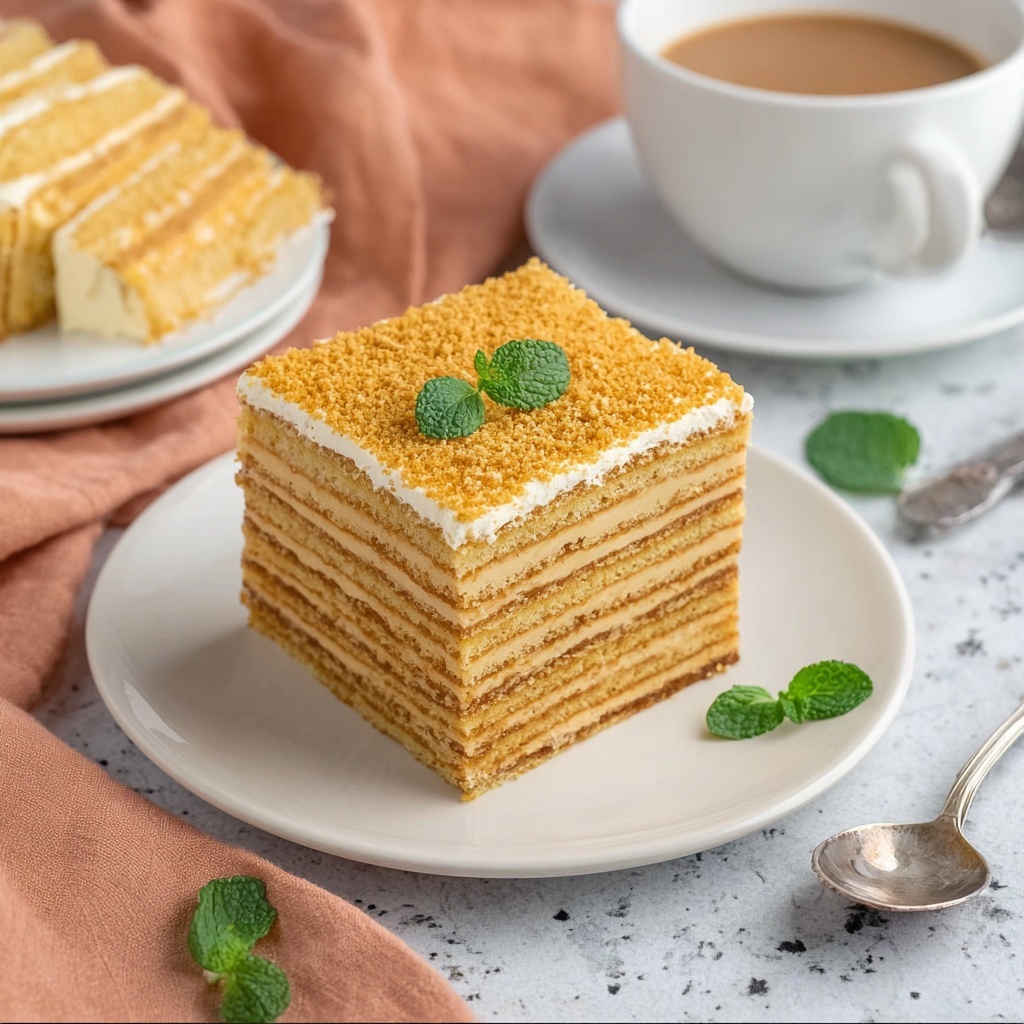
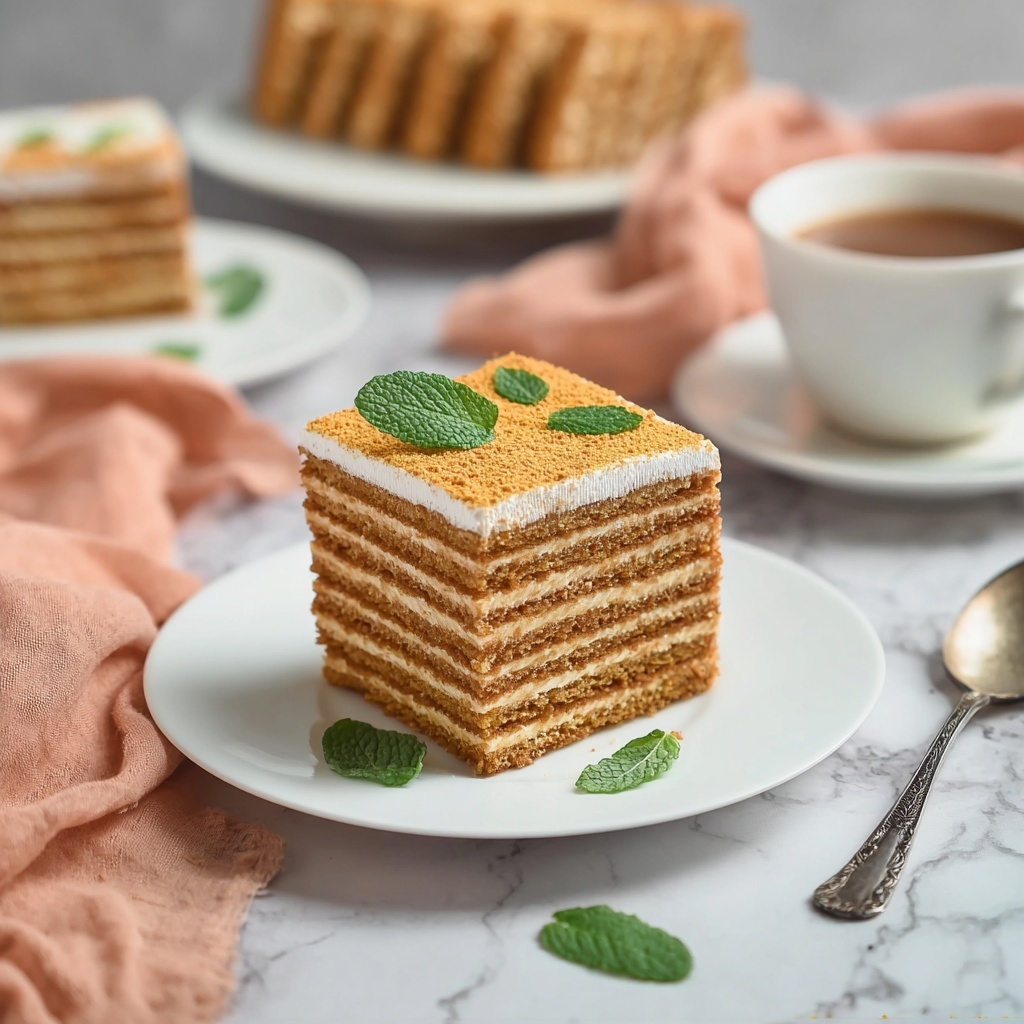
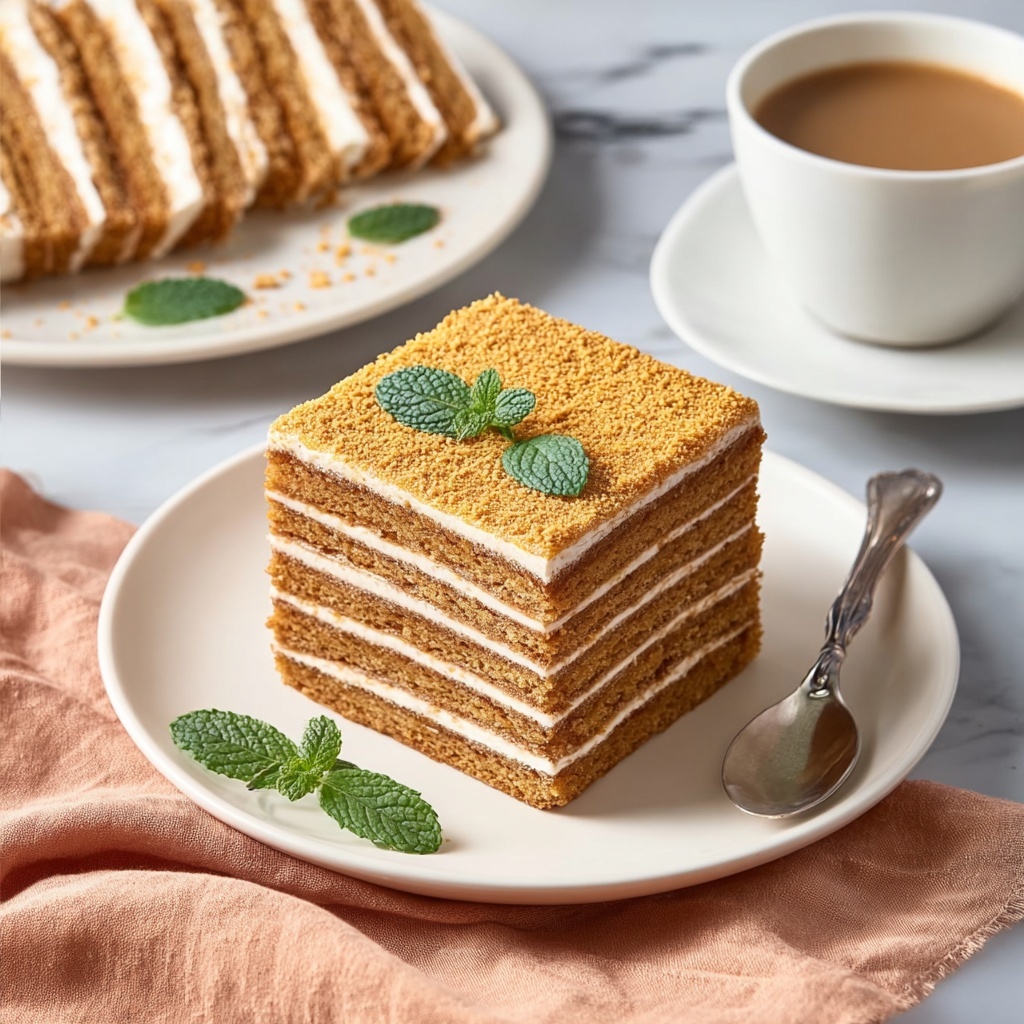
If you have a soft spot for desserts that feel like a warm hug, then let me introduce you to the irresistible Honey Layer Cake: Medena Pita with Creamy Filling Recipe. This traditional honey cake is a gorgeous layering of tender, golden-honey-kissed cakes sandwiched with a luxuriously smooth and creamy filling. Every bite offers an enchanting balance of sweet honey aroma and velvety cream, making it a perfect centerpiece for celebrations or cozy afternoons with friends and family. Once you try this recipe, it quickly becomes one of those treasured favorites you want to make again and again.
Ingredients You’ll Need
To craft this Honey Layer Cake, you only need simple pantry staples that work together beautifully to build its signature flavors and textures. Each ingredient plays a pivotal role: from the rich butter that adds depth, to honey for natural sweetness and aroma, and the creamy filling components that bring everything together with silky smoothness.
- 100 g butter: Provides richness and moisture to the cake layers, making them tender and soft.
- 150 g sugar: Adds sweetness and helps caramelize the layers beautifully.
- 2 eggs: Bind the ingredients and create structure in the cake.
- 4 tbsp honey: The star ingredient that infuses a warm, fragrant flavor into the batter.
- 1 tsp baking soda: Helps make the cake light and airy.
- 450 g all-purpose flour: The foundation of the cake, providing the perfect crumb.
- 1 l milk: Used in the creamy filling, lending smoothness and richness.
- 200 g sugar: Sweetens the custard-like filling to creamy indulgence.
- 100 g flour: Thickens the filling so it is perfectly luscious yet stable.
- 200 g butter, softened: Whipped into the filling, giving it a silky, spreadable texture.
- 2 tsp vanilla extract: Brightens the filling with fragrant warmth and depth.
How to Make Honey Layer Cake: Medena Pita with Creamy Filling Recipe
Step 1: Melt Butter with Sugar and Honey
Begin by gently melting the butter together with sugar and honey over low heat. Stir until everything is perfectly smooth and blended. Remove the pan from the heat and allow this golden mixture to cool just a bit. Then, whisk in the eggs along with baking soda. This step infuses your cake batter with that lovely honey flavor and ensures your layers will bake up tender and fragrant.
Step 2: Prepare the Cake Layers
Next, gradually add the flour to the wet ingredients and knead everything into a soft, pliable dough. Once ready, divide the dough into 4 to 5 equal portions. Roll each portion into a thin rectangular sheet. Bake each layer individually at 180°C for about 6 to 7 minutes, or until they turn a delicate golden shade. This ensures the layers remain tender but sturdy enough to hold the creamy filling.
Step 3: Make the Creamy Custard Filling
While the cake layers are baking, turn your attention to the filling. In a saucepan, whisk together flour and sugar with a small amount of cold milk first, creating a smooth paste free of lumps. Then gradually pour in the remaining milk. Cook this mixture over medium heat, stirring constantly until it thickens into a luscious custard. Once done, remove it from the heat and let it cool completely to prepare for the next step.
Step 4: Whip the Butter and Combine with Custard
Using softened butter, whip it along with vanilla extract until it becomes creamy and light. Slowly add the cooled custard to the butter, mixing continuously to create a beautifully smooth and fluffy cream. This rich filling will perfectly complement the honeyed layers, adding both moisture and sweetness to the cake.
Step 5: Assemble the Cake
Now comes the fun part. Spread a generous layer of the creamy filling between each honey cake layer. Stack them carefully and gently press to even out the cake. This layering process allows each bite to deliver the exciting interplay between sweet cake and luscious cream you’re craving.
Step 6: Chill Overnight for Perfect Flavor
For the best results, refrigerate your assembled Honey Layer Cake: Medena Pita with Creamy Filling Recipe overnight. This resting period helps meld flavors and soften textures so each slice is melt-in-your-mouth perfection. Just before serving, dust the top with some powdered sugar or a light sprinkle of cocoa powder for a simple yet elegant finish.
How to Serve Honey Layer Cake: Medena Pita with Creamy Filling Recipe
Garnishes
Adding a decorative touch such as a dusting of powdered sugar or a light cocoa powder sprinkle brings an inviting look to your Honey Layer Cake. You can also scatter chopped nuts like walnuts or almonds for an added crunch and a beautiful contrast in texture.
Side Dishes
This cake pairs wonderfully with a cup of strong coffee or fragrant black tea, making it an ideal afternoon treat. Fresh berries or a spoonful of whipped cream on the side can elevate the dessert experience even more if you want extra freshness and a pop of color.
Creative Ways to Present
Try cutting your Medena Pita into clever shapes like small squares or triangles to create a dessert platter. Layer portions on pretty dessert plates with a drizzle of honey or a dollop of cream alongside. This not only looks stunning but also lets everyone enjoy the delicious layers in bite-sized form.
Make Ahead and Storage
Storing Leftovers
Leftover Honey Layer Cake should be stored in an airtight container in the refrigerator to keep the creamy filling fresh and the cake layers moist. It will stay delicious for up to 3 days, making it perfect to enjoy over a couple of days after initial serving.
Freezing
While technically possible, freezing this cake is not ideal because the creamy filling may change texture upon thawing. If you must freeze, wrap the cake tightly in plastic wrap and then in foil, but expect slight differences in cream consistency after defrosting in the fridge overnight.
Reheating
This cake is best served chilled or at room temperature to maintain its delicate layers and creamy filling. Avoid reheating as the cream can separate, but if you prefer, let it sit out for 20–30 minutes before slicing to soften slightly for serving.
FAQs
Can I substitute honey with another sweetener?
Honey is essential for the authentic flavor and aroma of Medena Pita, but if necessary, you could try maple syrup or agave nectar. Keep in mind that the taste and texture might differ slightly, as honey brings a distinctive warmth.
How thin should I roll the dough layers?
Rolling the dough into thin rectangles, about 2–3 millimeters thick, is perfect. Thin layers bake evenly and develop that tender, delicate crumb while being sturdy enough to hold the filling.
What if my custard filling is too runny?
If your custard seems too thin, gently cook it a bit longer while stirring, or add a small extra pinch of flour mixed in cold milk. Make sure to cool it thoroughly before combining with butter to thicken properly.
Can I use store-bought cake layers?
While you could, the signature flavor of this Honey Layer Cake comes from the homemade honey-infused layers. Pre-made layers may lack that warm honey aroma and might not layer as seamlessly with the creamy filling.
Is this cake suitable for special occasions?
Absolutely! Its stunning layers and sumptuous cream make it a show-stopping dessert perfect for birthdays, holidays, or any festive gathering where you want to impress loved ones.
Final Thoughts
There is something truly magical about the Honey Layer Cake: Medena Pita with Creamy Filling Recipe that invites you to slow down and savor each bite. Whether you’re new to honey cakes or a longtime fan, this recipe is both approachable and rewarding, guaranteed to fill your kitchen with warmth and your table with happiness. Give it a try—and prepare for affection-filled compliments from everyone lucky enough to taste your creation.
Print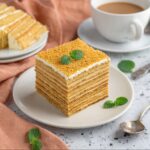
Honey Layer Cake: Medena Pita with Creamy Filling Recipe
- Prep Time: 40 minutes
- Cook Time: 20 minutes
- Total Time: 1 hour (plus overnight chilling)
- Yield: 12 servings
- Category: Dessert
- Method: Baking
- Cuisine: Eastern European
Description
Honey Layer Cake, also known as Medena Pita, is a traditional cake featuring thin, tender honey-infused layers baked to golden perfection. These layers are generously filled and assembled with a rich, creamy vanilla custard buttercream, then chilled overnight to develop deep flavors and a luscious texture. Perfect for special occasions or a delightful dessert treat.
Ingredients
Cake Layers
- 100 g butter
- 150 g sugar
- 2 eggs
- 4 tbsp honey
- 1 tsp baking soda
- 450 g all-purpose flour
Cream Filling
- 1 l milk
- 200 g sugar
- 100 g flour
- 200 g butter, softened
- 2 tsp vanilla extract
Instructions
- Prepare Honey Butter Mixture: In a saucepan over low heat, melt butter with sugar and honey, stirring continuously until the mixture is smooth and well combined. Remove from heat and allow it to cool slightly before whisking in the eggs and baking soda to activate the leavening.
- Make and Bake Layers: Gradually add the all-purpose flour to the wet mixture and knead to form a soft dough. Divide the dough into 4 to 5 equal parts. Roll each portion into a thin rectangular shape and bake each layer in a preheated oven at 180°C (356°F) for 6 to 7 minutes or until golden brown.
- Cook Custard Filling: In a separate saucepan, whisk together flour and sugar with a small amount of cold milk to create a smooth paste. Slowly add the remaining milk, then cook over medium heat while stirring constantly until the custard thickens. Remove from heat and let it cool completely.
- Prepare Cream Filling: Whip the softened butter with vanilla extract until fluffy. Gradually add the cooled custard into the butter, mixing continuously until the filling becomes smooth and creamy.
- Assemble Cake: Spread the creamy filling evenly between each baked honey layer. Stack the layers carefully and gently press down to even out the cake.
- Chill for Best Flavor: Refrigerate the assembled cake overnight to allow the flavors to meld and the texture to set. Before serving, dust the cake with powdered sugar or cocoa powder as desired.
Notes
- Ensure the custard filling is completely cooled before mixing with butter to prevent melting the butter.
- Roll layers thinly and evenly for best results and uniform baking.
- The cake tastes even better the next day due to flavor development during chilling.
- Use fresh honey for a richer flavor profile.
- Dust with powdered sugar or cocoa powder just before serving for elegance.
