
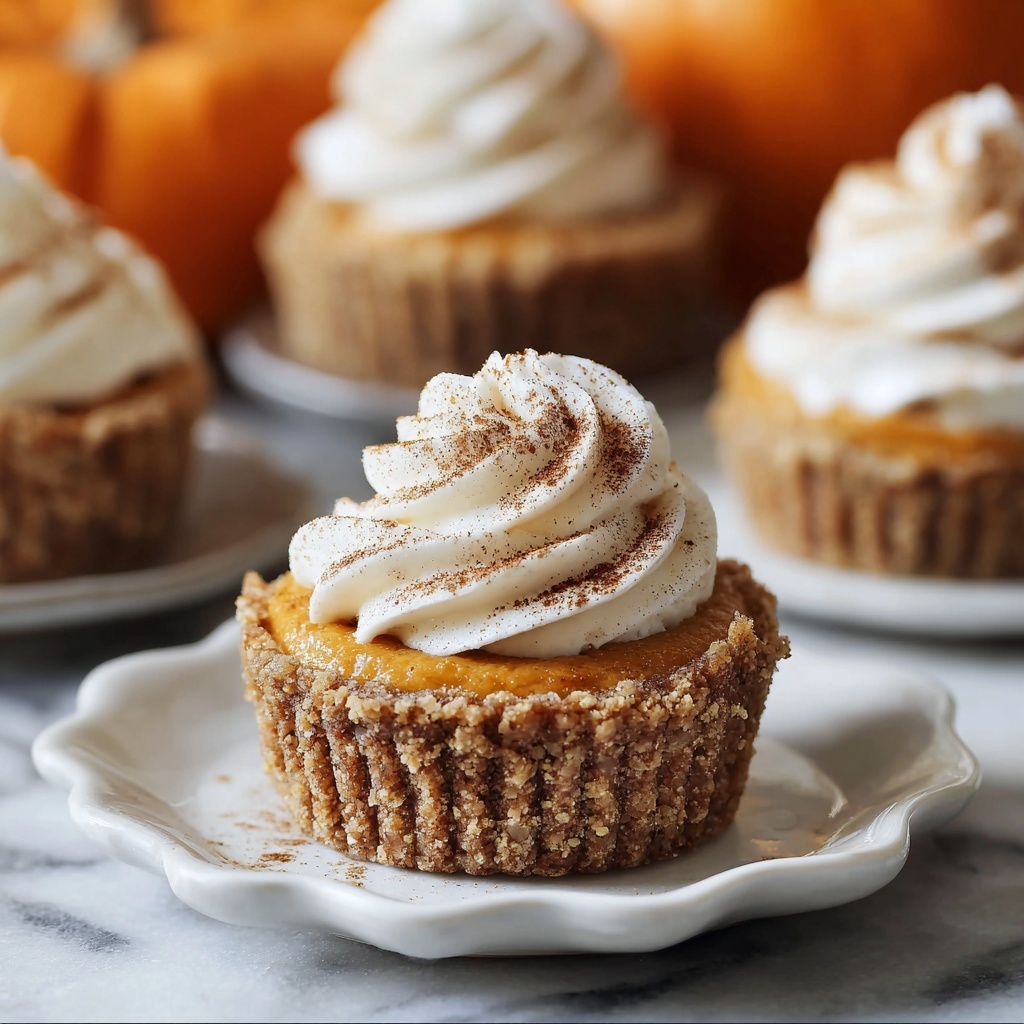
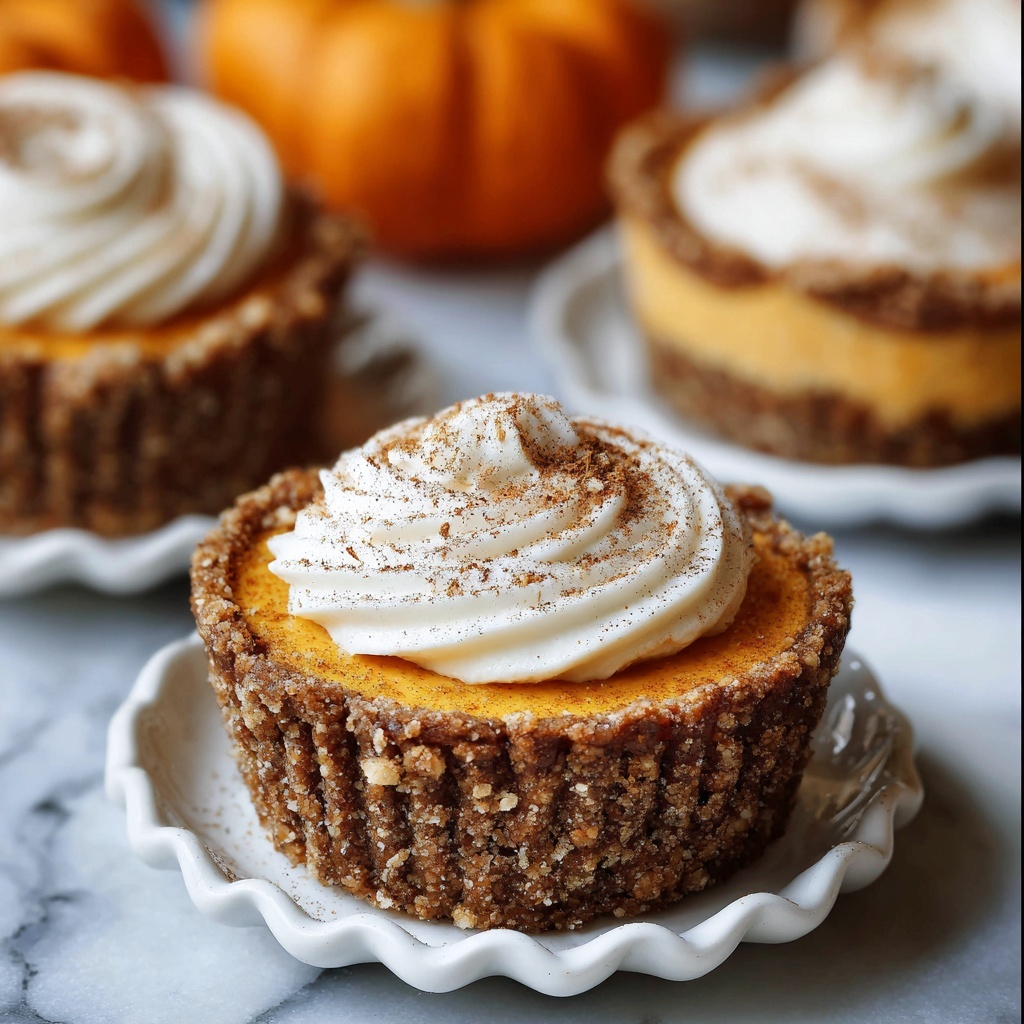
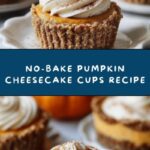
If you’re dreaming of a dessert that perfectly captures that cozy autumn vibe without turning on the oven, then this No-Bake Pumpkin Cheesecake Cups Recipe is your new go-to treat. These little cups are a divine blend of creamy pumpkin filling nestled on a crunchy graham cracker crust, all topped with a fluffy cloud of whipped cream. Easy to whip up and absolutely luscious, they’re ideal for impressing guests or indulging in a seasonal snack that feels fancy but requires very little fuss.
Ingredients You’ll Need
Each ingredient in this No-Bake Pumpkin Cheesecake Cups Recipe plays a vital role — from the buttery crust to the spiced pumpkin filling — making the final flavor rich, balanced, and irresistibly smooth. Here’s what you’ll need to get started:
- 1 cup graham cracker crumbs: Provides a sweet and crunchy base that holds everything together perfectly.
- 3 tablespoons unsalted butter, melted: Binds the crumbs while adding a rich, buttery depth.
- 1 tablespoon granulated sugar: Adds a touch of sweetness to the crust for contrast with the tangy filling.
- 8 ounces cream cheese, softened: The creamy backbone of the cheesecake filling that offers smoothness and tang.
- 1/2 cup canned pumpkin puree: The star ingredient bringing that unmistakable pumpkin flavor and beautiful color.
- 1/3 cup granulated sugar: Sweetens the pumpkin mixture just right without overpowering the spices.
- 1 teaspoon pure vanilla extract: Enhances all the flavors with a warm, inviting aroma.
- 1 teaspoon pumpkin pie spice: Infuses the filling with classic fall warmth and spice notes.
- 1/2 teaspoon ground cinnamon: Adds an extra layer of cozy spice that pairs beautifully with pumpkin.
- 1 cup whipped cream or whipped topping: Lightens the filling to make it fluffy and airy.
- Extra whipped cream: For that perfect finishing touch that makes every bite feel indulgent.
- Crushed graham crackers or a sprinkle of cinnamon: Adds a little textural contrast and visual appeal on top.
How to Make No-Bake Pumpkin Cheesecake Cups Recipe
Step 1: Prepare the Crust
Start by mixing graham cracker crumbs, melted butter, and a tablespoon of sugar in a bowl until the mixture comes together and holds when pressed. This simple base is warm and buttery, offering the perfect foundation for your pumpkin cheesecake cups.
Step 2: Form the Crust in Cups
Divide the crust mixture evenly into individual serving cups or jars. Press about two tablespoons of the mixture firmly into the bottom of each cup. This step is crucial to create a sturdy, crunchy layer that will contrast beautifully with the creamy filling.
Step 3: Make the Pumpkin Cheesecake Filling
In a clean mixing bowl, beat the softened cream cheese until it’s silky smooth. Add the pumpkin puree, sugar, vanilla extract, pumpkin pie spice, and cinnamon. Beat again until everything is fully combined and creamy. The mixture should be buttery, spiced, and rich — just like pumpkin pie but without the crust.
Step 4: Fold in the Whipped Cream
Gently fold the whipped cream into the pumpkin cream cheese mixture. This step is the magic that lightens the density of the filling, giving your cheesecake cups a fluffy, mousse-like texture that’s utterly delightful.
Step 5: Assemble the Cups
Evenly spoon the pumpkin cheesecake filling over the prepared crusts in each cup. Smooth the tops with the back of a spoon or a spatula to create a neat finish. Now your cups are looking as good as they’ll taste!
Step 6: Add the Toppings
Top each cup with a generous swirl of whipped cream. Finish with a sprinkle of crushed graham crackers or a dusting of cinnamon for that extra touch of flavor and an inviting look.
Step 7: Chill and Serve
Pop your cups into the refrigerator and let them chill for at least two hours. This step helps everything set just right so when you serve them, each bite is perfectly firm yet creamy.
How to Serve No-Bake Pumpkin Cheesecake Cups Recipe
Garnishes
Besides the whipped cream and graham cracker crumbs, you can get creative with garnishes like chopped pecans for crunch, a drizzle of caramel sauce, or even a dusting of nutmeg to elevate the autumnal flavors. These garnishes add a personal touch and enhance every spoonful.
Side Dishes
Pair these cups with a hot cup of spiced chai tea or freshly brewed coffee to complement the pumpkin spices and creamy texture. A simple fruit salad with cinnamon-dusted apples also works beautifully to keep the fall theme going.
Creative Ways to Present
For a party or casual gathering, serve these cheesecake cups in small mason jars or clear glassware so the layers show off their inviting colors. You can also use decorative spoons or tie a rustic ribbon around the jar for an extra charming presentation that guests will adore.
Make Ahead and Storage
Storing Leftovers
Keep any leftover No-Bake Pumpkin Cheesecake Cups Recipe in the refrigerator, covered tightly with plastic wrap or lids if using jars. They stay fresh for up to three days, making them a convenient make-ahead dessert to enjoy over several meals.
Freezing
If you want to save them for longer, you can freeze these cheesecake cups. Cover them well and place in an airtight container to prevent freezer burn. When you’re ready to enjoy, thaw them overnight in the fridge for best texture.
Reheating
Because these are no-bake and served cold, reheating isn’t recommended. Instead, serve them chilled for the creamiest and most satisfying experience. If thawed from frozen, simply allow them to come to refrigerator temperature before digging in.
FAQs
Can I use a different type of crust for the cheesecake cups?
Absolutely! While graham cracker crumbs are classic and delicious, you can also use crushed ginger snaps, digestive biscuits, or even gluten-free cookie crumbs depending on your preference and dietary needs.
Is it possible to make this recipe dairy-free?
Yes, you can substitute the cream cheese and whipped cream with dairy-free alternatives, such as vegan cream cheese and coconut whipped cream. Just ensure the texture is similar for the best results in your No-Bake Pumpkin Cheesecake Cups Recipe.
How long do these cheesecake cups need to chill?
For the ideal texture and firmness, chilling for at least two hours is recommended, but you can leave them overnight if you want to prepare in advance.
Can I add nuts or chocolate to the filling?
Definitely! Chopped toasted pecans or a swirl of melted dark chocolate folded into the filling can add delightful texture and flavor complexity to your pumpkin cheesecake cups.
What’s the best way to serve these for a crowd?
Serving in individual cups or mini mason jars is perfect for a crowd. It keeps portions manageable and makes it easy for everyone to grab their own. You can also pre-chill the cups and add fresh whipped cream right before serving for the freshest presentation.
Final Thoughts
This No-Bake Pumpkin Cheesecake Cups Recipe is simply one of those desserts that feels like a warm hug on a chilly day. Easy to make, beautiful to serve, and truly delicious, it’s perfect for any pumpkin lover looking to savor seasonality without fuss. I can’t wait for you to try it and make it a staple in your fall dessert rotation!
Print
No-Bake Pumpkin Cheesecake Cups Recipe
- Prep Time: 20 minutes
- Cook Time: 0 minutes
- Total Time: 2 hours 20 minutes
- Yield: 6 servings
- Category: Dessert
- Method: No-Cook
- Cuisine: American
Description
These No-Bake Pumpkin Cheesecake Cups offer a creamy, spiced pumpkin filling layered over a buttery graham cracker crust. Perfect for fall or any time you crave a fuss-free dessert, they’re quick to assemble and require no baking, making them ideal for easy entertaining.
Ingredients
Crust
- 1 cup graham cracker crumbs (gluten-free if needed)
- 3 tablespoons unsalted butter, melted
- 1 tablespoon granulated sugar
Filling
- 8 ounces cream cheese, softened
- 1/2 cup canned pumpkin puree
- 1/3 cup granulated sugar
- 1 teaspoon pure vanilla extract
- 1 teaspoon pumpkin pie spice
- 1/2 teaspoon ground cinnamon
- 1 cup whipped cream or whipped topping
Toppings
- Extra whipped cream
- Crushed graham crackers or a sprinkle of cinnamon
Instructions
- Prepare the Crust: In a bowl, combine the graham cracker crumbs, melted butter, and sugar until the mixture is evenly moistened.
- Form the Crust in Cups: Spoon about 2 tablespoons of the crust mixture into individual serving cups or jars, then press lightly to form a firm, even layer at the bottom.
- Make the Cheesecake Filling: In a mixing bowl, beat the softened cream cheese until smooth and creamy.
- Add Pumpkin and Spices: Mix in the pumpkin puree, granulated sugar, pure vanilla extract, pumpkin pie spice, and ground cinnamon. Beat the mixture until well combined and creamy.
- Fold in Whipped Cream: Gently fold the whipped cream or whipped topping into the pumpkin mixture until the filling is light and fluffy.
- Assemble the Cups: Evenly spoon the pumpkin cheesecake filling over the prepared graham cracker crusts in the cups, smoothing the tops with a spatula.
- Add Toppings: Top each cup with a dollop of extra whipped cream and sprinkle with crushed graham crackers or a dusting of cinnamon for garnish.
- Chill and Serve: Refrigerate the assembled cups for at least 2 hours to allow the filling to set before serving.
Notes
- For gluten-free options, use gluten-free graham cracker crumbs.
- Ensure the cream cheese is softened to room temperature for easier mixing and a smoother filling.
- Adjust the amount of pumpkin pie spice according to your taste preference.
- These cups can be prepared a day ahead and stored covered in the refrigerator.
- For a lighter version, use reduced-fat cream cheese and whipped topping.