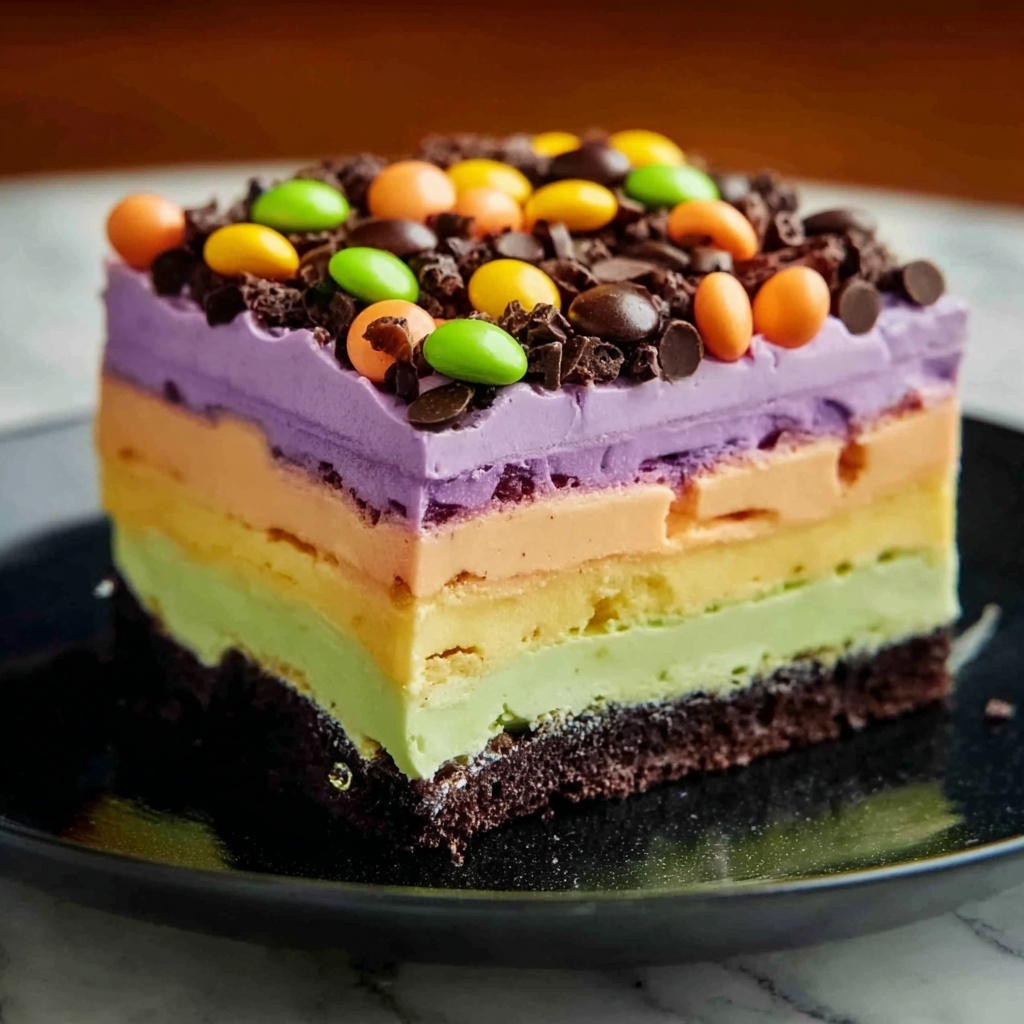
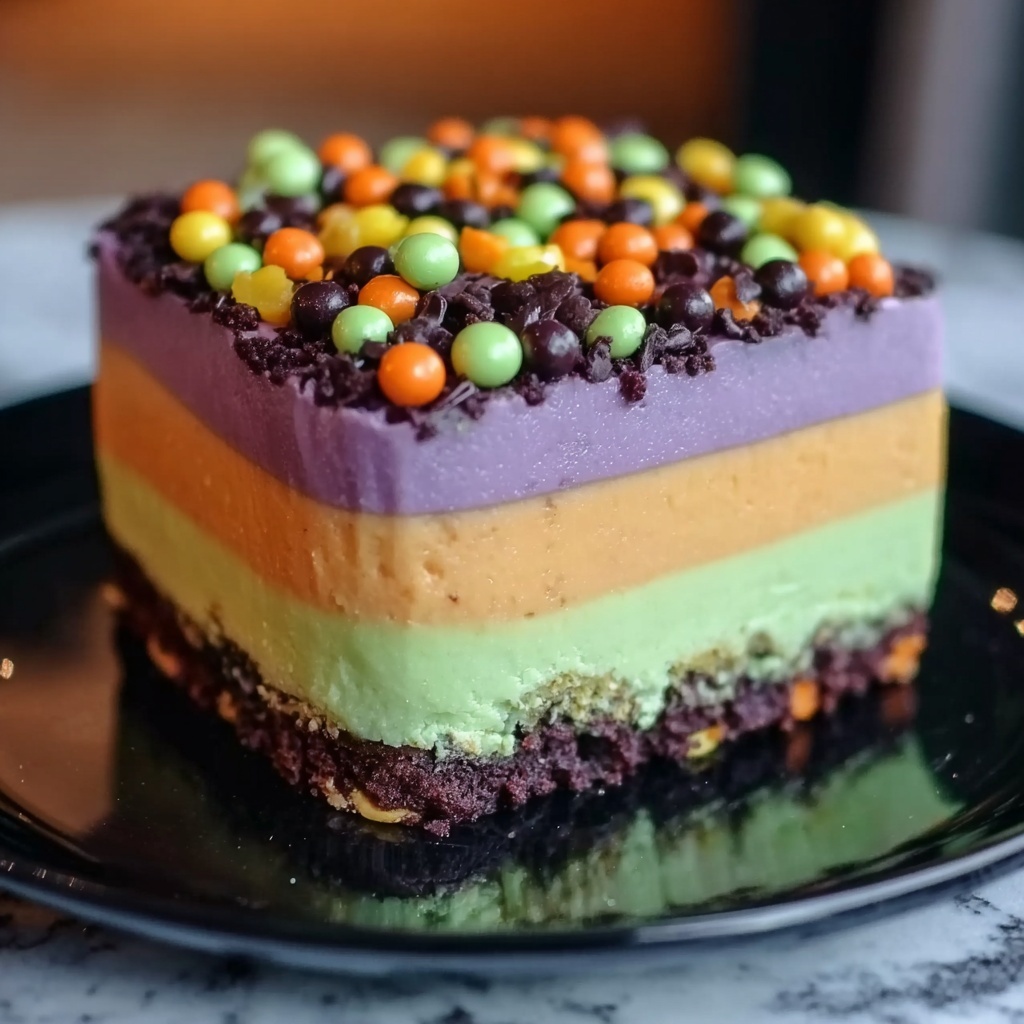
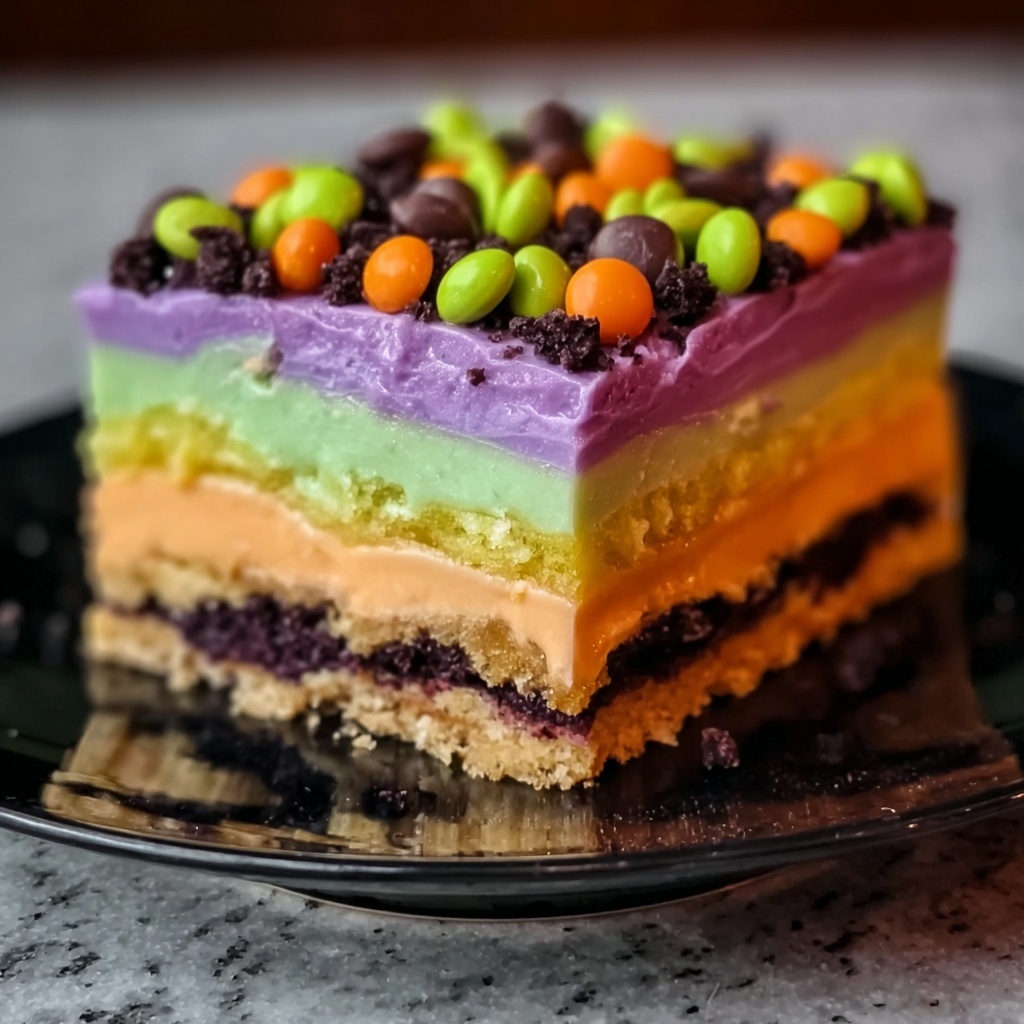
If you’re looking to add a vibrant, festive, and delectably creamy treat to your Halloween celebrations, this Halloween Lush Dessert Recipe is exactly what you need. It’s a colorful, layered delight that combines a crunchy Oreo crust with luscious cream cheese, a bright orange pudding middle, and a fluffy green topping adorned with playful sprinkles. Every bite brings a perfect balance of textures and flavors that’s sure to wow your friends and family. Plus, it looks amazing on any spooky table spread!
Ingredients You’ll Need
This recipe calls for simple, easily found ingredients that together create a stunning dessert. Each component plays a crucial role, from the Oreo crust providing a chocolatey crunch to the creamy layers offering indulgence and vibrant color to celebrate Halloween in style.
- 36 Oreo cookies: These form the chocolatey, crumbly base that holds the layers together with a perfect crunch.
- 1/2 cup unsalted butter, melted: Butter binds the cookie crumbs into a sturdy crust for a solid foundation.
- 8 oz cream cheese, softened: Adds richness and a velvety texture to the purple-tinted cream cheese layer.
- 1 cup powdered sugar: Sweetens the cream cheese while keeping the layer smooth and luscious.
- 1 cup whipped topping (Cool Whip): Light and airy, it keeps the cream cheese mixture fluffy and inviting.
- Purple food coloring: Brings an eye-catching, spooky hue to the cream cheese topping.
- 1 package (3.4 oz) instant vanilla pudding mix: Creates the quick, creamy orange pudding layer in the middle.
- 2 cups cold milk: Essential for whisking with the pudding mix to get that perfect, thick consistency.
- Orange food coloring: Infuses that bright, Halloween-inspired orange tone to the pudding.
- 2 cups whipped topping (Cool Whip): Makes up the fluffy green topping layer for a lovely final touch.
- Green food coloring: Colors the top whipped layer to add an eerie green pop.
- Halloween-themed sprinkles: These fun decorations give the dessert a festive finish perfect for the season.
How to Make Halloween Lush Dessert Recipe
Step 1: Prepare the Crust
Start by crushing the Oreo cookies into fine crumbs using a food processor – this ensures a smooth and even crust. Next, mix the crumbs with melted unsalted butter to help bind everything together. Press this chocolatey mixture firmly into the bottom of a 9×13-inch baking dish, creating an irresistible foundation that sets the stage for the next layers.
Step 2: Make the Cream Cheese Layer
Beat the softened cream cheese until it’s perfectly smooth and creamy. Add in the powdered sugar and mix thoroughly to sweeten and create a silky texture. Gently fold in 1 cup of whipped topping and a few drops of purple food coloring, which gives this layer its signature spooky color. Spread this beautifully colored mixture evenly over the Oreo crust for a stunning contrast.
Step 3: Prepare the Pudding Layer
Whisk the instant vanilla pudding mix with cold milk until it thickens into a creamy dream. Stir in a few drops of orange food coloring until the layer turns a vibrant orange, reminiscent of Halloween pumpkins. Carefully spread this luscious pudding mixture over the cream cheese layer, adding a smooth, bright middle layer that ties the dessert’s colors together beautifully.
Step 4: Make the Whipped Topping Layer
Combine 2 cups of whipped topping with green food coloring, mixing until the color is even and gives off a lively green tone. Spread this fluffy topping layer evenly over the pudding. This green layer adds a lovely lightness and completes the eye-catching palette, bringing the Halloween Lush Dessert Recipe to life.
Step 5: Add the Garnish and Chill
Sprinkle your Halloween-themed sprinkles all over the green topping to add a festive and playful touch. Finally, refrigerate the dessert for at least 4 hours or until set, allowing all the layers to meld together. Once chilled, cut into squares and get ready to enjoy a colorful and creamy treat that’s perfect for any Halloween party.
How to Serve Halloween Lush Dessert Recipe
Garnishes
Beyond the Halloween-themed sprinkles, consider adding edible candy eyes or small black licorice pieces for an extra eerie and fun vibe. Fresh berries or a drizzle of chocolate syrup can also add contrasting flavors and visual appeal without taking away from the dessert’s vibrant layers.
Side Dishes
This lush dessert pairs wonderfully with light, refreshing sides like citrus fruit salad or a simple green apple slaw. These sides help balance out the richness of the creamy layers, keeping the overall meal feeling festive but not too heavy.
Creative Ways to Present
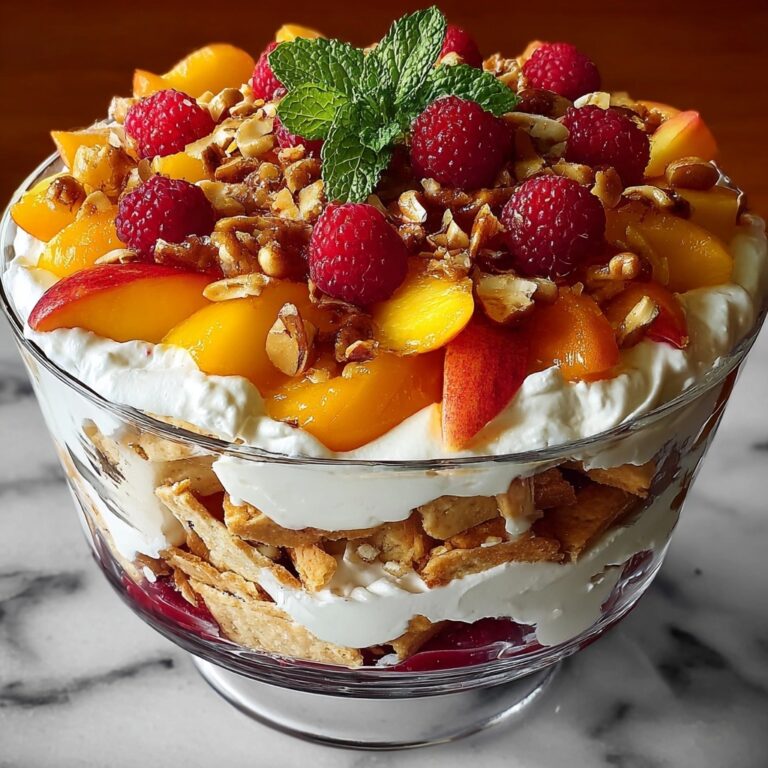
Serve the Halloween Lush Dessert Recipe in clear glass trifle bowls so everyone can see the distinct layers in all their colorful glory. Alternatively, individual mason jars topped with sprinkles make for a cute and convenient way to present this dessert at parties or as take-home treats.
Make Ahead and Storage
Storing Leftovers
Store any leftover Halloween Lush Dessert in an airtight container in the refrigerator. The flavors and textures stay fresh and delicious for up to three days, making it a perfect make-ahead treat for busy holiday schedules.
Freezing
If you want to enjoy this dessert later, freezing is an option, but be mindful that the texture of the whipped toppers may change slightly once thawed. Freeze in an airtight container for up to one month and thaw overnight in the fridge to maintain the best results.
Reheating
This dessert is best enjoyed chilled, so reheating is not recommended. Let it come to just the perfect cool temperature straight from the fridge for the creamiest, most refreshing bite.
FAQs
Can I use a different cookie for the crust?
Absolutely! While Oreo cookies are classic and add that perfect chocolatey crunch, you can experiment with other chocolate sandwich cookies or crushed graham crackers for a different twist.
Is there a dairy-free option for this Halloween Lush Dessert Recipe?
Yes, you can substitute dairy ingredients with vegan cream cheese, non-dairy whipped topping, and plant-based milk for the pudding. Just make sure the pudding mix you use is also dairy-free or compatible with your dietary needs.
Can I make this dessert without food coloring?
Definitely! The food coloring gives this Halloween Lush Dessert Recipe its vibrant and festive appearance, but the layers will still taste wonderful without it if you prefer a more natural look.
How long should the dessert chill before serving?
It’s best to chill the dessert for at least 4 hours to ensure all layers firm up nicely and the flavors meld. For even better results, chilling overnight is a great option.
What’s the best way to crush the Oreos?
A food processor is the easiest and fastest method to get fine crumbs. If you don’t have one, place the cookies in a sealed plastic bag and crush them with a rolling pin until finely ground.
Final Thoughts
Nothing says Halloween quite like a dessert that’s bursting with color, flavor, and fun layers, and this Halloween Lush Dessert Recipe fits the bill perfectly. It’s not only a showstopper on the table, but also incredibly easy to make and share with loved ones. I can’t wait for you to try it and add a little extra magic to your spooky festivities!
Print
Halloween Lush Dessert Recipe
- Prep Time: 30 minutes
- Cook Time: 0 minutes
- Total Time: 4 hours 30 minutes (includes chilling time)
- Yield: 12 servings
- Category: Dessert
- Method: No-Cook
- Cuisine: American
Description
This festive Halloween Lush Dessert is a colorful, layered treat perfect for parties or family gatherings. Featuring a crunchy Oreo crust, a smooth purple cream cheese layer, an orange-tinted vanilla pudding middle, and a green whipped topping adorned with Halloween sprinkles, this no-bake dessert is both spooky and delicious.
Ingredients
Crust
- 36 Oreo cookies
- 1/2 cup unsalted butter, melted
Cream Cheese Layer
- 8 oz cream cheese, softened
- 1 cup powdered sugar
- 1 cup whipped topping (Cool Whip)
- Purple food coloring
Pudding Layer
- 1 package (3.4 oz) instant vanilla pudding mix
- 2 cups cold milk
- Orange food coloring
Whipped Topping Layer
- 2 cups whipped topping (Cool Whip)
- Green food coloring
Garnish
- Halloween-themed sprinkles
Instructions
- Prepare the Crust: Crush the Oreo cookies into fine crumbs using a food processor for an even texture.
- Form the Crust: Mix the Oreo crumbs with melted butter thoroughly, then press the mixture firmly into the bottom of a 9×13-inch baking dish to create the crust.
- Make the Cream Cheese Layer: Beat the softened cream cheese until smooth, then add powdered sugar and mix well to combine.
- Add Color and Fold: Fold in the whipped topping and a few drops of purple food coloring gently until evenly mixed.
- Spread the Cream Cheese Layer: Evenly spread this purple cream cheese mixture over the prepared Oreo crust.
- Prepare the Pudding Layer: Whisk the instant vanilla pudding mix with cold milk until thickened and smooth.
- Color the Pudding: Add a few drops of orange food coloring and mix well to distribute the color evenly.
- Spread the Pudding Layer: Carefully spread the orange pudding over the cream cheese layer in the baking dish.
- Make the Whipped Topping Layer: Combine the whipped topping with green food coloring and mix until the color is uniform.
- Spread the Whipped Topping: Spread the green whipped topping evenly over the pudding layer.
- Add the Garnish: Sprinkle Halloween-themed sprinkles generously on top of the green layer for festive decoration.
- Chill and Set: Refrigerate the dessert for at least 4 hours to allow all layers to set properly.
- Serve: Once set, cut the dessert into squares and serve chilled for best taste and texture.
Notes
- This is a no-bake dessert, making it easy and convenient for beginners.
- Use full-fat cream cheese for the best creamy texture.
- You can substitute whipped topping with homemade whipped cream if preferred.
- To speed up chilling, refrigerate overnight.
- Keep the dessert refrigerated until serving to maintain texture and freshness.


