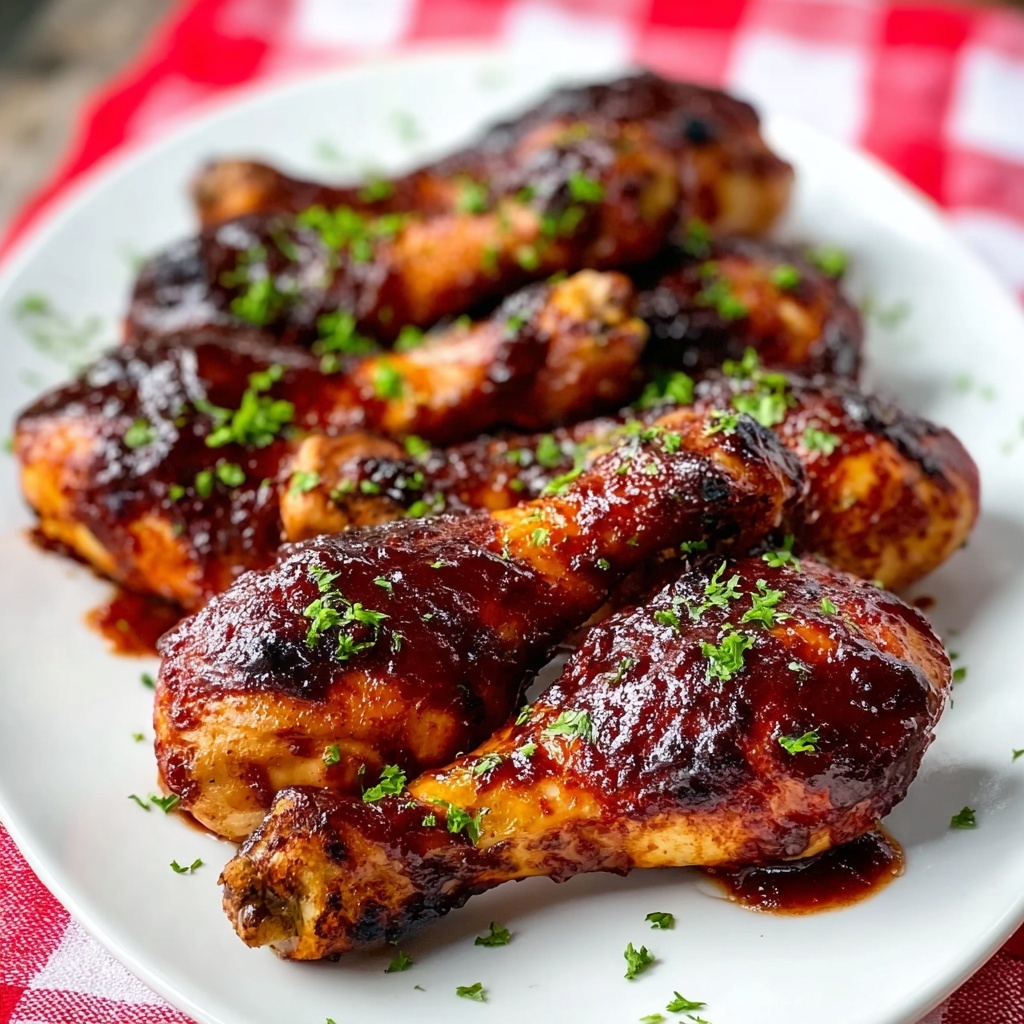
If you are on the hunt for a meal that combines finger-licking flavor with the perfect balance of juicy tenderness and crispy skin, then this Baked BBQ Chicken Drumsticks for Juicy, Crispy Results Recipe is exactly what you need. Every bite offers a beautiful harmony of smoky, sweet, and tangy notes wrapped in a golden, irresistible crust that makes these drumsticks an instant favorite at any table. Whether you’re cooking for family or impressing friends, this recipe delivers unbeatable satisfaction with surprisingly simple steps and wholesome ingredients.
Ingredients You’ll Need
These ingredients might be humble, but each one plays a vital role in crafting those succulent, crispy chicken drumsticks and the unforgettable BBQ glaze that elevates this dish. From spices that build depth to components that add moisture and shine, everything here is essential.
- Chicken drumsticks (8-10 pieces): The star of the show providing juicy, tender meat with crispy, flavorful skin when cooked properly.
- Olive oil or melted butter (2 tablespoons): Helps the seasoning stick and promotes caramelization for that golden crisp texture.
- Garlic powder (1 teaspoon): Adds robust savory aroma that complements the BBQ sauce perfectly.
- Onion powder (1 teaspoon): Boosts the natural sweetness and umami depth in the seasoning blend.
- Smoked paprika (2 teaspoons, divided): Provides a warm, smoky nuance that’s essential for authentic BBQ flavor.
- Brown sugar (2 teaspoons plus 3 tablespoons for sauce): Balances acidity and enhances caramelization on the drumsticks’ skin.
- Salt (1 teaspoon) and black pepper (½ teaspoon): Foundational seasonings that amplify all other flavors.
- Cayenne pepper (½ teaspoon, optional): Adds a subtle kick of heat to keep things interesting.
- Ketchup (1 cup): Forms the tangy base of the rich, homemade BBQ sauce.
- Apple cider vinegar (¼ cup): Brings bright acidity and balance to the sauce.
- Worcestershire sauce (2 tablespoons): Injects umami and a slight tanginess to deepen the sauce’s complexity.
- Dijon mustard (1 tablespoon): Adds a gentle sharpness that rounds out the flavors.
- Fresh garlic, minced (2 cloves): Intensifies the savory notes in the sauce with fresh aroma.
- Liquid smoke (½ teaspoon, optional): Enhances the smoky profile in case you want to mimic outdoor BBQ.
How to Make Baked BBQ Chicken Drumsticks for Juicy, Crispy Results Recipe
Step 1: Prepare the Chicken and Oven
Start by preheating your oven to 425°F (220°C) and lining a baking sheet with parchment paper or greasing it lightly. This prep work is essential because a hot oven combined with a properly prepared pan ensures your drumsticks will crisp up perfectly. Don’t skip patting the drumsticks dry — removing excess moisture is crucial for achieving that coveted crispy skin texture.
Step 2: Season the Drumsticks
In a large bowl, mix olive oil or melted butter with garlic powder, onion powder, smoked paprika, brown sugar, salt, black pepper, and cayenne pepper if you like a little heat. Toss your dried drumsticks thoroughly in this mixture, coating them evenly. This spice paste not only flavors the chicken deeply but also helps the skin brown to golden perfection.
Step 3: Initial Bake
Arrange the seasoned drumsticks on your baking sheet with space between each piece. Bake them in your preheated oven for about 35 minutes. By this point, the chicken should be nearly cooked through, and the skin will start to crisp and develop a gorgeous golden color that’s inviting and mouthwatering.
Step 4: Make the BBQ Sauce for Baked BBQ Chicken Drumsticks for Juicy, Crispy Results Recipe
While the chicken bakes, prepare your homemade BBQ sauce. Whisk together ketchup, apple cider vinegar, brown sugar, Worcestershire sauce, Dijon mustard, minced garlic, smoked paprika, liquid smoke if using, and salt and pepper to taste in a saucepan. Simmer this mixture gently for 8-10 minutes, letting it thicken and develop those classic BBQ flavors that perfectly complement the baked drumsticks.
Step 5: Glaze and Finish
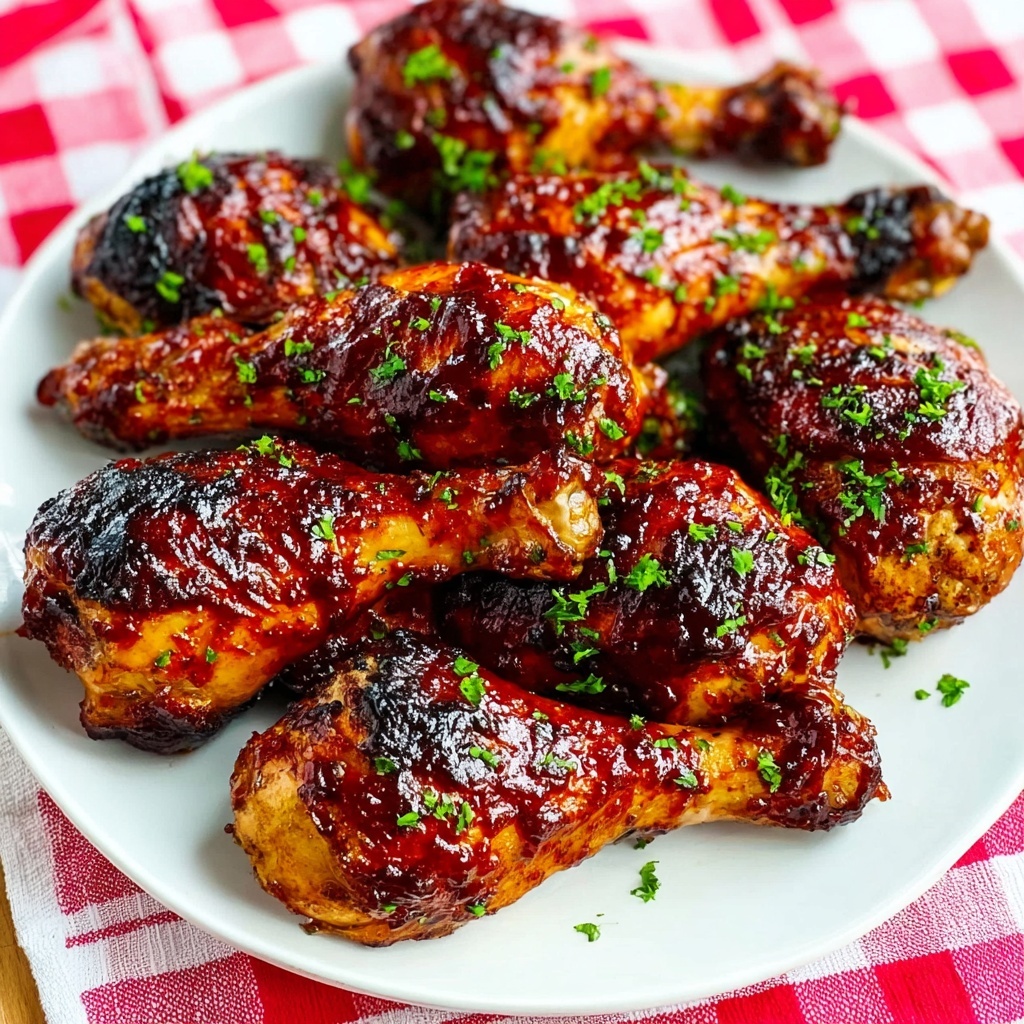
Remove the drumsticks from the oven and generously brush them with your homemade BBQ sauce. Return them to the oven for an additional 10 to 15 minutes. This step caramelizes the sauce into a glossy, slightly charred coating while ensuring the drumsticks are fully cooked to a safe internal temperature of 165°F (74°C). This final glaze step is what turns good chicken into unbeatable comfort food bliss.
Step 6: Rest and Serve
Allow your drumsticks to rest for about 5 minutes after baking. This resting period lets the juices redistribute through the meat, guaranteeing every bite is tender and flavorful. Serve with extra BBQ sauce on the side for dipping and get ready for compliments!
How to Serve Baked BBQ Chicken Drumsticks for Juicy, Crispy Results Recipe
Garnishes
Simple garnishes like freshly chopped parsley or cilantro add a pop of green color and a fresh herbal touch that brightens the rich flavors of the drumsticks. A wedge of lemon on the side can offer a zesty contrast that your guests will love. Sprinkle some toasted sesame seeds for a subtle crunch and nutty hint.
Side Dishes
These drumsticks pair wonderfully with classic sides like creamy coleslaw, smoked macaroni and cheese, or baked beans for a true BBQ feast. For a healthier option, consider roasted vegetables or a crisp garden salad to balance the richness. Cornbread or garlic bread are also fantastic for soaking up any leftover sauce.
Creative Ways to Present
For a fun twist at gatherings, serve these drumsticks stacked on a platter with small ramekins of assorted dipping sauces such as ranch, blue cheese, or spicy honey mustard. Wrapping each drumstick’s end with a small piece of foil creates a “handle” making them easier and less messy to hold—perfect for party snacks or family dinners.
Make Ahead and Storage
Storing Leftovers
Place any leftover baked BBQ chicken drumsticks in an airtight container and refrigerate for up to 3 to 4 days. Properly storing them helps maintain flavor and texture so you can enjoy them again without losing that juicy appeal.
Freezing
If you want to keep some for later, freeze the cooked drumsticks wrapped tightly in plastic wrap and then placed in a freezer-safe container or bag. They will maintain their best quality for up to 2 months. Be sure to label your package with the date for easy tracking.
Reheating
For reheating, bake the drumsticks in a preheated oven at 350°F (175°C) for about 15-20 minutes until warmed through and the skin regains some crispness. You can brush on a bit more BBQ sauce before heating to revive that delicious sticky glaze.
FAQs
Can I use bone-in chicken thighs instead of drumsticks?
Absolutely! Bone-in thighs work wonderfully and tend to be even more forgiving thanks to extra fat content, though cooking times may vary slightly. Just keep an eye on internal temperature to avoid overcooking.
How can I make the drumsticks extra crispy?
Patting the chicken dry before seasoning and baking at a high temperature are key. You can also finish with a quick broil for 2-3 minutes if you want to add more crunch right before serving.
Is it possible to make this recipe gluten-free?
Yes! Ensure your Worcestershire sauce and ketchup are labeled gluten-free, and all other dried spices should be naturally gluten-free. This recipe is very adaptable to dietary needs.
Can I prepare the BBQ sauce ahead of time?
Definitely. The sauce can be made up to 3 days in advance and stored in the fridge. Reheat gently and give it a stir before glazing the chicken to preserve its rich flavor and texture.
What sides best complement this Baked BBQ Chicken Drumsticks for Juicy, Crispy Results Recipe?
Classic BBQ sides like coleslaw, cornbread, and baked beans are perfect partners. For lighter options, grilled veggies or a fresh salad help balance the meal and keep things vibrant.
Final Thoughts
There’s something truly special about mastering the Baked BBQ Chicken Drumsticks for Juicy, Crispy Results Recipe—it’s like creating a little celebration in your kitchen and sharing it with loved ones. The combination of tender chicken with that addictive BBQ glaze always brings smiles and second helpings. Don’t hesitate; dive into this recipe and make it your new go-to for effortless, crowd-pleasing meals that never fail to impress.
Print
Baked BBQ Chicken Drumsticks for Juicy, Crispy Results Recipe
- Prep Time: 15 minutes
- Cook Time: 50 minutes
- Total Time: 1 hour 5 minutes
- Yield: 4 servings
- Category: Main Course
- Method: Baking
- Cuisine: American
Description
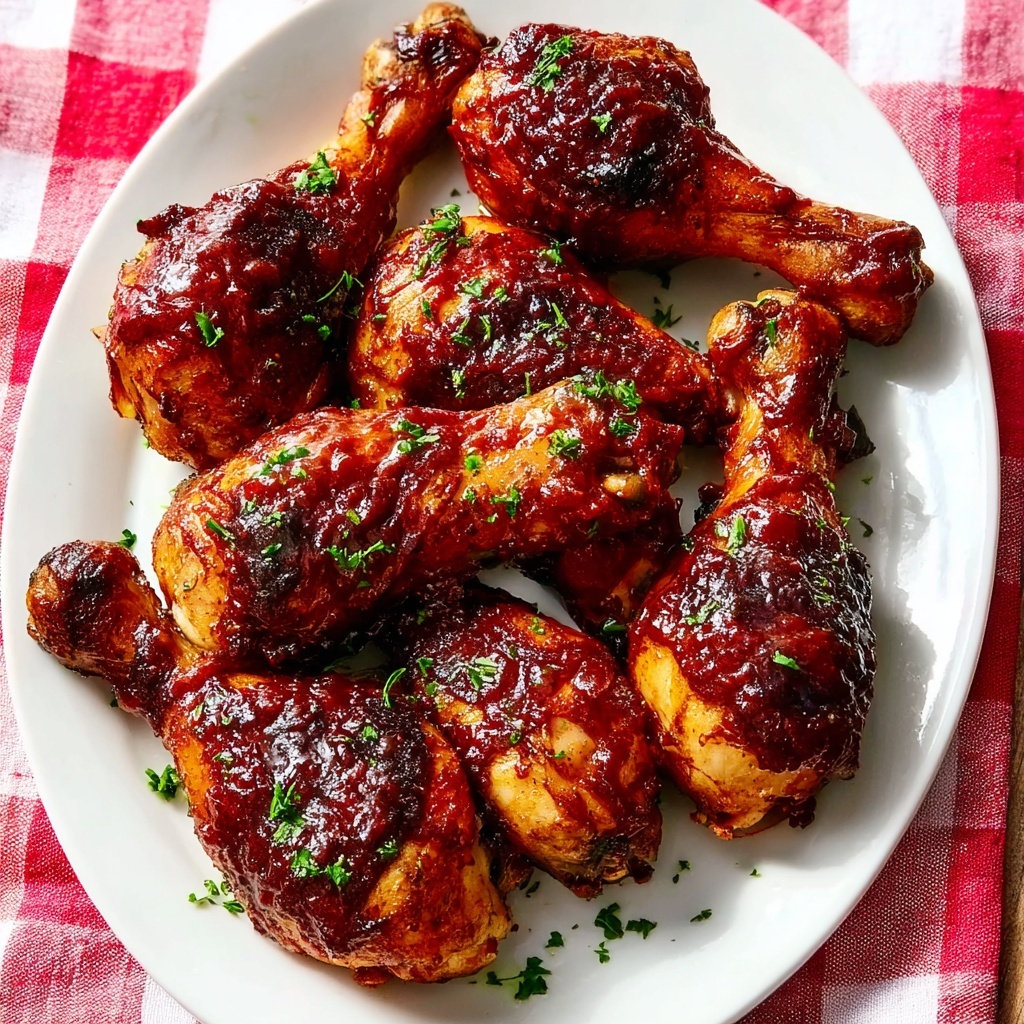
This Baked BBQ Chicken Drumsticks recipe delivers perfectly juicy and tender chicken with a crispy skin and rich homemade barbecue sauce. The drumsticks are seasoned with a flavorful spice mix, baked until golden, then glazed with a tangy, slightly sweet BBQ sauce and finished in the oven for a beautiful caramelized finish. Ideal for a delicious family dinner or casual gathering, these drumsticks offer mouthwatering smoky-sweet flavor and an easy baking method.
Ingredients
Chicken and Seasoning
- 8–10 chicken drumsticks (about 2–3 pounds)
- 2 tablespoons olive oil or melted butter
- 1 teaspoon garlic powder
- 1 teaspoon onion powder
- 1 teaspoon smoked paprika
- 1 teaspoon brown sugar
- 1 teaspoon salt
- ½ teaspoon black pepper
- ½ teaspoon cayenne pepper (optional, for heat)
BBQ Sauce
- 1 cup ketchup
- ¼ cup apple cider vinegar
- 3 tablespoons brown sugar
- 2 tablespoons Worcestershire sauce
- 1 tablespoon Dijon mustard
- 2 cloves garlic, minced
- 1 teaspoon smoked paprika
- ½ teaspoon liquid smoke (optional)
- Salt and pepper to taste
Instructions
- Prepare the Chicken and Oven: Preheat your oven to 425°F (220°C). Line a large baking sheet with parchment paper or lightly grease it. Pat the chicken drumsticks completely dry with paper towels to ensure crispy skin. In a large bowl, combine olive oil with garlic powder, onion powder, smoked paprika, brown sugar, salt, black pepper, and optional cayenne pepper to create a flavorful seasoning paste.
- Season the Drumsticks: Toss the dried drumsticks in the seasoning mixture, using your hands to coat each piece evenly. Arrange the drumsticks spaced apart on the prepared baking sheet to allow for even cooking and crisping.
- Initial Bake: Bake the drumsticks in the preheated oven for 35 minutes, until they are nearly cooked through and the skin begins to crisp and turn golden brown. The aroma will be inviting as they cook.
- Make the BBQ Sauce: While the chicken bakes, combine ketchup, apple cider vinegar, brown sugar, Worcestershire sauce, Dijon mustard, minced garlic, smoked paprika, and optional liquid smoke in a medium saucepan. Bring to a gentle simmer over medium heat and cook for 8-10 minutes, stirring occasionally, until the sauce thickens slightly. Taste and adjust seasoning if needed.
- Glaze and Finish: Remove the drumsticks from the oven and brush them generously with the prepared BBQ sauce, reserving some for serving. Return the drumsticks to the oven and bake for another 10-15 minutes until the sauce caramelizes and the internal temperature reaches 165°F (74°C). The sauce should be glossy and slightly charred in spots.
- Rest and Serve: Let the baked BBQ chicken drumsticks rest for 5 minutes out of the oven to allow juices to redistribute. Serve with extra warmed BBQ sauce on the side for dipping and enjoy.
Notes
- Patting the chicken dry is essential for crispy skin.
- Adjust cayenne pepper in the seasoning for desired heat level.
- Liquid smoke in the BBQ sauce adds smoky depth but is optional.
- Use a meat thermometer to ensure the chicken reaches 165°F (74°C) for safety.
- Leftover sauce can be refrigerated for up to one week.
