
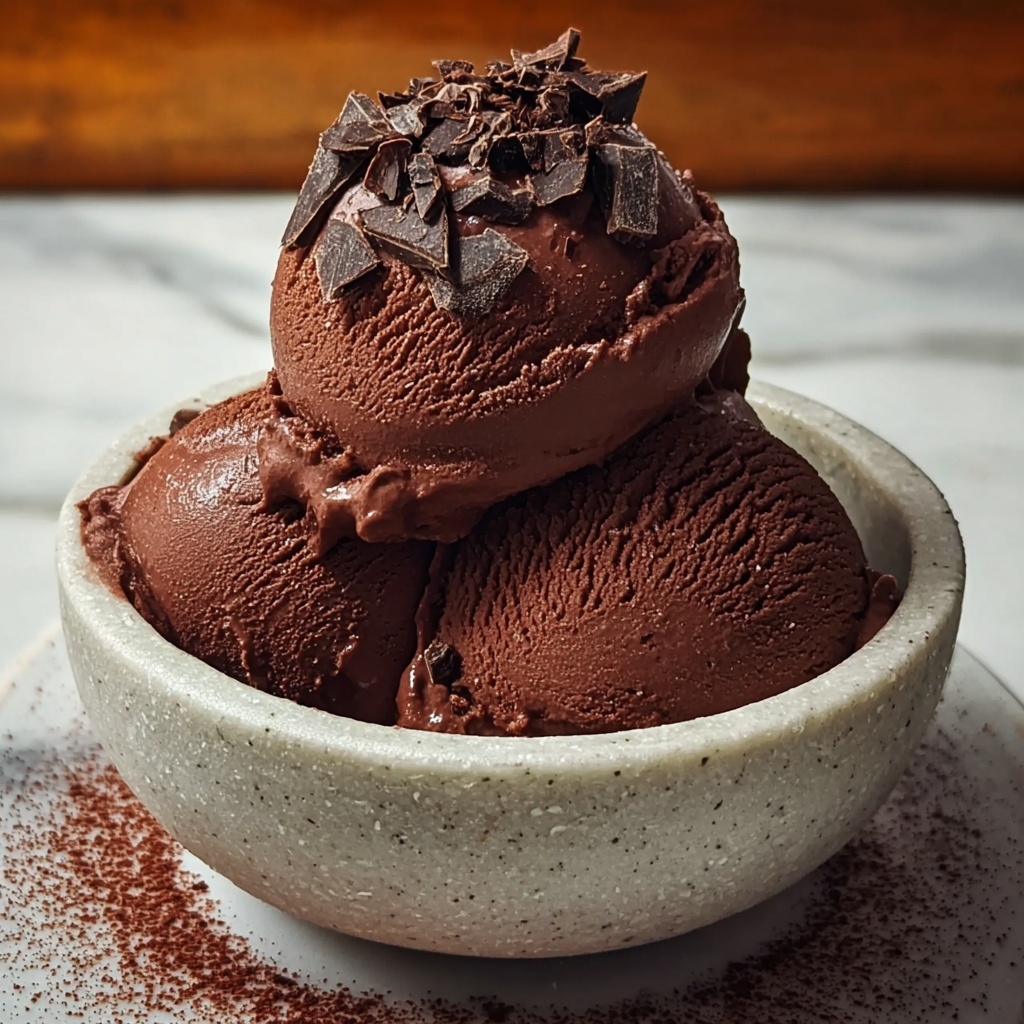
If you have a serious sweet tooth and a love for all things chocolate, you are going to fall head over heels for this Homemade Chocolate Ice Cream Recipe. It combines the rich, deep flavors of unsweetened cocoa powder and melted semi-sweet chocolate chips with the smooth creaminess of heavy cream and whole milk to create a luscious dessert that’s perfect any time you want a cool chocolaty treat. Whether it’s a hot summer day or you simply crave something indulgent, this recipe will quickly become your go-to for making gourmet chocolate ice cream right in your own kitchen. It’s surprisingly simple, yet the results are absolutely divine.
Ingredients You’ll Need
Each ingredient here plays an essential role to deliver the perfect balance of taste, texture, and visual appeal in your Homemade Chocolate Ice Cream Recipe. From the creamy base to the chocolatey depth, these ingredients are easy to find and bring your ice cream to life.
- 2 cups heavy cream: This gives the ice cream its dreamy, rich texture and luscious mouthfeel.
- 1 cup whole milk: Balances the cream and adds a lighter touch to the base.
- 3/4 cup granulated sugar: Sweetens the mix without overpowering the chocolate flavor.
- 1 cup unsweetened cocoa powder: Provides that intense chocolate depth and a beautiful dark color.
- 1 teaspoon pure vanilla extract: Enhances the chocolate notes with a warm, aromatic background.
- 1/2 cup semi-sweet chocolate chips: Adds bursts of molten chocolate flavor and silky richness when melted into the base.
- A pinch of salt: Balances sweetness and elevates the chocolate flavor to the next level.
How to Make Homemade Chocolate Ice Cream Recipe
Step 1: Gather Your Ingredients
Start by making sure all your ingredients are measured out and ready to go. It’s a simple lineup but each one is key to getting that perfect texture and flavor in the ice cream. Taking a moment to organize your ingredients always helps the actual process to flow nicely.
Step 2: Prepare the Base Mixture
In a medium bowl, whisk together the granulated sugar, cocoa powder, and a pinch of salt until fully combined. This dry mix is where your chocolate flavor starts coming to life with an even distribution of cocoa and sweetness. Then, in a large bowl, pour the heavy cream, whole milk, and pure vanilla extract and gently stir together. This wet mixture is the rich, creamy foundation for your ice cream.
Step 3: Combine Dry and Wet Ingredients
Slowly add the dry cocoa mixture to the wet cream and milk blend while whisking continuously. This step is crucial for creating a smooth, consistent chocolate base without lumps. Then, melt the semi-sweet chocolate chips—either in a microwave or over a double boiler—and blend them into the mixture. The melted chocolate brings a luxurious silkiness and extra depth to the ice cream’s body.
Step 4: Chill Before Churning
Cover the chocolate mixture and let it chill in the refrigerator for at least 2 hours. Chilling not only helps develop the flavor but also improves the texture by allowing the fats to firm up before churning. This step is a small wait that definitely pays off.
Step 5: Churn and Freeze
Once chilled, pour the mixture into your ice cream maker and churn according to the manufacturer’s instructions. The churning introduces air and thickens the base into a creamy ice cream consistency. Transfer your freshly churned ice cream into an airtight container and freeze for at least 4 hours, or until firm enough to scoop. Patience here means perfectly scoopable, velvety ice cream!
How to Serve Homemade Chocolate Ice Cream Recipe
Garnishes
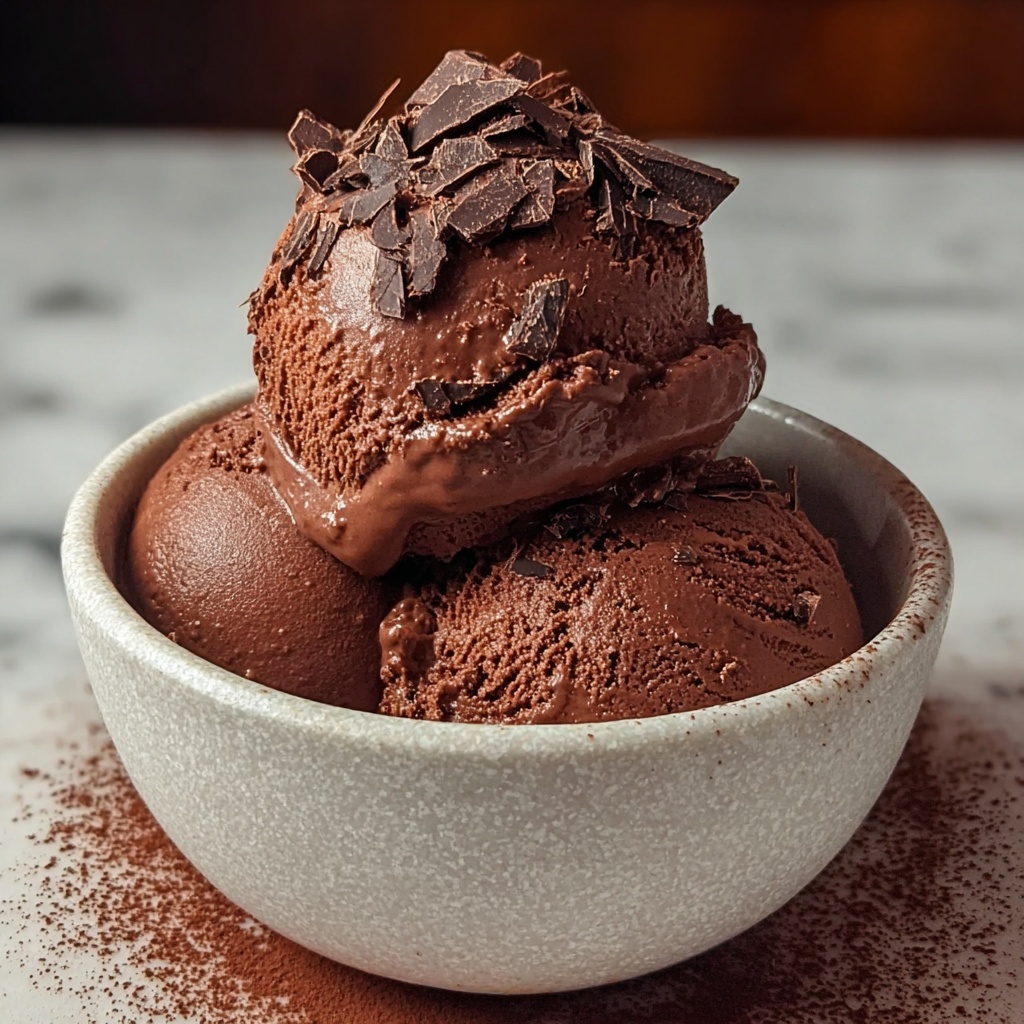
Nothing beats a generous scoop of this Homemade Chocolate Ice Cream Recipe topped with some classic garnishes. Freshly whipped cream, a sprinkle of cocoa powder, or chocolate shavings all complement the deep chocolate flavors. For a little crunch, try adding toasted nuts or crispy chocolate cookie crumbs. These touches can take the presentation from simple to stunning.
Side Dishes
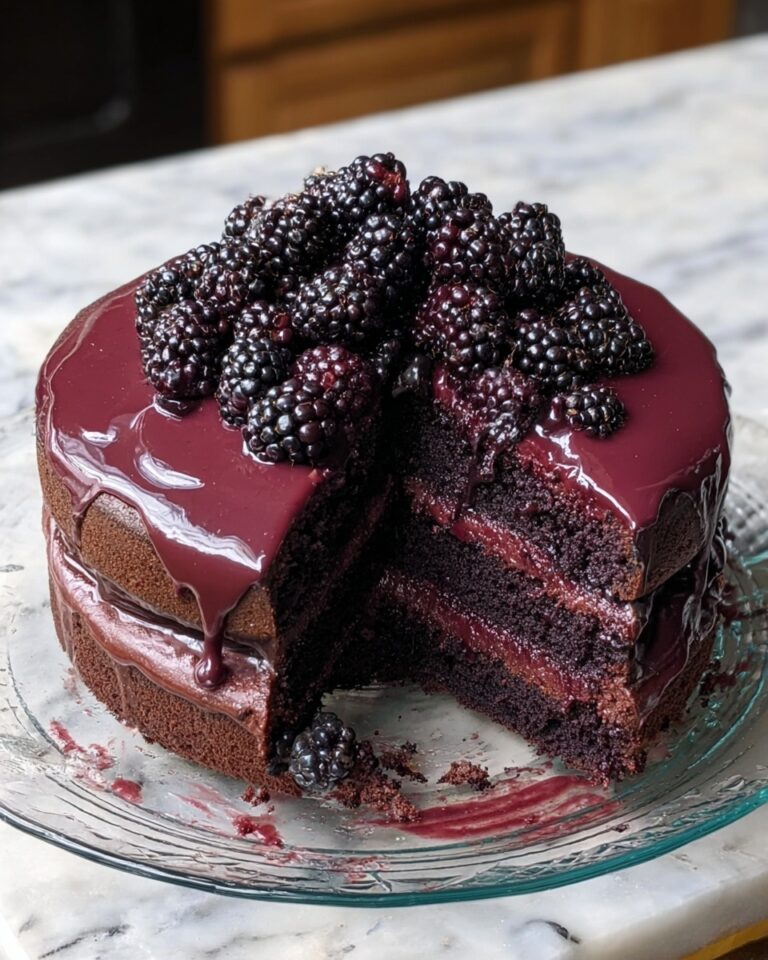
This Homemade Chocolate Ice Cream Recipe pairs beautifully with a variety of sides. Warm brownies, freshly baked cookies, or even a slice of decadent chocolate cake enhance the chocolaty experience. For a refreshing twist, fresh strawberries or raspberry coulis add a brilliant contrast. You really can’t go wrong when you match creamy chocolate ice cream with something warm or tangy alongside it.
Creative Ways to Present
If you want to impress at your next gathering, serve this homemade delight in waffle cones or chocolate-dipped bowls. Layer it in parfait glasses with crumbled cookies and whipped cream for a fancy-but-easy dessert. Or try rolling small ice cream balls coated in crushed nuts or sprinkles for bite-sized treats that are pure joy to eat.
Make Ahead and Storage
Storing Leftovers
Any leftover Homemade Chocolate Ice Cream Recipe should be stored in a tightly sealed airtight container to prevent freezer burn and protect the flavor. Keeping it well covered ensures that the ice cream retains its creamy texture and doesn’t absorb any odors from the freezer.
Freezing
After churning, it’s essential to freeze your ice cream for at least 4 hours to let it set perfectly. Proper freezing helps the fats solidify and the flavors meld, creating that smooth, scoopable consistency you expect from classic ice cream. If you want to keep it longer, stored properly, it should maintain its quality for up to 2 weeks.
Reheating
Ice cream doesn’t need reheating, but if it becomes too hard, simply let it sit at room temperature for 5 to 10 minutes before scooping. This brief resting time softens the ice cream just enough for perfect scooping without melting it completely. Avoid microwaving as that ruins the texture.
FAQs
Can I make this recipe without an ice cream maker?
Absolutely! You can pour the mixture into a shallow container and freeze it, stirring every 30 minutes for a few hours to break up ice crystals. It won’t be quite as smooth as with churning, but still deliciously chocolatey and creamy.
How long can I store Homemade Chocolate Ice Cream Recipe in the freezer?
If kept in an airtight container, your ice cream will stay fresh and tasty for about 2 weeks. After that, the texture and flavor may start to decline due to freezer burn.
Can I use other types of chocolate instead of semi-sweet chips?
Yes! Dark chocolate or milk chocolate can be substituted according to your preference, but semi-sweet strikes a perfect balance of richness and sweetness that’s ideal for this recipe.
Is it possible to make this recipe dairy-free?
While this recipe relies on heavy cream and whole milk for creaminess, you can experiment with coconut cream and almond milk. Keep in mind the texture and flavor will be different but can still be quite good.
What’s the secret to getting a really smooth texture?
Whisking the dry ingredients thoroughly into the wet base, melting the chocolate carefully, and chilling the mixture before churning all contribute to that creamy, lump-free result.
Final Thoughts
There’s just something magical about making ice cream from scratch, especially when it’s as delicious as this Homemade Chocolate Ice Cream Recipe. With simple ingredients, straightforward steps, and results that will wow your friends and family, it’s a recipe worth having in your dessert repertoire. So why wait? Dive in, make a batch, and treat yourself to the pure joy of homemade chocolate bliss.
Print
Homemade Chocolate Ice Cream Recipe
- Prep Time: 15 minutes
- Cook Time: 0 minutes
- Total Time: 6 hours 15 minutes
- Yield: 1 serving (about 2 cups of ice cream)
- Category: Dessert
- Method: Churning
- Cuisine: American
Description
This homemade chocolate ice cream recipe delivers a rich, creamy, and intensely chocolaty treat made from scratch using simple ingredients like heavy cream, cocoa powder, and semi-sweet chocolate chips. Perfectly churned and frozen to silky smooth perfection, this classic ice cream is an indulgent dessert ideal for chocolate lovers.
Ingredients
Base Ingredients
- 2 cups heavy cream (480 ml)
- 1 cup whole milk (240 ml)
- 3/4 cup granulated sugar (150 g)
- 1 cup unsweetened cocoa powder (100 g)
- 1 teaspoon pure vanilla extract
- A pinch of salt
Chocolate Addition
- 1/2 cup semi-sweet chocolate chips (90 g)
Instructions
- Gather Ingredients: Start by assembling all your ingredients to ensure you have everything ready for a smooth and efficient preparation process.
- Prepare the Dry Mixture: In a medium bowl, whisk together the granulated sugar, unsweetened cocoa powder, and a pinch of salt until fully combined and any lumps of cocoa powder are broken up.
- Combine Wet Ingredients: In a large bowl, mix together the heavy cream, whole milk, and vanilla extract thoroughly to create the creamy base for the ice cream.
- Mix Dry into Wet: Gradually add the dry mixture into the wet ingredients while whisking continuously until the mixture is smooth and fully integrated without any graininess.
- Melt Chocolate Chips: Gently melt the semi-sweet chocolate chips using a double boiler or microwave in short bursts, stirring frequently to avoid burning. Once melted, stir the chocolate into the ice cream mixture until evenly distributed.
- Chill the Mixture: Cover the bowl and place it in the refrigerator for at least 2 hours to chill thoroughly. This step helps the flavors meld and improves the texture of the ice cream when churned.
- Churn the Ice Cream: Pour the chilled mixture into your ice cream maker and churn according to the manufacturer’s instructions, usually about 20-30 minutes, until the ice cream reaches a soft-serve consistency.
- Freeze to Set: Transfer the churned ice cream into an airtight container and freeze for at least 4 hours or until firm before serving to achieve the best scoopable texture.
Notes
- Ensure the base mixture is fully chilled before churning to improve texture and speed up the churning process.
- If you don’t have an ice cream maker, you can freeze the mixture in a shallow container and stir vigorously every 30 minutes until firm.
- For an extra chocolate boost, you can fold in chopped chocolate or chocolate chunks after churning.
- Use high-quality cocoa powder and chocolate chips for the best flavor.
- Store leftover ice cream in an airtight container with plastic wrap pressed on the surface to prevent ice crystals.


