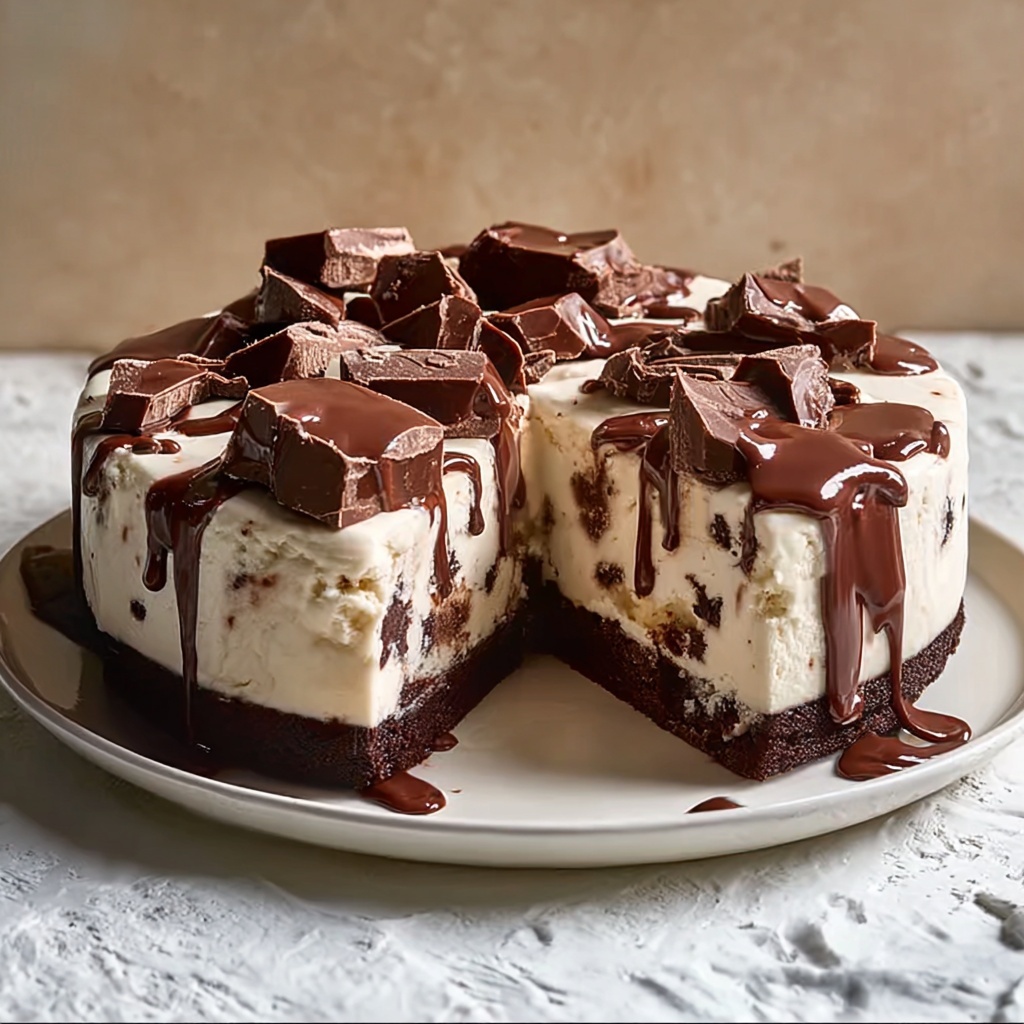
If you are on the lookout for a show-stopping dessert that effortlessly combines the fudgy richness of brownies with the creamy coolness of ice cream, I have just the thing for you. This Brownie Ice Cream Cake Recipe is a luscious, layered delight that brings together the best of both worlds in a way that’s sure to impress any crowd. It’s decadent, comforting, and surprisingly simple to make—perfect for celebrations or whenever you crave a sweet escape.
Ingredients You’ll Need
Gathering the right ingredients is key to creating a brownie ice cream cake that’s bursting with flavor and just the right textures. Each component plays a special role, from the buttery brownie base that provides a chewy foundation to the creamy ice cream that melts perfectly into every bite.
- Unsalted butter (1 cup / 2 sticks): Adds richness and moisture to the brownies, making them wonderfully tender.
- Granulated sugar (2 cups): Sweetens the brownie batter and helps develop that classic crackly crust on top.
- Large eggs (4): Bind the ingredients together and give structure to the brownies.
- Vanilla extract (1 teaspoon): Brightens the flavor and enhances the chocolate notes.
- All-purpose flour (1 cup): Provides the essential structure for the brownies without making them cakey.
- Unsweetened cocoa powder (1 cup): Packs in deep chocolate flavor and contributes to the rich color.
- Salt (½ teaspoon): Balances sweetness and intensifies the chocolate taste.
- Baking powder (½ teaspoon): Gives just enough lift to keep the brownies from being too dense.
- Your favorite ice cream (1 quart): Choose any flavor you love; vanilla, chocolate, or even a swirl combo makes this cake uniquely yours.
- Whipped cream: Adds a light, fluffy topping to complement the dense layers below.
- Chocolate syrup, sprinkles, or chopped nuts (optional): Great for adding flair, texture, and extra decadence to the final presentation.
How to Make Brownie Ice Cream Cake Recipe
Step 1: Prep and Preheat
Start by preheating your oven to 350°F (175°C) and giving your 9×13 inch baking dish a good grease. This ensures your brownies bake evenly and won’t stick when it’s time to remove them.
Step 2: Melt Butter
Gently melt the unsalted butter in a medium saucepan over low heat. Once melted, take it off the stove and let it cool slightly so it won’t cook the eggs later on.
Step 3: Mix Wet Ingredients
Stir the granulated sugar into the melted butter until well combined. Add the eggs one by one, stirring after each addition to create a smooth and glossy mix. Finish with the vanilla extract for that hint of aromatic sweetness.
Step 4: Combine Dry Ingredients
In a separate bowl, whisk together the all-purpose flour, unsweetened cocoa powder, salt, and baking powder. This mixture ensures even distribution of flavors and rise in your brownies.
Step 5: Make the Batter
Slowly fold the dry ingredients into the wet mixture. Stir just until everything comes together into a smooth, chocolatey batter that promises a fudgy texture.
Step 6: Bake the Brownies
Pour your batter into the prepared baking dish and bake for 30 to 35 minutes. Testing done with a toothpick inserted into the center should come out clean or with a few moist crumbs, but no wet batter. Let the brownies cool in the pan for at least 30 minutes.
Step 7: Soften the Ice Cream
While the brownies cool, leave your quart of ice cream out at room temperature for a short time. This softening step makes it easier to spread smoothly over the brownie layers later.
Step 8: Assemble the Cake
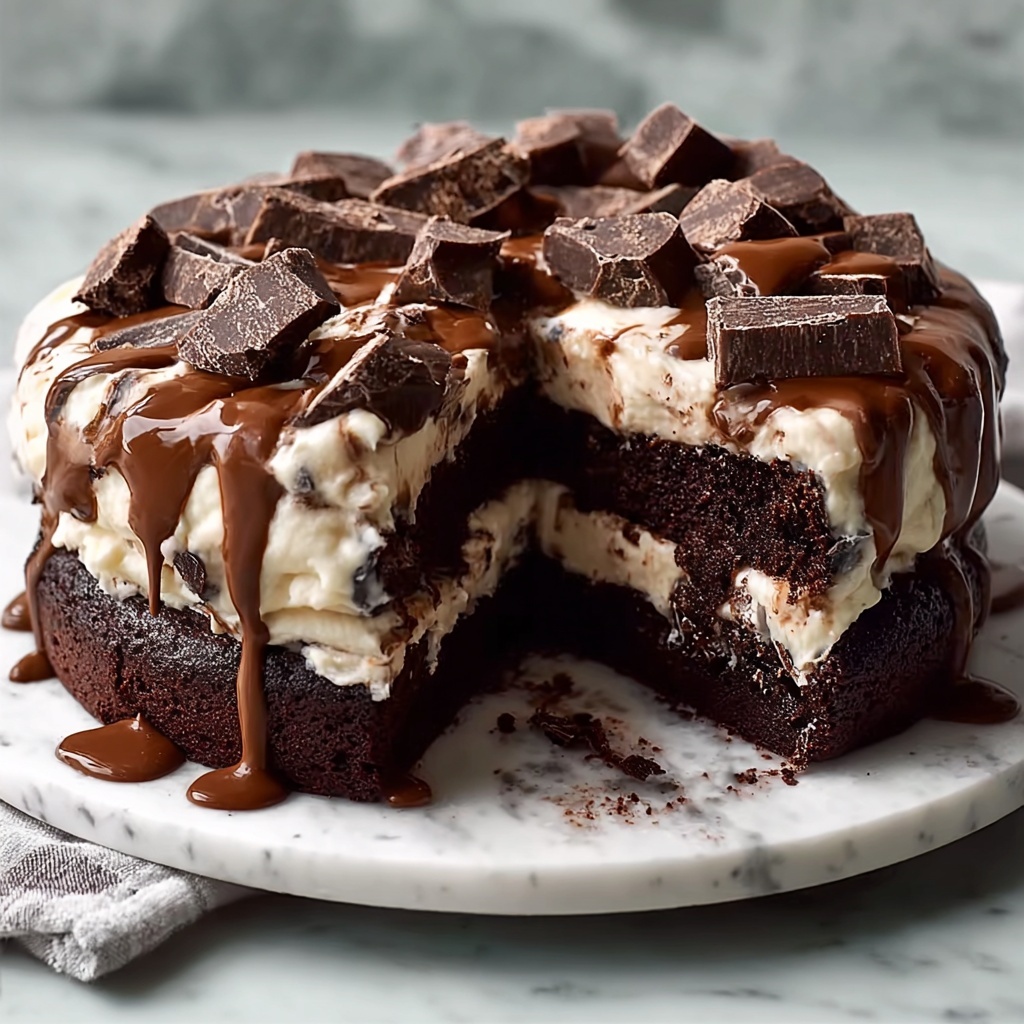
Carefully remove the brownies from the pan and slice them into even layers. Place one brownie layer back in the baking dish, spread a generous layer of softened ice cream on top, and crown it with the second brownie layer, building the cake to delicious perfection.
Step 9: Freeze Until Set
Cover your masterpiece with plastic wrap and place it in the freezer for a minimum of 2 hours. This chilling time lets the ice cream and brownies meld into a beautifully firm yet creamy cake.
Step 10: Decorate
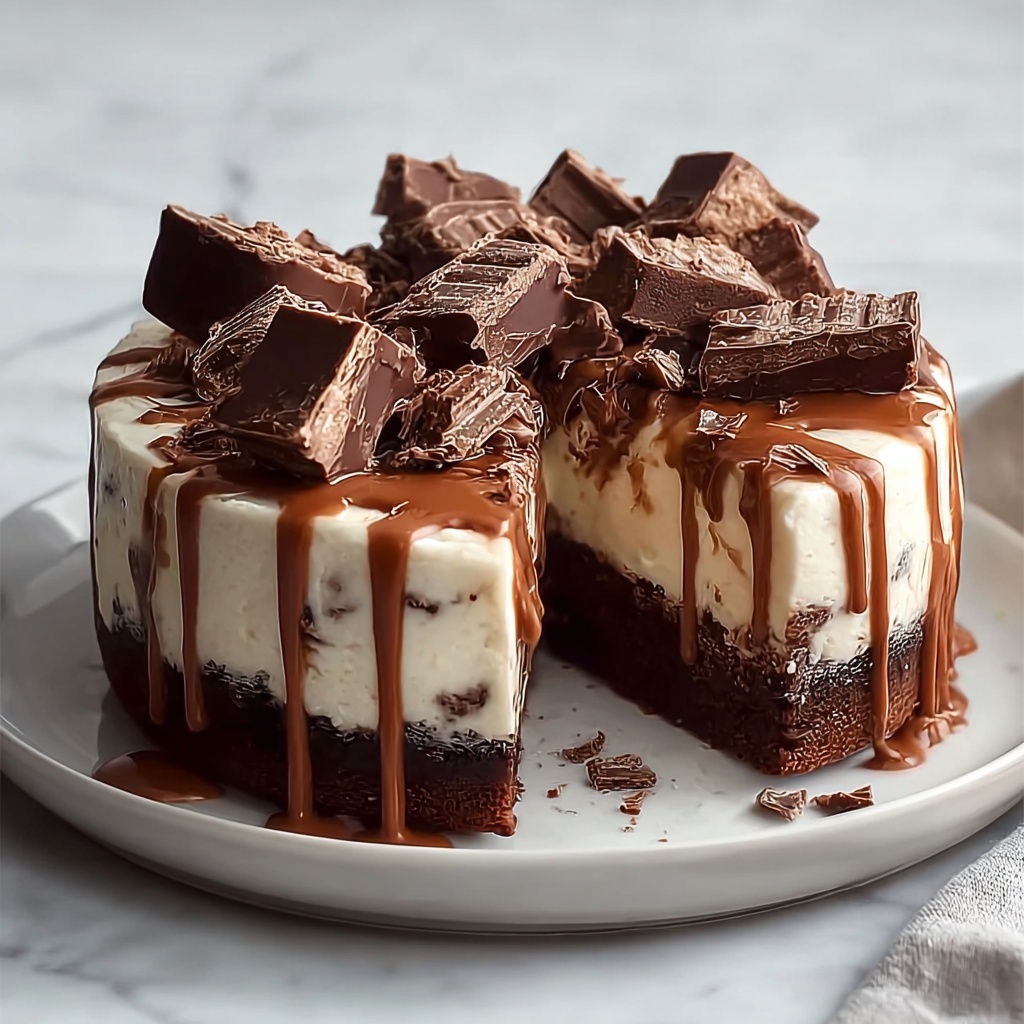
Once frozen solid, bring out your cake and dress it up with fluffy whipped cream, drizzles of chocolate syrup, and if you like, sprinkles or chopped nuts for that extra touch of fun and texture.
Step 11: Enjoy!
Cut the cake into squares and serve immediately to enjoy the perfect harmony of cold ice cream and warm brownie flavors mingling in each bite.
How to Serve Brownie Ice Cream Cake Recipe
Garnishes
Whipped cream and chocolate syrup are classic companions that enhance both the look and the flavor of your brownies and ice cream. Adding sprinkles or chopped nuts gives a playful crunch and a pop of color that can brighten every slice.
Side Dishes
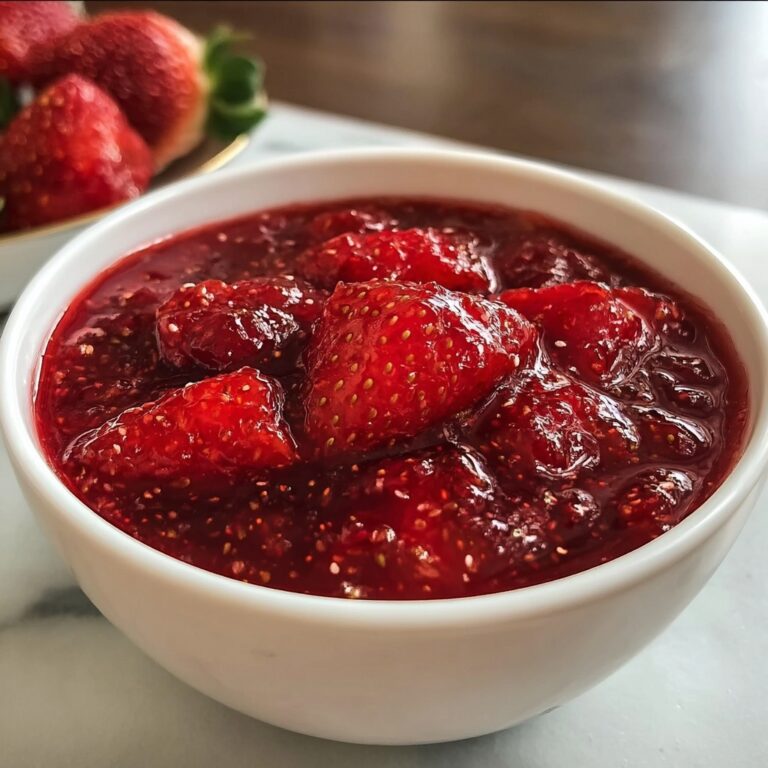
This cake shines beautifully on its own but also pairs wonderfully with fresh berries or a fruit compote to add brightness and a refreshing contrast to the richness.
Creative Ways to Present
Try serving individual portions in clear glasses, layering brownies and softened ice cream alternately and topped with garnishes. This not only looks stunning but also gives each guest their perfect ratio of brownie to ice cream in every bite.
Make Ahead and Storage
Storing Leftovers
Wrap leftover brownie ice cream cake tightly in plastic wrap or store it in an airtight container to prevent freezer burn and preserve the freshness for up to a week.
Freezing
This dessert is a freezer-friendly favorite. Keep it frozen and well-covered to maintain the best flavor and texture, so you can enjoy every bite as if freshly made even days later.
Reheating
Since this is primarily a chilled dessert, reheating isn’t recommended. Instead, let it soften a few minutes at room temperature if it’s too hard to slice or dig into after freezing.
FAQs
Can I use store-bought brownies instead of baking my own?
Absolutely, you can streamline the process by using your favorite pre-made brownies. Just make sure they’re sturdy enough to hold the ice cream layers without crumbling.
What’s the best ice cream flavor for this cake?
Vanilla and chocolate are classic choices, but don’t hesitate to experiment with mint, caramel, or even fruit-flavored ice creams to put your own spin on this recipe.
Can this recipe be made dairy-free or vegan?
With some ingredient swaps like vegan butter, egg replacer, and dairy-free ice cream, you can definitely create a delicious version suitable for dairy-free or vegan diets.
How long should I let the ice cream soften before spreading?
About 10 to 15 minutes at room temperature usually does the trick, allowing the ice cream to spread smoothly without melting too much.
Can I add layers of fruit or other fillings?
Yes! Adding sliced strawberries, peanut butter swirls, or caramel drizzle between the brownie and ice cream layers can add exciting flavors and textures.
Final Thoughts
This Brownie Ice Cream Cake Recipe has quickly become a personal favorite for its perfect marriage of rich, chewy brownies and luscious ice cream. It’s a dessert that feels indulgent yet approachable, making it ideal for impressing company or simply treating yourself after a long day. I can’t wait for you to try it and make it your own!
Print
Brownie Ice Cream Cake Recipe
- Prep Time: 4 minutes
- Cook Time: 35 minutes
- Total Time: 3 hours 15 minutes
- Yield: 8-10 servings
- Category: Dessert
- Method: Baking
- Cuisine: American
Description
This Delicious Brownie Ice Cream Cake combines rich, fudgy brownies with creamy ice cream layers for the ultimate decadent dessert. Perfect for warm days or special occasions, this no-fuss recipe yields a crowd-pleasing frozen treat topped with whipped cream, chocolate syrup, and optional sprinkles or nuts.
Ingredients
Brownie Layer
- 1 cup unsalted butter (2 sticks)
- 2 cups granulated sugar
- 4 large eggs
- 1 teaspoon vanilla extract
- 1 cup all-purpose flour
- 1 cup unsweetened cocoa powder
- ½ teaspoon salt
- ½ teaspoon baking powder
Ice Cream Layer
- 1 quart of your favorite ice cream (such as chocolate, vanilla, or any mix you prefer)
Toppings
- Whipped cream
- Chocolate syrup
- Sprinkles or chopped nuts (optional)
Instructions
- Preheat and Prepare: Preheat your oven to 350°F (175°C) and grease a 9×13 inch baking dish to ensure the brownies do not stick.
- Melt Butter: In a medium saucepan, melt the unsalted butter over low heat. Once melted, remove from heat and allow the butter to cool slightly.
- Mix Wet Ingredients: Stir in the granulated sugar until combined. Add the eggs one at a time, stirring well after each addition to incorporate fully. Mix in the vanilla extract for flavor.
- Combine Dry Ingredients: In a separate bowl, whisk together the all-purpose flour, unsweetened cocoa powder, salt, and baking powder ensuring an even distribution.
- Make Batter: Gradually add the dry ingredients to the wet mixture, stirring until the batter is smooth and fully combined with no lumps.
- Bake Brownies: Pour the batter into the prepared baking dish and bake for 30-35 minutes. Check doneness by inserting a toothpick into the center; it should come out clean. Let the brownies cool in the pan for at least 30 minutes.
- Soften Ice Cream: While the brownies cool, take the ice cream out of the freezer and let it soften slightly at room temperature to allow for easier spreading later.
- Assemble Cake Layers: Once cooled, remove the brownie from the pan and cut into even layers. Place one brownie layer back into the baking dish, spread a layer of softened ice cream evenly over it, then cover with the second brownie layer.
- Freeze: Cover the assembled cake tightly with plastic wrap and freeze for at least 2 hours, or until fully set and firm.
- Add Toppings: Remove the cake from the freezer and top with whipped cream, drizzle chocolate syrup over the top, and sprinkle with any optional toppings like sprinkles or chopped nuts.
- Serve: Cut the cake into squares and serve immediately to enjoy the perfect balance of fudgy brownie, creamy ice cream, and sweet toppings.
Notes
- Make sure to allow the brownies to cool completely before layering with ice cream to prevent melting.
- You can customize the ice cream flavor to suit your preferences or dietary needs.
- For easier slicing, let the cake sit at room temperature for 5-10 minutes before cutting.
- Use parchment paper to line the baking dish for easier removal of the brownies if preferred.
- Optional toppings can be adjusted or omitted based on availability and taste.
