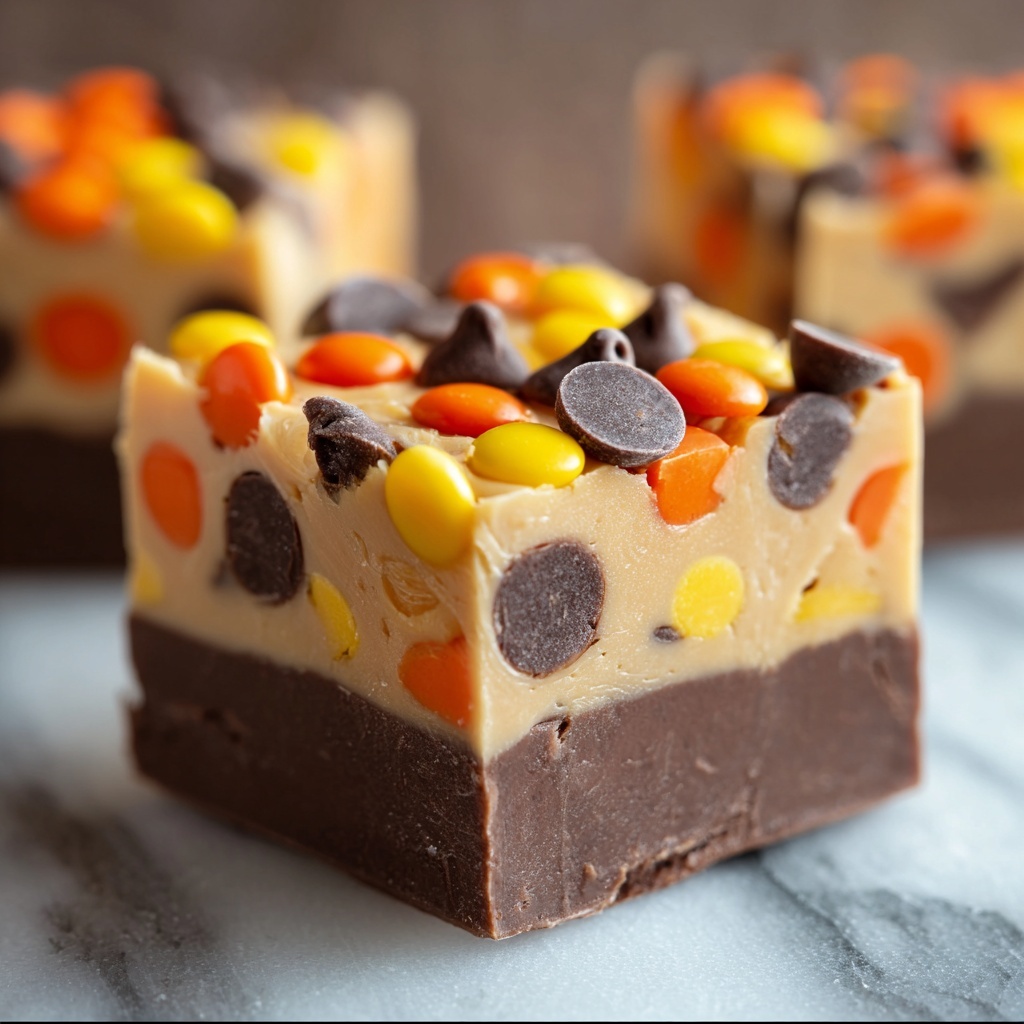
Get ready to indulge in a truly irresistible treat with this Butterfinger Reese’s Fudge Recipe. Combining the creamy richness of chocolate fudge with the crunchy, nutty goodness of Butterfinger bars and Reese’s Peanut Butter Cups, this dessert is a heavenly mix of textures and flavors that will quickly become a favorite in your recipe collection. It’s easy to make, wonderfully chocolaty, and perfect for any occasion where you want to impress with minimal effort but maximum delight.
Ingredients You’ll Need
These ingredients are simple yet play vital roles in creating the perfect balance of creamy, crunchy, and chocolaty goodness in your fudge. Each one brings its own magic, from smooth sweetness to buttery richness and that iconic candy crunch.
- Sweetened condensed milk: The creamy base that gives this fudge its luscious texture and natural sweetness.
- Milk chocolate chips: Melt down for that smooth, chocolaty foundation that holds everything together.
- Butter: Adds richness and a velvety finish to the fudge.
- Vanilla extract: Enhances the chocolate and candy flavors with a subtle aromatic hint.
- Chopped Butterfinger bars: Provides a crunchy, peanut buttery texture that contrasts beautifully with the creamy fudge.
- Chopped Reese’s Peanut Butter Cups: Adds bursts of peanut butter and chocolate that elevate the fudge to a next-level treat.
How to Make Butterfinger Reese’s Fudge Recipe
Step 1: Prepare the pan
Start by lining an 8×8-inch baking dish with parchment paper, making sure to leave some overhang on the sides. This step is key for easily lifting out your fudge when it’s ready, keeping those squares beautifully intact and mess-free.
Step 2: Melt the chocolate and mix in the base
In a medium saucepan over low heat, combine the sweetened condensed milk, milk chocolate chips, and butter. Stir constantly to ensure all the chocolate chips melt evenly and meld with the butter and milk, creating a silky smooth base. This slow, gentle heating is what makes your fudge irresistibly creamy.
Step 3: Add vanilla and candy pieces
Take the saucepan off the heat and stir in the vanilla extract to bring out depth and warmth in the flavor. Then gently fold in most of the chopped Butterfinger bars and Reese’s cups, saving a handful to sprinkle over the top later. This step folds in all that wonderful crunch and peanut buttery goodness without breaking down the texture.
Step 4: Pour and chill
Transfer the fudge mixture into your prepared pan, spreading it out evenly with a spatula. Sprinkle the reserved Butterfinger and Reese’s pieces on top for a stunning, textured finish. Pop it into the refrigerator and let it chill for at least 2 hours, or until it’s completely set and firm to the touch.
Step 5: Slice and serve
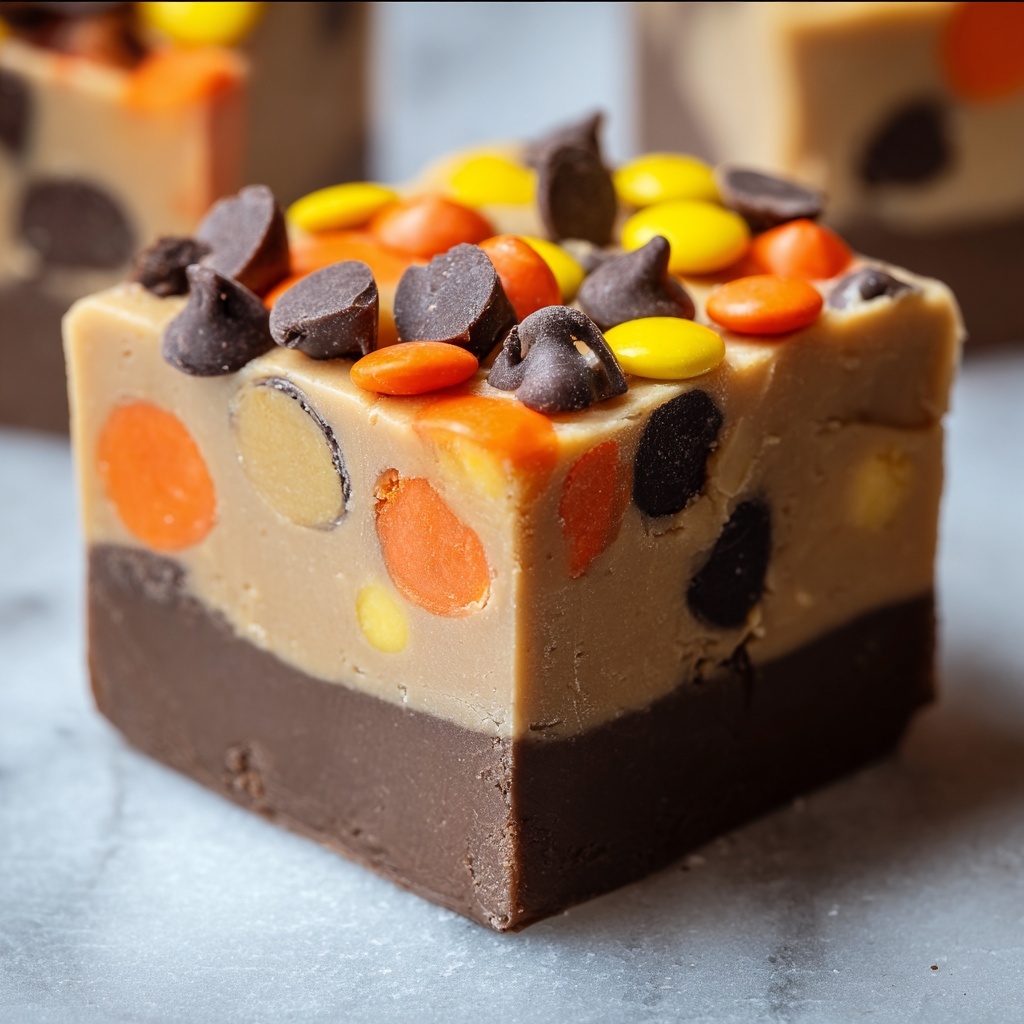
When your fudge is ready, use the parchment overhang to lift it from the pan cleanly. Cut it into 25 perfect little squares, each bursting with that fantastic combination of creamy chocolate fudge and crunchy candy bits. Serve and watch everyone swoon with delight!
How to Serve Butterfinger Reese’s Fudge Recipe

Garnishes
Enhance your fudge presentation by sprinkling extra crushed Butterfinger and Reese’s pieces over the top just before serving. You might also add a light dusting of cocoa powder or a drizzle of melted white chocolate to add an elegant touch with contrasting colors and flavors.
Side Dishes
This fudge pairs beautifully with simple accompaniments such as freshly brewed coffee, a glass of cold milk, or even vanilla ice cream. These side dishes help balance the richness of the fudge and offer a refreshing palate cleanser between bites.
Creative Ways to Present
Try arranging your fudge squares on a decorative platter with festive paper doilies for special occasions. For gift-giving, wrap individual squares in colorful wax paper or place them in cute treat boxes. You can even layer fudge pieces between parchment sheets in a tin to impress friends and family with your homemade confectionery magic.
Make Ahead and Storage
Storing Leftovers
Keep your Butterfinger Reese’s Fudge stored in an airtight container at room temperature or in the refrigerator. It will stay fresh and delicious for up to two weeks, giving you plenty of time to enjoy those rich, crunchy bites.
Freezing
If you want to save fudge for a longer period, wrap individual squares tightly in plastic wrap and place them in a freezer-safe container. Frozen fudge can last up to three months and will thaw quickly when moved to the fridge or left at room temperature for a short while.
Reheating
This fudge is best enjoyed as is, chilled or at room temperature. If it feels a bit too firm straight from the fridge or freezer, simply let it sit out for 10 to 15 minutes to soften slightly. Avoid heating it directly to preserve the perfect texture and candy pieces.
FAQs
Can I use dark chocolate instead of milk chocolate?
Absolutely! Using dark chocolate chips will give your fudge a richer, slightly more intense chocolate flavor. Just keep in mind that it may also make the fudge less sweet, so you can adjust by adding a touch more condensed milk if needed.
Can I substitute other candies for Butterfinger and Reese’s?
Definitely. This recipe is flexible, so you might try chopped Snickers, Twix, or M&M’s for different textures and flavors. Just be sure to use candies that hold up well in fudge and don’t melt completely.
How long does the fudge take to set?
The fudge needs at least 2 hours in the fridge to set completely. If your fridge is very cold or the fudge mixture is thick, it might take a bit longer, so patience ensures perfect slicing.
Is it possible to make this recipe dairy-free?
While the original Butterfinger Reese’s Fudge Recipe relies on dairy, you can experiment with dairy-free sweetened condensed milk and vegan chocolate chips. The texture may vary slightly, but it’s a fun way to create a vegan-friendly fudge version.
What’s the best way to cut fudge without it crumbling?
Use a sharp knife and warm it slightly by dipping in hot water and drying before cutting. This helps you get smooth, clean edges without disturbing the fudge’s structure.
Final Thoughts
Once you try this Butterfinger Reese’s Fudge Recipe, you’ll understand why it’s a crowd-pleaser and a perfect treat to make again and again. It’s a fantastic blend of creamy chocolate and crunchy candy pieces that’s surprisingly simple to prepare yet feels so special. Whether for holidays, potlucks, or just because, this fudge has a way of bringing smiles—and maybe a little happy sugar buzz—to any table. So grab your ingredients, roll up your sleeves, and enjoy every delicious bite!
Print
Butterfinger Reese’s Fudge Recipe
- Prep Time: 15 minutes
- Cook Time: 10 minutes
- Total Time: 2 hours 25 minutes
- Yield: 25 servings
- Category: Dessert
- Method: Stovetop
- Cuisine: American
Description
This Butterfinger Reese’s Fudge is a decadent and irresistible treat combining creamy milk chocolate, crunchy Butterfinger bits, and rich Reese’s Peanut Butter Cups. Perfectly smooth and generously studded with candy pieces, this no-bake fudge requires minimal ingredients and effort, making it an ideal dessert for chocolate and peanut butter lovers alike.
Ingredients
Fudge Base
- 1 can (14 oz) sweetened condensed milk
- 3 cups milk chocolate chips
- 2 tablespoons butter
- 1 teaspoon vanilla extract
Mix-ins and Toppings
- 1 cup chopped Butterfinger bars
- 1 cup chopped Reese’s Peanut Butter Cups
Instructions
- Prepare the pan: Line an 8×8-inch baking dish with parchment paper, ensuring there’s enough overhang on the sides to easily lift out the fudge later.
- Melt the chocolate: In a medium saucepan over low heat, combine the sweetened condensed milk, milk chocolate chips, and butter. Stir constantly until the mixture is smooth, melted, and fully combined without any lumps.
- Add vanilla and mix-ins: Remove the saucepan from heat and stir in the vanilla extract. Fold in the chopped Butterfinger bars and Reese’s Peanut Butter Cups, reserving a small amount of both to sprinkle on top.
- Pour and set: Transfer the fudge mixture into the prepared baking dish, spreading it evenly with a spatula. Sprinkle the reserved Butterfinger and Reese’s pieces over the top for garnish.
- Chill: Place the baking dish in the refrigerator and chill for at least 2 hours, or until the fudge is firm and set.
- Serve: Use the parchment paper overhang to lift the fudge out of the dish. Cut into 25 squares and enjoy this rich, candy-studded treat.
Notes
- Make sure to stir the chocolate mixture constantly over low heat to prevent burning and achieve a smooth texture.
- You can substitute semi-sweet chocolate chips if you prefer a less sweet fudge.
- Store leftover fudge in an airtight container refrigerated for up to one week.
- For easier cutting, let the fudge sit at room temperature for 5-10 minutes before slicing.
- Use fresh candy bars for the best texture and flavor.


