
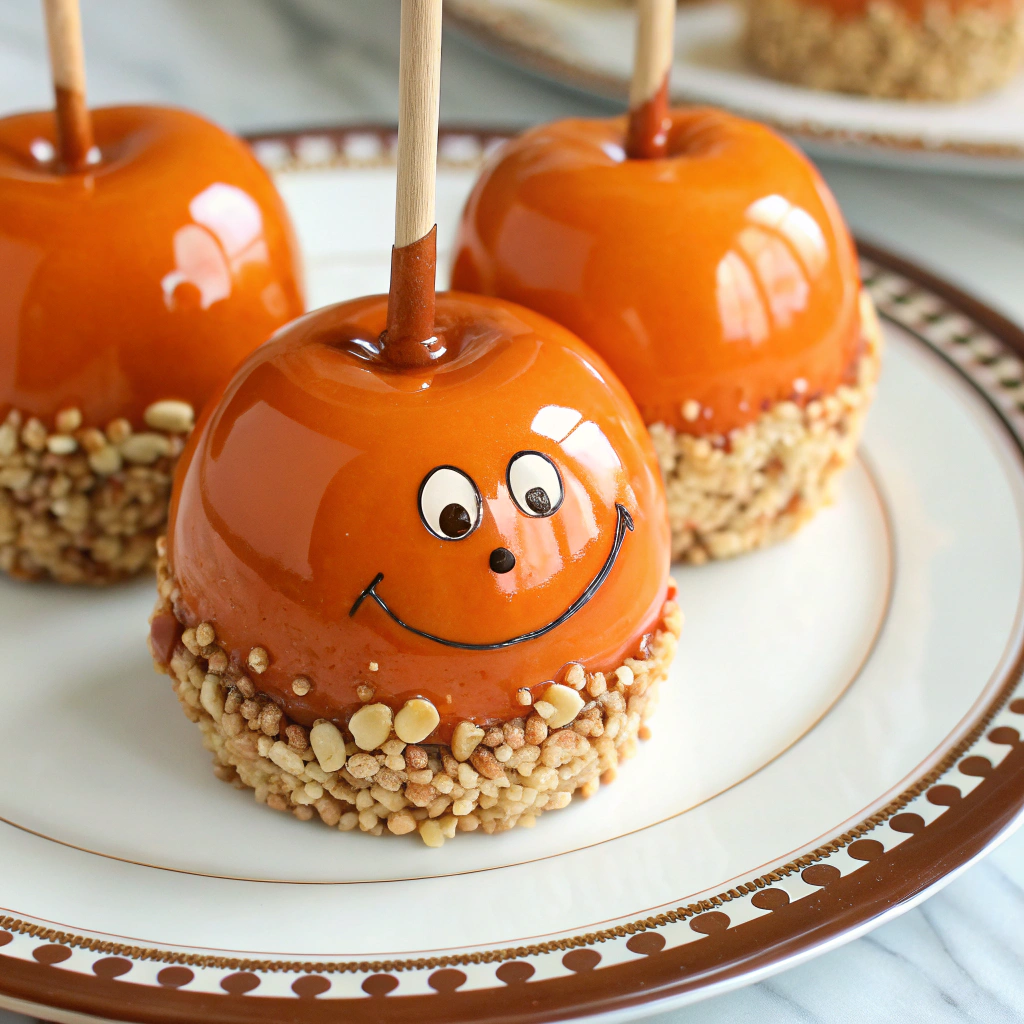
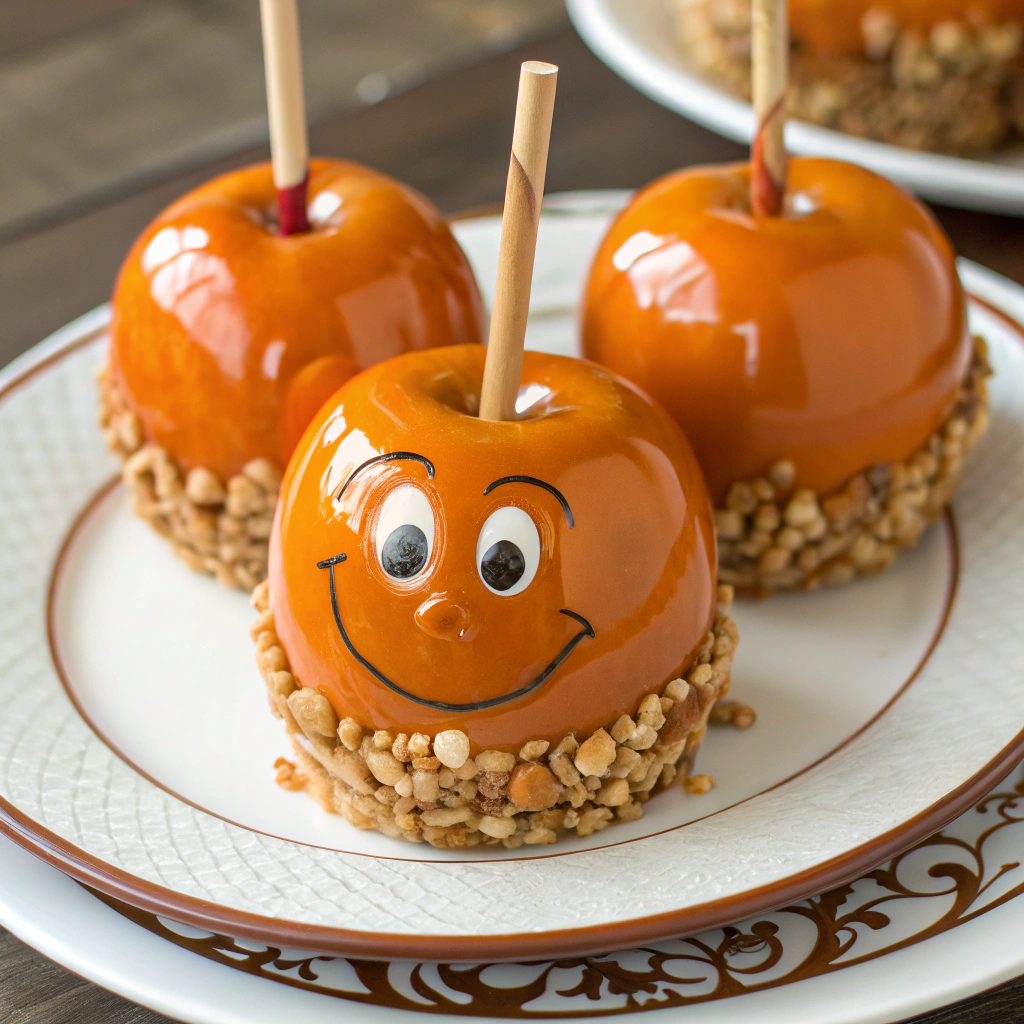
There is something truly magical about a perfectly glossy, crunchy candied apple that screams fun and festive vibes, especially when Halloween is just around the corner. This Candied Apples for Halloween Recipe brings together that classic, nostalgic sweetness with an irresistible orange-hued candy shell, making it the ideal treat to share at any spooky gathering or simply enjoy as a delightful fall indulgence. Whether you’re new to candy making or a seasoned pro, these homemade candied apples are surprisingly simple to make and absolutely worth every sticky, sugary bite.
Ingredients You’ll Need
All the ingredients in this recipe are straightforward but essential. Each one plays a special role: from the crispness of the apples, the smooth sweetness of the syrup, to the vibrant color that makes these apples so festive. You don’t need anything fancy to whip up this crowd-pleaser, just good quality basics and a little bit of patience.
- 6 small apples (Granny Smith or any firm variety): Firm apples give a satisfying crunch and hold up perfectly under the candy coating.
- 6 wooden sticks or skewers: These make dipping and serving a breeze, so pick sturdy ones.
- 2 cups granulated sugar: The foundation of the candy coating’s sweet crunch.
- 1/2 cup light corn syrup: Keeps the sugar syrup smooth and prevents crystallization.
- 3/4 cup water: Helps dissolve the sugar and achieves the perfect candy texture.
- 1/2 teaspoon vanilla extract: Adds a warm, subtle depth of flavor to balance the sweetness.
- Orange food coloring (optional): Perfect for that classic Halloween look, but totally optional if you prefer the natural candy color.
- 1/2 cup chopped nuts (optional, for topping): Adds a delightful crunch and extra flavor contrast when sprinkled on top.
How to Make Candied Apples for Halloween Recipe
Step 1: Prepare Your Apples
Start by washing your apples thoroughly and drying them well — moisture is the enemy of candy coating! Slice off the stems and then carefully insert a wooden stick partway into the top of each apple so you have a sturdy handle for dipping and eating. Lay the apples on a baking sheet lined with parchment paper to catch any drips later.
Step 2: Make the Candy Syrup
In a medium saucepan, combine the granulated sugar, light corn syrup, and water. Stir over medium heat just until the sugar dissolves completely. Once dissolved, crank the heat up to medium-high and let the mixture come to a boil—but resist stirring, as agitation can cause graininess.
Step 3: Cook to the Hard Crack Stage
Attach a candy thermometer to your saucepan and keep a close eye. You want the syrup to reach exactly 300°F (150°C) — this is known as the hard crack stage and ensures the candy coating will set up hard and shiny. This usually takes between 10 to 15 minutes. As soon as you hit 300°F, pull the pan off the heat immediately to prevent burning.
Step 4: Add Flavor and Color
Quickly but carefully stir in the vanilla extract and, if you’re using it, a few drops of orange food coloring to give your apples that classic Halloween glow. The mixture may bubble a bit, so use caution while stirring.
Step 5: Dip the Apples
Working quickly, tilt the pan slightly and dunk each apple fully into the hot candy syrup. Give the apple a gentle spin to coat all sides evenly, then allow any excess syrup to drip back into the pan. Place the coated apple back on the parchment paper. If you want to add chopped nuts, sprinkle them on immediately before the coating hardens to help them stick.
Step 6: Let Them Set
Let your freshly dipped apples sit at room temperature until the candy shell hardens completely, about 30 minutes. Avoid moving them too much during this stage to keep the surface smooth and glossy.
Step 7: Optional Fun Carvings
If you want to really impress this Halloween, take a sharp paring knife and carve spooky faces into your apples before dipping them into the candy. The candy coating will create a gleaming, edible mask over your designs—making these apples as fun to look at as they are to eat.
How to Serve Candied Apples for Halloween Recipe
Garnishes
While the classic orange coating is stunning on its own, garnishes like chopped nuts, mini chocolate chips, or even festive sprinkles can turn your candied apples into small works of art. Consider rolling the freshly dipped apples in crushed candy corn or edible glitter to amp up the Halloween vibe.
Side Dishes
Candied apples are a sweet treat that pairs beautifully with more savory or spicy dishes to offer balance. Try serving them alongside a warm bowl of pumpkin chili or a savory cheese platter for a unique, crowd-pleasing fall spread that has a bit of everything.
Creative Ways to Present
Presentation can transform your candied apples from simple treats into a highlight of the party. Arrange them standing upright in a decorated bucket filled with straw or autumn leaves. Or get playful by placing them in a spooky-themed tray with fake spider webs and small gourds, making the display perfect for Halloween entertaining.
Make Ahead and Storage
Storing Leftovers
If you have any candied apples leftover, store them in a cool, dry place at room temperature. Avoid refrigeration because any humidity will cause the candy shell to become sticky and lose its crunch.
Freezing
Freezing isn’t recommended for candied apples because the texture of the apple changes drastically and the candy coating can develop condensation, making it sticky or soggy when thawed. It’s best to enjoy them fresh.
Reheating
Reheating candied apples isn’t advised either, since the candy shell may melt or soften and the apple itself could lose its crisp bite. The magic of candied apples lies in their fresh, crunchy, glossy perfection.
FAQs
Can I use different types of apples for this recipe?
Absolutely! While Granny Smith apples are popular for their tartness and firmness, any firm apple variety will work well. Just avoid softer apples that may not hold their shape after dipping.
What can I do if my candy syrup starts to crystallize?
If sugar crystals form on the sides of your pan or in the syrup, brush the sides with a wet pastry brush to dissolve them. Avoid stirring once the mixture starts boiling to prevent crystallization.
How do I prevent the candy coating from sticking to the apples?
Make sure the apples are completely dry before dipping. Any water on the skin can cause the syrup to not adhere properly or become sticky.
Can I make this recipe without corn syrup?
Corn syrup helps keep the syrup smooth and less likely to crystallize. You can try substituting with an equal amount of honey or maple syrup, but results may vary slightly in texture and shine.
How long do candied apples typically last?
Freshly made candied apples are best enjoyed within 2 to 3 days. After that, the candy coating can become sticky, and the apple inside may soften.
Final Thoughts
Making this Candied Apples for Halloween Recipe is such a joyful experience that brings a little extra sparkle to any autumn celebration. The combination of crisp apples and crunchy, sweet candy is timeless, and the chance to decorate and personalize them makes it even more special. So grab some apples, get your candy thermometer ready, and have fun creating these irresistible Halloween treats that everyone will love!
Print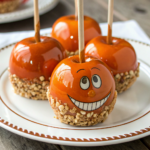
Candied Apples for Halloween Recipe
- Prep Time: 20 minutes
- Cook Time: 15 minutes
- Total Time: 35 minutes
- Yield: 6 candied apples
- Category: Dessert
- Method: Stovetop
- Cuisine: American
Description
These classic Halloween candied apples are a delightful treat featuring crunchy, tart apples coated in a shiny, hard candy shell with optional festive orange coloring and nutty toppings. Perfect for festive parties or a spooky snack, this recipe guides you through the easy stovetop candy-making process to achieve the perfect hard crack coating.
Ingredients
Apples
- 6 small apples (Granny Smith or any firm variety)
- 6 wooden sticks or skewers
Candy Coating
- 2 cups granulated sugar
- 1/2 cup light corn syrup
- 3/4 cup water
- 1/2 teaspoon vanilla extract
- Orange food coloring (optional)
Toppings (Optional)
- 1/2 cup chopped nuts (optional, for topping)
Instructions
- Prepare Apples: Wash and thoroughly dry the apples. Remove the stems and insert a wooden stick into the top of each apple, pushing it about halfway through. Place the apples on a baking sheet lined with parchment paper.
- Make the Candy Syrup: In a medium saucepan, combine the granulated sugar, corn syrup, and water. Stir over medium heat until the sugar dissolves completely. Then increase the heat to medium-high and bring the mixture to a boil without stirring to prevent crystallization.
- Cook to Hard Crack Stage: Attach a candy thermometer to the saucepan and cook the syrup until it reaches 300°F (150°C), which is the hard crack stage. This process takes about 10-15 minutes. Immediately remove the pan from the heat once the temperature is reached.
- Add Flavor and Color: Quickly stir in the vanilla extract and a few drops of orange food coloring if using, being careful as the hot syrup may bubble vigorously.
- Coat the Apples: Working swiftly, tip the saucepan slightly and dip each apple into the hot candy mixture, turning to coat evenly. Allow excess coating to drip off before placing each apple back on the parchment-lined baking sheet. If desired, sprinkle chopped nuts on the apples immediately before the coating hardens.
- Set the Candy Coating: Let the candied apples sit at room temperature for about 30 minutes or until the candy coating hardens completely.
- Optional Halloween Decoration: For a spooky theme, use a sharp paring knife to carve faces into the apples before dipping them in the candy mixture, lending a festive and personalized touch.
Notes
- Ensure apples are completely dry before dipping to help the candy coating adhere properly.
- Use a candy thermometer for accurate temperature measurement to avoid under or overcooking the syrup.
- Be very cautious when working with hot sugar syrup as it can cause severe burns.
- Orange food coloring is optional but adds a festive Halloween look to the candy coating.
- Chopped nuts add texture and extra flavor but can be omitted for nut allergies.
- Carving faces before dipping should be done carefully to avoid breaking the apple skin.


