
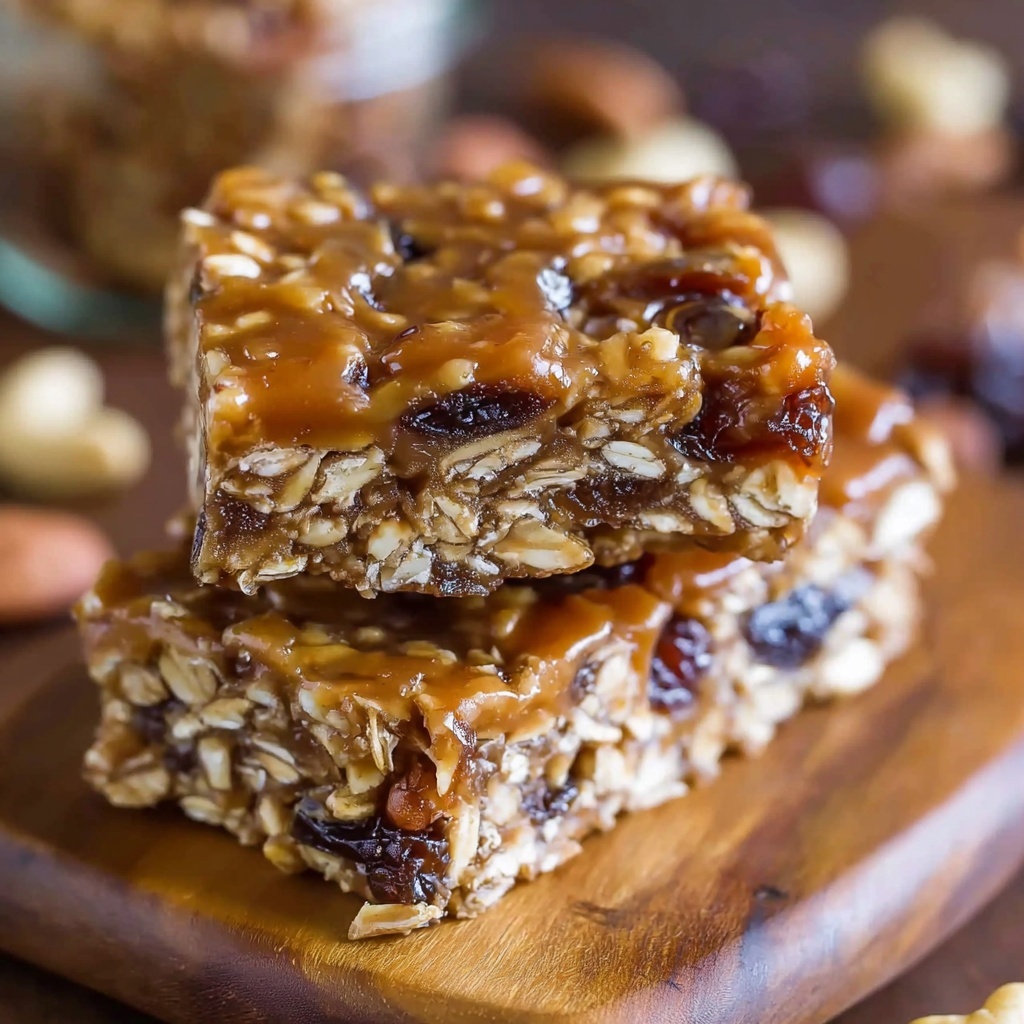
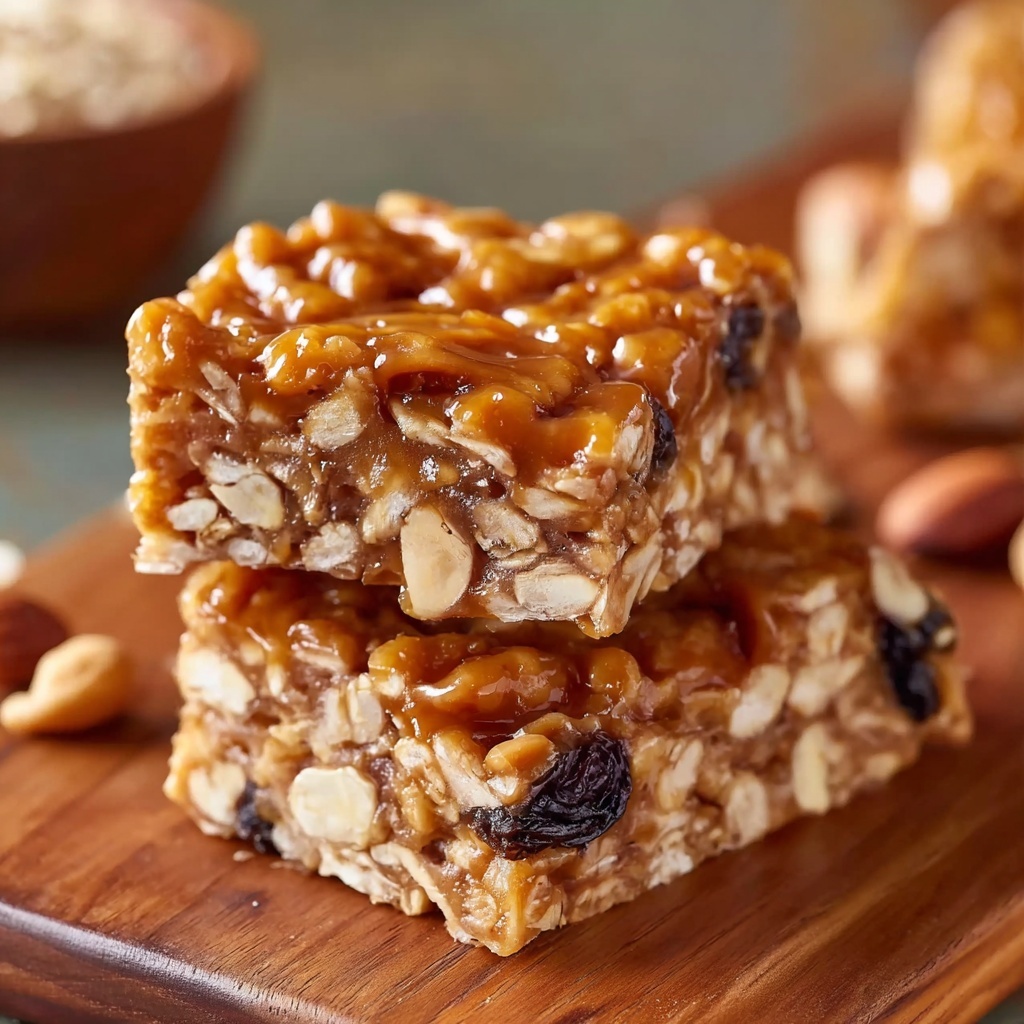
If you’re craving a snack that is both delightfully chewy and packed with texture, this Chewy Homemade Granola Bars Recipe is going to be your new best friend. Imagine biting into a perfect balance of sweet honey, melty marshmallows, chocolate chips, and crunchy oats all wrapped up in one wholesome bar. These bars are simple enough to whip up on a whim, yet feel indulgent and satisfying every single time. Whether you’re packing snacks for the kids, looking for an energizing lunchbox treat, or just craving something deliciously homemade, these granola bars hit all the right notes with that wonderfully chewy texture that keeps you coming back for more.
Ingredients You’ll Need
Gathering the ingredients for this Chewy Homemade Granola Bars Recipe is refreshingly straightforward. Each component has a special role in creating layers of flavor, texture, and that classic chewy goodness.
- Rolled oats: The hearty base that gives these bars their wholesome texture and satisfying chew.
- Mini marshmallows: These add a sweet, gooey softness that melts slightly to bind everything together.
- Chocolate chips: Small bursts of rich chocolate that add decadence and contrast.
- Graham cracker crumbs: For a subtle crunch and that warm, slightly sweet flavor that complements the oats.
- Rice cereal: Adds a delicate crispiness to balance the chewiness.
- Honey (or maple syrup or brown rice syrup): Acts as the natural sweetener and sticky binder for the granola mix.
- Butter: Provides richness and helps the granola bars hold together with that classic chew.
How to Make Chewy Homemade Granola Bars Recipe
Step 1: Melt the Butter and Honey
Start by gently melting your butter and honey together in a saucepan over medium heat. Keep an eye on it so it bubbles and thickens just slightly – this step creates that luscious syrupy base that binds the bars perfectly without burning.
Step 2: Mix the Dry Ingredients
In a large bowl, combine your rolled oats, graham cracker crumbs, and rice cereal. This trio forms a dynamic dry mix with plenty of texture and flavor hitting all the right spots for a truly satisfying bite.
Step 3: Combine the Wet and Dry
Pour the warm honey and butter mixture over the dry ingredients, then stir thoroughly to make sure every oat, crumb, and flake is coated in that sticky sweetness. This ensures your granola bars hold together firmly while staying chewy.
Step 4: Fold in Marshmallows and Chocolate Chips
Let the mixture cool just enough to prevent melting your treats, then gently fold in the mini marshmallows and chocolate chips. This step gives the bars their signature gooey pockets of sweetness and bursts of melty chocolate.
Step 5: Press and Chill
Press the mixture firmly and evenly into a greased or parchment-lined 9×13-inch pan. Use the back of a spatula or your hands to compact it well, which helps the bars keep their shape while cooling.
Step 6: Slice and Serve
After the bars cool completely, slice them into 16 pieces and get ready to indulge in a chewy, homemade snack that tastes like a little moment of pure joy in every bite.
How to Serve Chewy Homemade Granola Bars Recipe
Garnishes
Sprinkle a few extra chocolate chips or mini marshmallows on top before the bars set for an attractive finish and added bursts of sweetness. You can also drizzle a little melted dark chocolate over the top for a gourmet touch.
Side Dishes
These granola bars are perfect all on their own, but they also make an excellent companion for a cup of creamy coffee, a glass of cold milk, or even a fresh fruit salad to balance the sweetness with some juicy freshness.
Creative Ways to Present
Try wrapping each bar in parchment paper tied with rustic twine for a charming homemade gift or pack them individually for lunchboxes and picnics. You can even cut them into fun shapes using cookie cutters to surprise the kids and make snack time extra special.
Make Ahead and Storage
Storing Leftovers
Store your chewy homemade granola bars in an airtight container at room temperature for up to a week. This keeps them fresh and chewy without drying out, making them perfect for snacks during a busy week.
Freezing
If you want to keep your bars longer, wrap them individually in plastic wrap and freeze in a sealed bag or container. They can be frozen for up to three months without losing their chewy texture or flavor.
Reheating
Thaw frozen bars at room temperature for 20 to 30 minutes before serving. If you prefer them warm and melty, pop them in the microwave for about 10-15 seconds, but be careful not to overheat or they might become too soft to hold.
FAQs
Can I substitute the mini marshmallows with something else?
Absolutely! You could try dried fruit chunks like cranberries or apricots for a chewy twist without the marshmallow sweetness. However, keep in mind marshmallows help bind the bars, so your texture might shift slightly.
Is there a gluten-free option for this recipe?
Yes, by using certified gluten-free oats and rice cereal, along with gluten-free graham cracker crumbs, you can easily make this recipe gluten-free while keeping the chewy texture intact.
Can I use a different sweetener instead of honey?
Definitely. Maple syrup or brown rice syrup work beautifully here, offering similar sweetness and stickiness that help hold the bars together without compromising flavor.
How can I make these bars less sweet?
Reducing the amount of honey or syrup slightly will help tone down the sweetness. You can also increase the oats or rice cereal to balance out the sugary elements with more wholesome crunch.
What’s the best way to cut the granola bars without squishing them?
Use a sharp knife and press down firmly in a single motion rather than sawing. You can also chill the bars thoroughly before slicing to make clean cuts easier.
Final Thoughts
This Chewy Homemade Granola Bars Recipe is such a joy to make and enjoy because it balances simplicity with irresistible flavor and texture. Once you try these bars, you’ll love having a homemade snack on hand that’s both comforting and energizing. So grab your favorite ingredients, get mixing, and treat yourself and your loved ones to these chewy delights that are as fun to make as they are to eat.
Print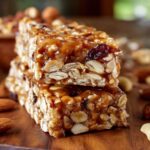
Chewy Homemade Granola Bars Recipe
- Prep Time: 10 minutes
- Cook Time: 10 minutes
- Total Time: 20 minutes
- Yield: 16 bars
- Category: Snack
- Method: Stovetop
- Cuisine: American
- Diet: Vegetarian
Description
These chewy homemade granola bars are a delicious and easy-to-make snack packed with rolled oats, crunchy cereal, gooey marshmallows, and chocolate chips. Sweetened naturally with honey and bound together with butter, these bars offer a perfect balance of chewy texture and delightful flavors, making them perfect for on-the-go snacking or lunchbox treats.
Ingredients
Dry Ingredients
- 2 cups rolled oats
- 1 cup graham cracker crumbs
- 1 cup rice cereal
- 1 cup mini marshmallows
- 1 cup chocolate chips
Wet Ingredients
- 1/2 cup honey (or maple syrup or brown rice syrup)
- 1/3 cup butter
Instructions
- Melt Butter and Honey: In a saucepan over medium heat, melt the butter and honey together. Cook the mixture until it begins to bubble and thickens slightly to create a sticky binder for the bars.
- Combine Dry Ingredients: In a large mixing bowl, stir together the rolled oats, graham cracker crumbs, and rice cereal evenly to form the base of your granola bar mixture.
- Mix Together: Pour the warm butter and honey mixture over the dry ingredients and stir thoroughly to coat all the dry components evenly with the sticky syrup.
- Fold in Marshmallows and Chocolate Chips: Allow the mixture to cool for a few minutes so it’s easier to handle, then gently fold in the mini marshmallows and chocolate chips without crushing them.
- Press into Pan: Transfer the mixture to a greased or parchment-lined 9×13-inch baking dish and press it down firmly and evenly to compact the mixture into a solid layer.
- Cool and Slice: Let the mixture cool completely at room temperature until firm. Once set, slice into 16 bars and serve or store for later snacking.
Notes
- You can substitute honey with maple syrup or brown rice syrup depending on your preference.
- For a vegan version, use dairy-free butter and maple syrup instead of honey.
- Pressing the mixture firmly into the pan helps the bars hold their shape better once cooled.
- Store granola bars in an airtight container at room temperature for up to a week or freeze for longer storage.
- Adding chopped nuts or dried fruits is a great way to customize these bars to your taste.
