
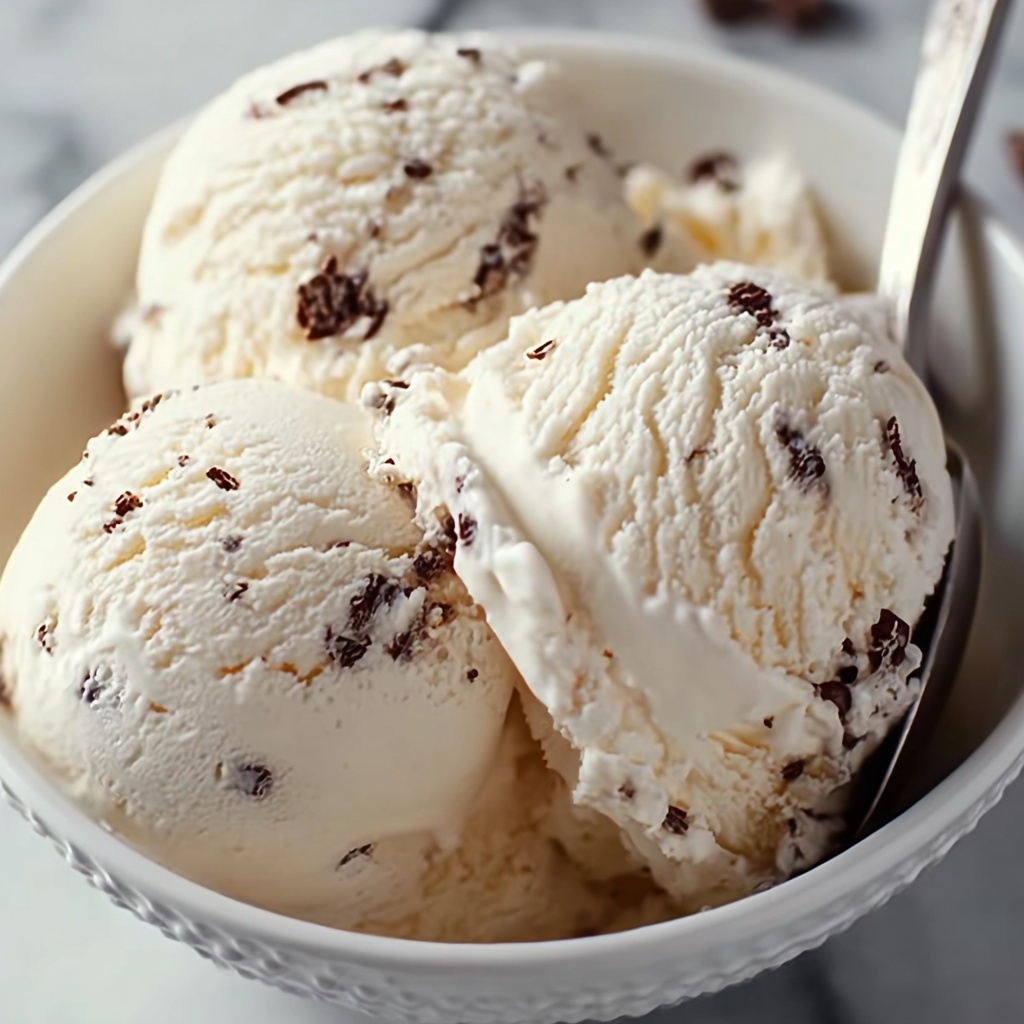
If you have ever dreamed of creating that velvety, rich taste of a homemade treat that everyone adores, then this Classic Vanilla Ice Cream Recipe is exactly what you’ve been waiting for. It combines simple, wholesome ingredients to produce a creamy and smooth dessert that bursts with the warm sweetness of pure vanilla. Whether it’s a hot summer day or a cozy evening, this recipe promises a timeless flavor and texture that only a well-made vanilla ice cream can deliver. Trust me, once you try this, you’ll see why it’s a cherished classic that never goes out of style.
Ingredients You’ll Need
Each ingredient in this Classic Vanilla Ice Cream Recipe plays a vital role in creating the perfect balance of creaminess, sweetness, and flavor. These essentials are easy to find but make all the difference in transforming simple components into a dreamy dessert.
- 2 cups heavy cream: Provides the luscious creaminess and rich texture that makes the ice cream indulgent.
- 1 cup whole milk: Lightens the base slightly while adding smoothness and helping with freeze-ability.
- 3/4 cup granulated sugar: Sweetens the ice cream perfectly, balancing the cream and vanilla flavors.
- 1 tablespoon pure vanilla extract: The star flavor of this recipe, offering warmth and aromatic sweetness.
- 5 large egg yolks: Essential for that custard base, making the ice cream creamy and silky.
- Pinch of salt: Enhances all the other flavors, making the vanilla shine even brighter.
How to Make Classic Vanilla Ice Cream Recipe
Step 1: Heat the Cream, Milk, and Sugar
Begin by gently combining your heavy cream, whole milk, and sugar in a medium saucepan. Heat this mixture over medium heat while stirring occasionally, just until the sugar dissolves and the liquid feels hot to the touch but hasn’t reached a boil. This step is where the flavors start to marry, setting the stage for a luscious ice cream.
Step 2: Whisk the Egg Yolks and Salt
While your cream mixture is warming, whisk the egg yolks and a pinch of salt together in a separate bowl until the mixture is smooth and creamy. The salt might be a tiny addition, but it truly brightens the vanilla’s natural sweetness later on.
Step 3: Temper the Egg Yolks
To avoid scrambling your precious eggs, carefully pour about half a cup of the hot cream mixture into the egg yolks little by little, whisking constantly. This gentle process raises the temperature of the yolks slowly, ensuring a silky custard base without lumps.
Step 4: Combine the Mixtures
Now slowly mix the tempered egg yolk mixture back into the saucepan with the rest of the warm cream base, whisking continuously. This combination is the heart of the custard that will become your ice cream.
Step 5: Cook Until Thickened
Set the saucepan back over medium-low heat, stirring constantly. Watch carefully as the custard thickens enough to coat the back of a spoon—a tender sign that it’s ready. It’s crucial not to rush this step, or the custard might curdle. Aim for around 170°F (77°C) to achieve perfect consistency.
Step 6: Add Vanilla Extract
Remove the saucepan from heat and stir in the pure vanilla extract. This final addition infuses the custard with the unmistakable classic vanilla flavor that defines this recipe.
Step 7: Strain the Custard
Pour your custard through a fine mesh strainer into a clean bowl. This step smooths out any cooked egg bits, revealing the pure, silky texture we’re after in every scoop of this Classic Vanilla Ice Cream Recipe.
Step 8: Chill the Custard
Allow your custard to cool to room temperature, then cover and refrigerate for at least four hours or overnight. Chilling allows the flavors to meld and the mixture to thicken, ensuring the creamiest ice cream.
Step 9: Churn the Ice Cream
Once chilled, pour the mixture into your ice cream maker and follow the manufacturer’s instructions. This transformation turns your custard into soft, swirly ice cream, ready for its final chill.
Step 10: Freeze Until Firm
Transfer the churned ice cream to a container and freeze it for at least four hours. Patience here is key; it allows the Classic Vanilla Ice Cream Recipe to set perfectly, firm enough to scoop but still luxuriously creamy.
Step 11: Scoop and Enjoy!
Now the best part—scoop out your homemade vanilla ice cream and relish the fruits of your labor. Each bite is a reward, rich in flavor and creaminess that only a lovingly made classic can provide.
How to Serve Classic Vanilla Ice Cream Recipe
Garnishes
Simple toppings can elevate your serving of this Classic Vanilla Ice Cream Recipe beautifully. Think fresh berries, a drizzle of warm chocolate or caramel sauce, crushed nuts, or even a sprinkle of cinnamon. Each adds a new texture or flavor contrast that complements the creamy vanilla base wonderfully.
Side Dishes
This ice cream pairs perfectly with warm desserts such as apple pie, brownies, or even a slice of rich chocolate cake. The cold, creamy vanilla balances and enhances these warm, comforting flavors, creating an unforgettable dessert experience.
Creative Ways to Present
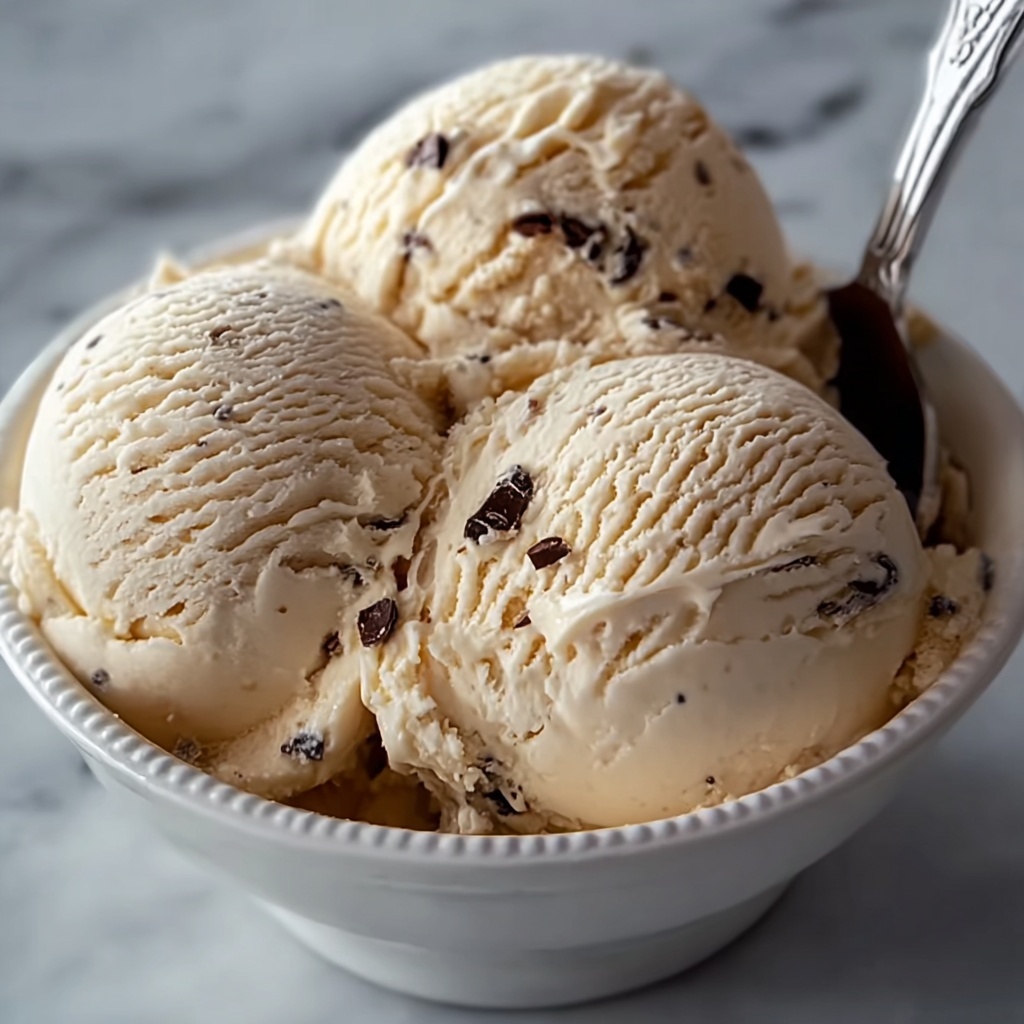
Presentation makes the dessert feel extra special. Try serving your Classic Vanilla Ice Cream Recipe in elegant glass bowls, waffle cones, or alongside a homemade cookie sandwich. You can also shape small scoops into balls and freeze them on parchment paper for bite-sized treats that wow guests at parties.
Make Ahead and Storage
Storing Leftovers
If you find yourself with extra ice cream, store it in an airtight container to prevent freezer burn and maintain freshness. Pressing plastic wrap directly onto the surface before sealing helps keep it creamy and smooth for longer.
Freezing
This recipe freezes beautifully, thanks to its custard base. Just be sure to allow enough freezing time after churning to achieve that perfect scoopable texture, and keep it well-covered to avoid ice crystals.
Reheating
Vanilla ice cream is best enjoyed cold, so reheating is not recommended. However, if it becomes too hard in the freezer, simply let it sit at room temperature for a few minutes before scooping to soften slightly.
FAQs
Can I use a different type of milk for this Classic Vanilla Ice Cream Recipe?
Whole milk is preferred for its fat content, which contributes to creaminess, but you can use 2% milk in a pinch. However, using skim or non-dairy milk will alter the texture and richness significantly.
Do I need an ice cream maker for this recipe?
While an ice cream maker yields the best texture by churning air into the mixture, you can still make this recipe without one by freezing the custard and stirring every 30 minutes until firm to avoid ice crystals.
What’s the role of egg yolks in this recipe?
Egg yolks create a custard base that thickens and enriches the ice cream, giving it a silky, smooth texture that’s hard to achieve with just cream and milk.
Can I add mix-ins like chocolate chips or nuts?
Absolutely! Add your favorite mix-ins during the last few minutes of churning to distribute them evenly without breaking them down.
How long does homemade ice cream last in the freezer?
When stored properly, your homemade Classic Vanilla Ice Cream Recipe can last up to two weeks in the freezer without significant loss of flavor or texture.
Final Thoughts
Making your own Classic Vanilla Ice Cream Recipe truly feels like a celebration of simple ingredients and timeless techniques made magical through patience and care. Once you master this recipe, you’ll find it becomes a staple for every season and occasion, delighting friends and family alike. So gather your ingredients, get cozy by the stove, and treat yourself to a batch of creamy, dreamy homemade vanilla ice cream you’ll cherish forever.
Print
Classic Vanilla Ice Cream Recipe
- Prep Time: 20 minutes
- Cook Time: 15 minutes
- Total Time: 8 hours 35 minutes
- Yield: 4 to 6 servings
- Category: Dessert
- Method: Stovetop
- Cuisine: American
Description
Classic Vanilla Ice Cream is a creamy, rich dessert made from a smooth custard base infused with pure vanilla extract. This homemade ice cream combines heavy cream, whole milk, sugar, and egg yolks to create a luscious treat perfect for any occasion. Churned in an ice cream maker and frozen to perfection, it offers a delightful balance of sweetness and creaminess.
Ingredients
Custard Base
- 2 cups heavy cream
- 1 cup whole milk
- 3/4 cup granulated sugar
- 5 large egg yolks
- Pinch of salt
- 1 tablespoon pure vanilla extract
Instructions
- Heat Cream and Milk: In a medium saucepan, combine the heavy cream, whole milk, and sugar. Heat over medium heat, stirring occasionally, until the sugar dissolves and the mixture is hot but not boiling. Remove from heat.
- Whisk Egg Yolks: In a separate bowl, whisk the egg yolks and salt together until smooth and combined.
- Temper the Eggs: Gradually pour about 1/2 cup of the hot cream mixture into the egg yolks, whisking constantly to gently warm the eggs and prevent curdling.
- Combine Mixtures: Slowly pour the egg yolk mixture back into the saucepan with the rest of the hot cream, whisking continuously to blend well.
- Cook Custard: Return the saucepan to the stove over medium-low heat and cook, stirring constantly, until the mixture thickens slightly and coats the back of a spoon, reaching about 170°F (77°C).
- Add Vanilla Extract: Remove the custard from heat and stir in the pure vanilla extract to infuse flavor.
- Strain Custard: Pour the custard through a fine mesh strainer into a clean bowl to remove any cooked egg bits or lumps for a smooth texture.
- Chill the Custard: Allow the custard to cool to room temperature, then refrigerate it for at least 4 hours or overnight to fully chill and develop flavor.
- Churn Ice Cream: Once chilled, pour the custard into an ice cream maker and churn following the manufacturer’s instructions until it reaches a soft-serve consistency.
- Freeze for Firmness: Transfer the churned ice cream into a container and freeze for at least 4 hours to firm up before serving.
- Serve: Scoop the classic vanilla ice cream into bowls or cones and enjoy the creamy, homemade delight.
Notes
- Tempering the eggs is crucial to avoid scrambled eggs and ensure a smooth custard.
- Using a fine mesh strainer improves the texture by removing any lumps or cooked egg bits.
- For a richer taste, use high-quality vanilla extract.
- Chilling the custard thoroughly before churning helps produce a better texture.
- If you don’t have an ice cream maker, pour the custard into a shallow container and freeze, stirring every 30 minutes until firm.


