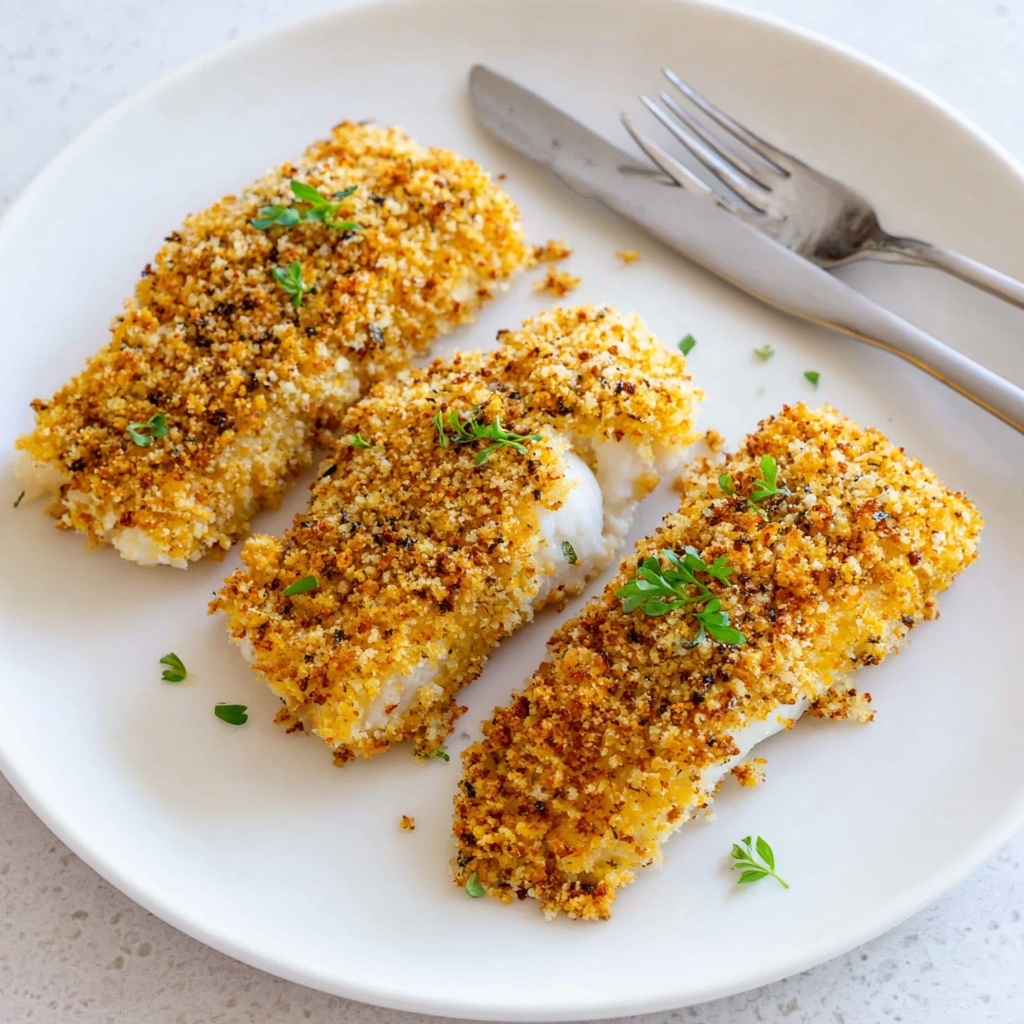
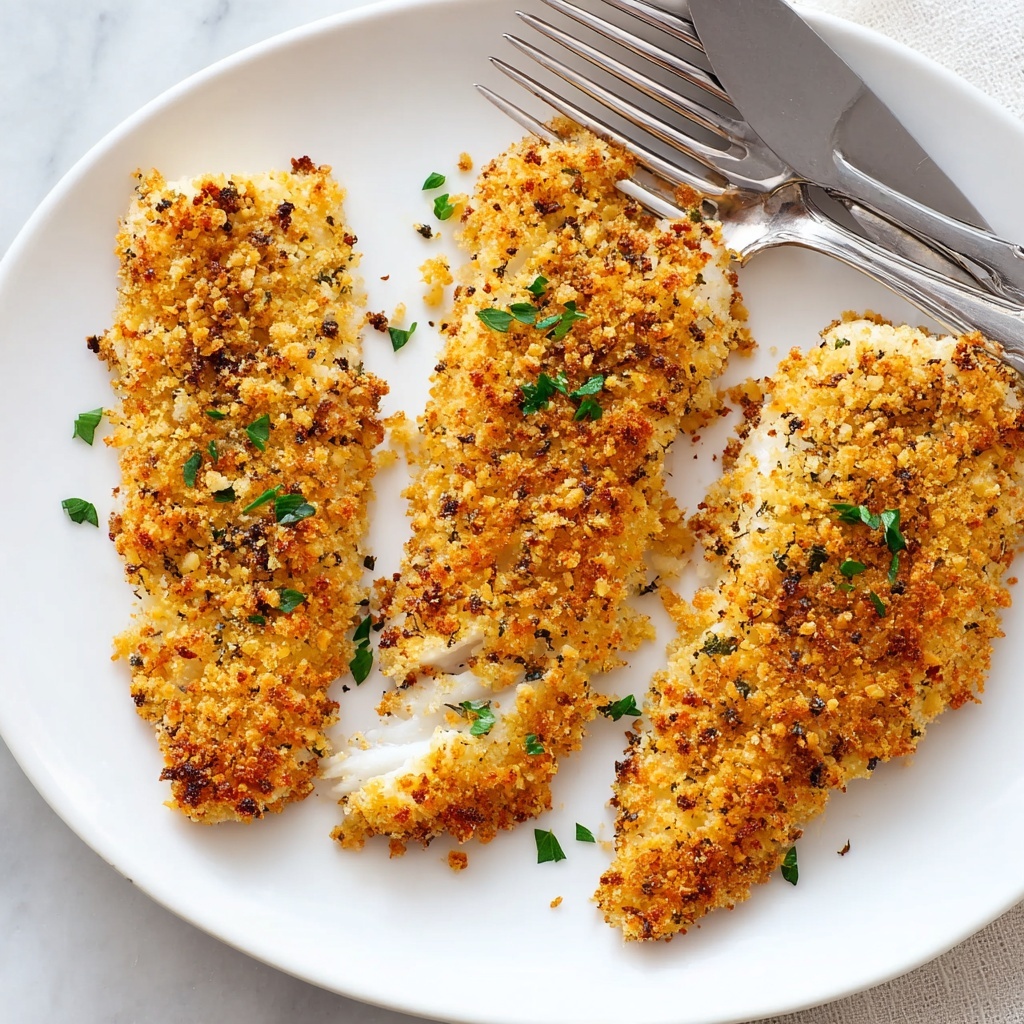
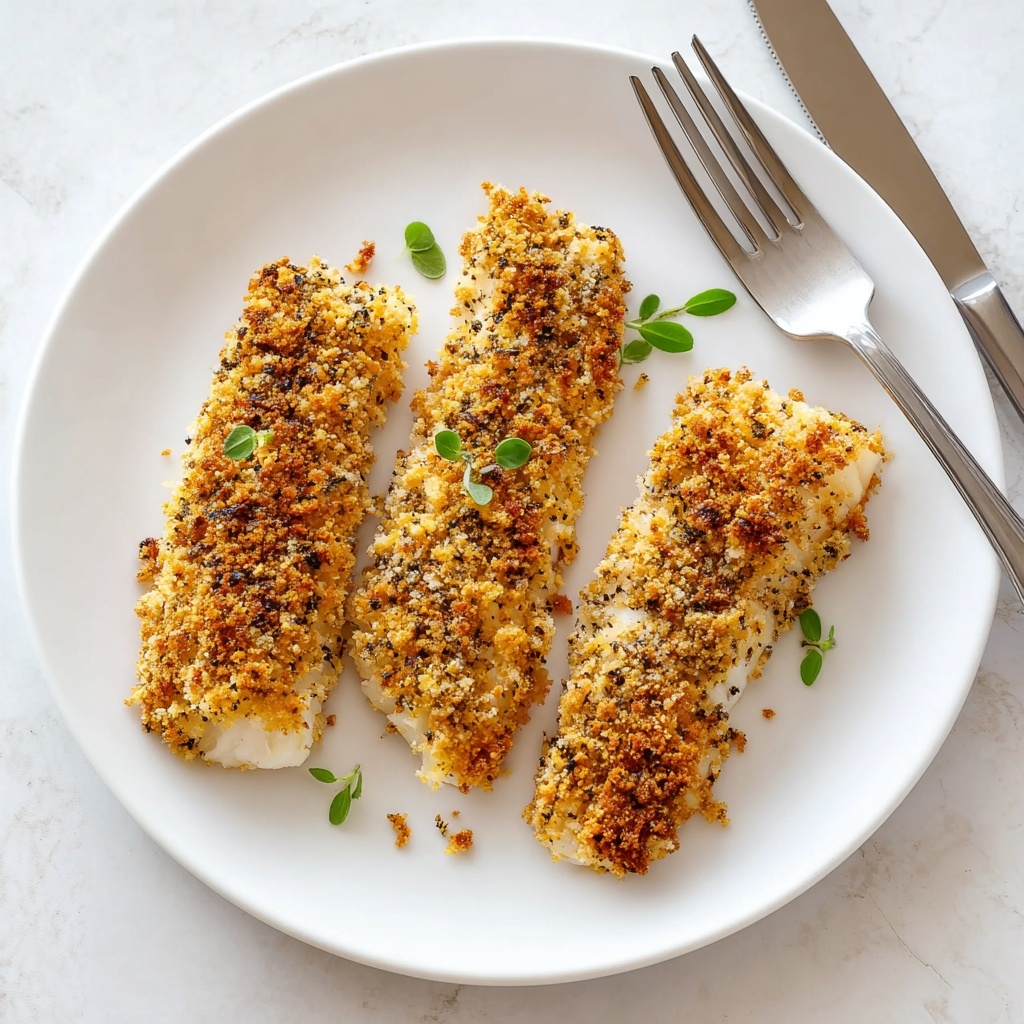
If you have been searching for a show-stopping, irresistibly crunchy chicken dish to add to your recipe collection, look no further than this Crispy Oven-Baked Panko Chicken Strips Recipe. The delicate crunch of golden panko breadcrumbs combined with the juicy tenderness of perfectly baked chicken strips is nothing short of magical. These chicken strips are not only delightfully crispy but also healthier than their fried counterparts, making them a crowd-pleasing favorite for weeknight dinners or casual gatherings. Once you master this recipe, you will find yourself reaching for it time and again whenever that craving for crispy comfort food strikes.
Ingredients You’ll Need
The magic of this Crispy Oven-Baked Panko Chicken Strips Recipe lies in its simple yet purposeful ingredients. Each one plays a key role in building fabulous flavor, texture, and color that make these strips stand out.
- 1.1 lbs boneless, skinless chicken breasts or tenders: The perfect lean protein base that cooks evenly and stays tender inside.
- 1/2 teaspoon salt: Enhances the natural flavors and seasons the chicken perfectly.
- 1/4 teaspoon ground black pepper: Adds a subtle kick of warmth to balance the seasoning.
- 1 cup all-purpose flour: Creates the first dry coating to help the egg mixture stick better.
- 2 large eggs: Acts as the binding agent that holds the panko breadcrumbs in place.
- 2 tablespoons mayonnaise or Greek yogurt: Adds moisture and richness to the egg wash, ensuring crispy and flavorful crust.
- 1.5 cups panko breadcrumbs: The secret to achieving that light, super crunchy texture.
- 1.5 teaspoons dried Italian herbs: Infuses the coating with savory herbal notes.
- 1/2 teaspoon garlic powder: For a delicious, mild garlic aroma that complements the chicken.
- 1/2 teaspoon smoked paprika: Adds smoky depth and beautiful color to the crust.
- 1/4 teaspoon cayenne pepper, optional: For those who like a touch of heat in every bite.
- 2 tablespoons olive oil for drizzling or spraying: Helps achieve that unbeatable golden crisp in the oven.
How to Make Crispy Oven-Baked Panko Chicken Strips Recipe
Step 1: Prepare Oven and Baking Surface
Start by preheating your oven to a toasty 425°F. For the crispiest results, line a baking sheet with parchment paper, or better yet, use a wire rack placed on top of the baking sheet. This setup allows the hot air to circulate evenly around each chicken strip, giving you a golden crust all over without sogginess.
Step 2: Cut and Season Chicken
Pat your chicken pieces dry with paper towels. Moisture is the enemy of crispiness, so this step is crucial. Cut the chicken breasts into uniform strips around 3/4 inch wide. This ensures even cooking and a nice balance between crispy coating and juicy inside. Generously season the strips with salt and black pepper to build the first layer of flavor.
Step 3: Establish Breading Station
Set up three shallow bowls to streamline the breading process. Place the flour in the first bowl for the initial coating, whisk the eggs together with mayonnaise or Greek yogurt in the second for moisture and binding, and combine the panko breadcrumbs with Italian herbs, garlic powder, smoked paprika, and optional cayenne pepper in the third. This trio creates the perfect sequence of crispy delight.
Step 4: Coat Chicken Strips
Take each chicken strip and dredge it in the flour, shaking off any excess. Next, soak it fully in the egg mixture, making sure every inch is covered. Finally, press the strip into the seasoned panko crumbs with gentle hands so the coating sticks well. Don’t rush this step; the more thorough you are, the crispier and tastier your strips will be.
Step 5: Arrange and Oil
Place your breaded chicken strips carefully on the prepared baking sheet or wire rack in a single layer, avoiding any overlap. Lightly drizzle or spray olive oil over each strip. This step is key to helping the panko toast beautifully in the oven and achieve that signature golden color and crunch.
Step 6: Bake Until Golden
Pop the tray in the oven and bake for 18 to 22 minutes, flipping halfway through to brown both sides evenly. You’re aiming for a gorgeous golden-brown crust and juicy chicken with an internal temperature of 165°F. The aroma wafting from your oven will be irresistible!
Step 7: Rest Before Serving
Once out of the oven, give the chicken strips a few minutes to rest on the baking sheet. This short wait allows the exterior to firm up and become even crispier, while the inside settles into tender perfection. Now they’re ready to wow everyone at your table.
How to Serve Crispy Oven-Baked Panko Chicken Strips Recipe
Garnishes
Add a burst of fresh flavor and color by garnishing your chicken strips with a sprinkle of chopped parsley or a wedge of lemon on the side. These simple touches elevate the dish visually and offer bright, contrasting notes that balance the savory richness.
Side Dishes
These chicken strips are incredibly versatile and pair wonderfully with a variety of sides. Think creamy mashed potatoes or a refreshing garden salad for a light meal. Crispy sweet potato fries or roasted vegetables bring extra texture and color to your plate, making every bite a delight.
Creative Ways to Present
If you’re serving these for a party or casual get-together, try bundling a few strips in parchment paper cones or arranging them on a platter with several dipping sauces like honey mustard, spicy sriracha mayo, or classic ranch. This makes snacking fun and lets everyone customize their own flavor experience.
Make Ahead and Storage
Storing Leftovers
Store any leftover chicken strips in an airtight container in the refrigerator for up to 3 days. Keeping them sealed properly prevents moisture from making the crust soggy, preserving that delightful crunch as much as possible.
Freezing
You can freeze your cooked chicken strips by placing them on a baking sheet to flash freeze individually, then transferring them to a freezer-safe bag or container. They stay delicious for up to 2 months. This is a lifesaver when you want a quick protein snack or meal addition anytime.
Reheating
To bring back the crispiness from refrigerated or frozen chicken strips, reheat them in a preheated 375°F oven for about 8-10 minutes. Avoid microwaving, which tends to make the coating soft instead of crunchy. A toaster oven works beautifully for this too!
FAQs
Can I use chicken thighs instead of breasts for this Crispy Oven-Baked Panko Chicken Strips Recipe?
Absolutely! Chicken thighs offer richer flavor and juiciness. Just make sure to trim excess fat and cut into uniform strips to ensure even cooking time similar to breasts.
What can I substitute if I don’t have mayonnaise or Greek yogurt?
If you don’t have either, you can simply use beaten eggs alone, but mayo or Greek yogurt adds extra moisture and helps the breadcrumbs stick better, improving the texture and taste.
Is it possible to make this recipe gluten-free?
Definitely. Substitute regular all-purpose flour with a gluten-free alternative, and use gluten-free panko breadcrumbs to maintain that crispy texture without compromising flavor.
How can I make these chicken strips spicier?
Add more cayenne pepper to the breadcrumb mixture or serve with a spicy dipping sauce. You could also sprinkle some chili powder or smoked chili flakes into the coating for an extra kick.
Can I prepare the chicken strips ahead of time before baking?
Yes, you can bread the chicken strips and keep them covered in the refrigerator for a few hours before baking. Just bring them back to room temperature for about 15 minutes before placing them in the oven to ensure even cooking.
Final Thoughts
I can honestly say this Crispy Oven-Baked Panko Chicken Strips Recipe has become a staple in my home for good reason. It’s simple, full of flavor, and nails that crispy, golden texture we all crave without the fuss or mess of frying. Give it a try – I’m confident it will quickly become one of your favorite go-to recipes too!
Print
Crispy Oven-Baked Panko Chicken Strips Recipe
- Prep Time: 10 minutes
- Cook Time: 20 minutes
- Total Time: 30 minutes
- Yield: 4 servings
- Category: Main Course
- Method: Baking
- Cuisine: American
Description
Crispy Panko Chicken Strips are a delicious and easy-to-make baked chicken recipe featuring tender chicken breast strips coated in a flavorful mixture of panko breadcrumbs and Italian herbs. Baked to golden perfection, these chicken strips offer a healthier alternative to fried versions while maintaining a crispy, crunchy texture perfect for dipping and sharing.
Ingredients
Chicken and Seasonings
- 1.1 lbs boneless, skinless chicken breasts or tenders
- 1/2 teaspoon salt
- 1/4 teaspoon ground black pepper
Breading Station
- 1 cup all-purpose flour
- 2 large eggs
- 2 tablespoons mayonnaise or Greek yogurt
- 1.5 cups panko breadcrumbs
- 1.5 teaspoons dried Italian herbs
- 1/2 teaspoon garlic powder
- 1/2 teaspoon smoked paprika
- 1/4 teaspoon cayenne pepper (optional)
Finishing
- 2 tablespoons olive oil for drizzling or spraying
Instructions
- Prepare Oven and Baking Surface: Preheat your oven to 425°F (220°C). Line a baking sheet with parchment paper or place a wire rack on the baking sheet to help achieve optimal crispiness during baking.
- Cut and Season Chicken: Pat the chicken breasts or tenders dry with paper towels. Cut them into uniform strips about 3/4 inch wide to ensure even cooking. Season the strips generously with salt and black pepper to enhance their natural flavor.
- Establish Breading Station: Set up three shallow bowls: the first bowl with all-purpose flour; the second bowl with whisked eggs mixed thoroughly with mayonnaise or Greek yogurt until smooth; and the third bowl containing panko breadcrumbs combined with dried Italian herbs, garlic powder, smoked paprika, and optional cayenne pepper.
- Coat Chicken Strips: Take each chicken strip and dredge it first in the flour, tapping off any excess. Then dip the strip into the egg mixture, ensuring it is fully coated. Finally, press the chicken into the panko mixture so that the crumbs adhere well and the coating is even.
- Arrange and Oil: Place the breaded chicken strips in a single layer on the prepared baking sheet or wire rack, ensuring they do not overlap. Lightly drizzle or spray the strips with olive oil to promote even browning and crispiness during baking.
- Bake Until Golden: Bake the chicken strips in the preheated oven for 18 to 22 minutes. Flip the strips halfway through the cooking time to brown both sides evenly. Ensure the chicken is fully cooked with an internal temperature of 165°F (74°C) and the coating is golden brown and crispy.
- Rest Before Serving: Remove the baking sheet from the oven and allow the chicken strips to rest for 2 to 3 minutes on the baking sheet or rack. This resting helps the coating set and maximize crispiness before serving.
Notes
- For extra crispy strips, use a wire rack on the baking sheet to allow heat circulation around the chicken.
- Mayonnaise or Greek yogurt adds moisture and helps the breadcrumb coating stick better.
- The optional cayenne pepper adds a subtle kick; omit if preferred mild flavors.
- These chicken strips are perfect served with dipping sauces like honey mustard, ranch, or a spicy aioli.
- Ensure chicken strips are uniform in size for even cooking.

