
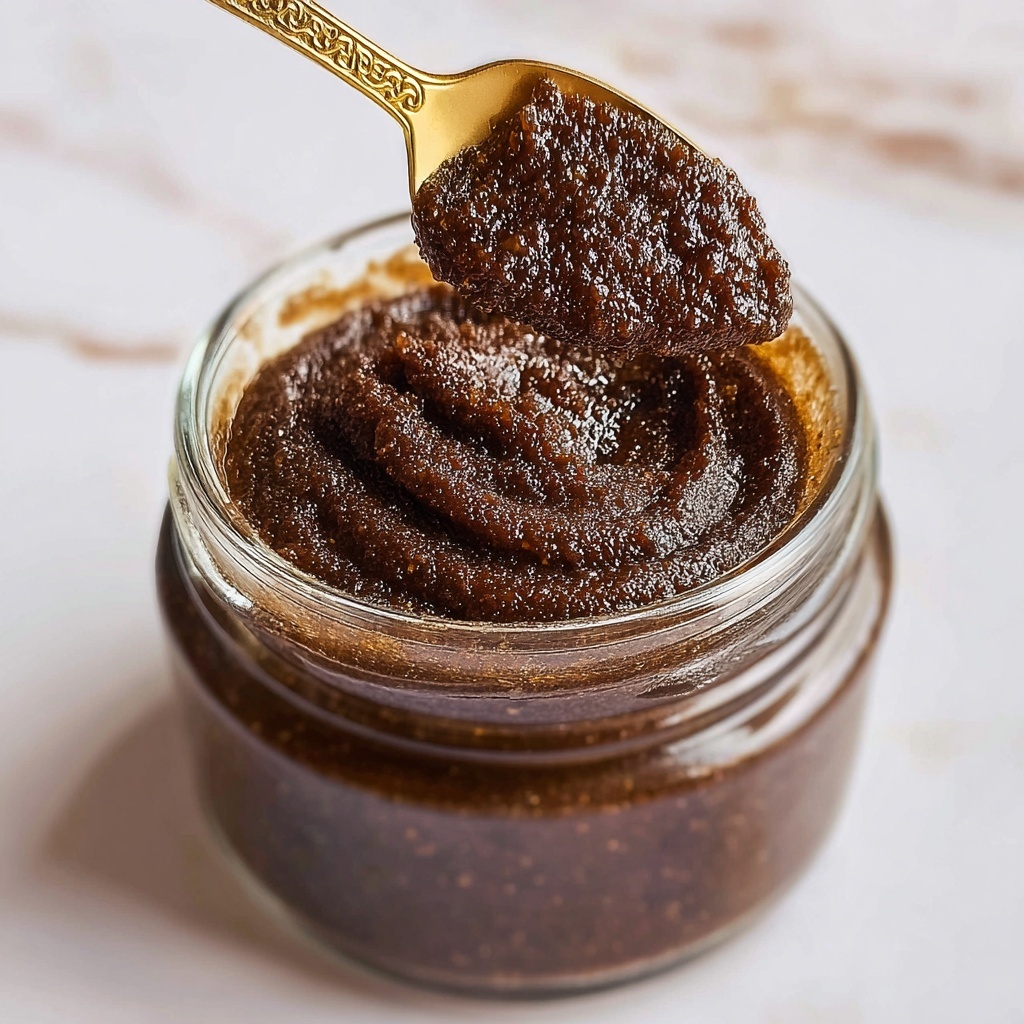
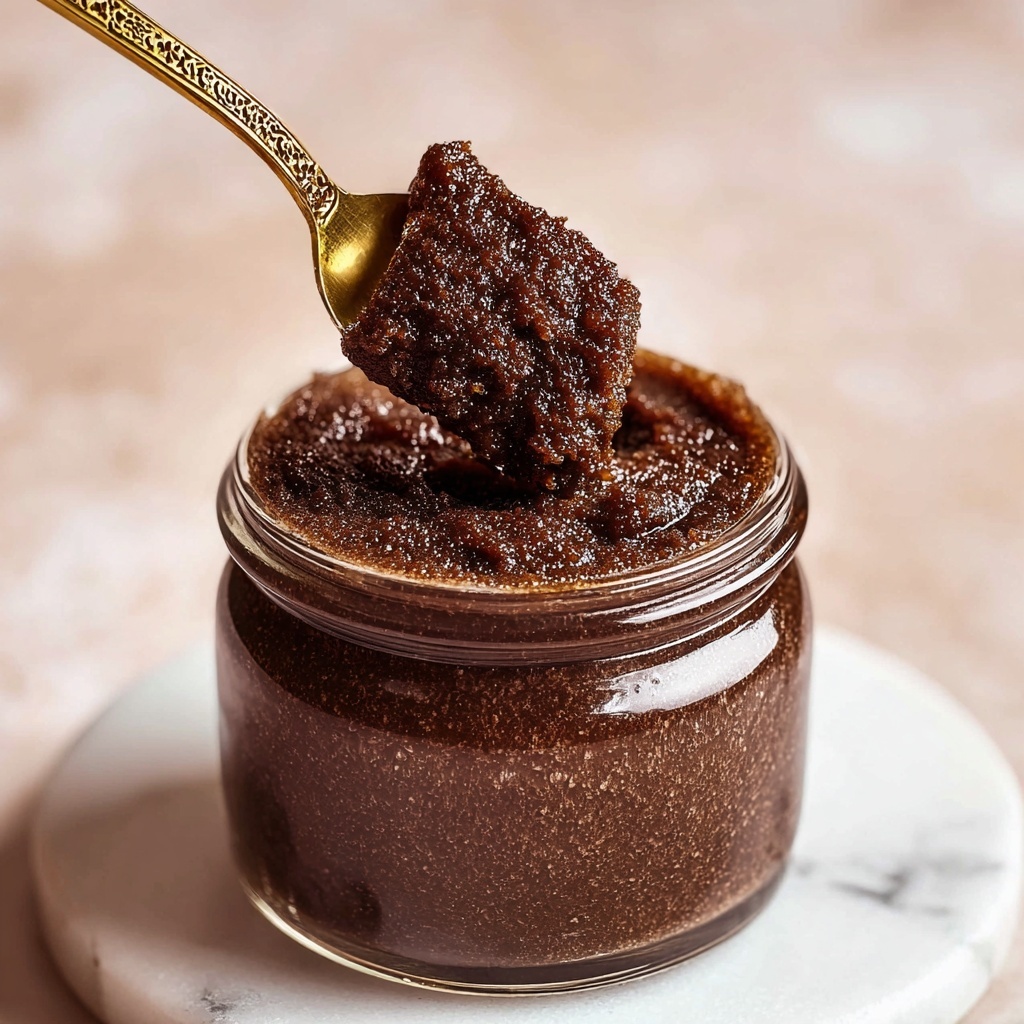
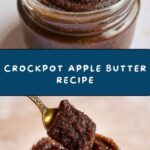
If you have a soft spot for warm, comforting spreads that evoke the cozy charm of autumn, then you are going to absolutely love this Crockpot Apple Butter Recipe. Imagine the irresistibly rich aroma of simmering spices mingling with tender apples all day long, filling your kitchen with inviting warmth. This slow-cooked delight transforms simple apples into a luscious, spiced spread that’s perfectly sweet, deeply flavorful, and wonderfully smooth—a homemade treasure that elevates toast, biscuits, and desserts with ease and heartwarming flavor.
Ingredients You’ll Need
This Crockpot Apple Butter Recipe is a celebration of simple, wholesome ingredients that come together beautifully to create a complex flavor profile. Each ingredient plays a vital role—apples provide the natural sweetness and body, sugars balance tartness, and a harmonious blend of spices gives it that signature warmth and depth.
- 5 lbs apples: Use a mix of sweet and tart varieties for the perfect balance of flavor and natural pectin to help thicken the butter.
- 1 cup granulated sugar: Adds pure sweetness that helps mellow the tartness of the apples.
- 1 cup brown sugar, packed: Brings a rich, caramel-like depth thanks to its molasses content.
- 1 tablespoon ground cinnamon: Infuses the apple butter with a classic, warm spice.
- 1/2 teaspoon ground nutmeg: Adds a hint of aromatic spice that’s slightly sweet and nutty.
- 1/4 teaspoon ground cloves: Offers a bold, warm kick that rounds out the spice mix.
- Pinch of salt: Enhances the overall flavor and balances the sweetness.
- 1 tablespoon vanilla extract: Brings a sweet, floral note that complements the spices beautifully.
- Juice of 1 lemon: Provides brightness and a bit of acidity to keep the flavors lively.
How to Make Crockpot Apple Butter Recipe
Step 1: Prepare the Apples
Start by peeling, coring, and chopping your apples into nice, chunky pieces. You’ll want about 10 cups of chopped apples, making sure to include a variety of sweet and tart types to build a well-rounded flavor foundation for your apple butter.
Step 2: Combine Ingredients in Crockpot
Place those fresh apple chunks right into your crockpot, then add the granulated sugar, brown sugar, cinnamon, nutmeg, cloves, salt, vanilla extract, and lemon juice. Give everything a good stir so all those flavors mingle from the very beginning.
Step 3: Cook on Low Heat
Set your crockpot on low, cover it, and let it work its magic for 8 to 10 hours. Every now and then, give it a stir to make sure nothing sticks to the bottom. Over this slow cook, the apples will soften to tender perfection and release all their natural juices.
Step 4: Blend or Mash to Desired Texture
Once the apples are super soft and cooked down, it’s time for your personal touch. Use an immersion blender to achieve a smooth, velvety apple butter, or if you prefer a bit of texture, mash it with a potato masher for a chunkier, rustic spread.
Step 5: Thicken the Apple Butter
Leave your apple butter uncovered on low heat for another 1 to 2 hours. This step lets the mixture thicken to your preferred consistency while concentrating those warm spices and apple flavors. Remember to stir occasionally to prevent sticking and ensure even cooking.
Step 6: Store or Can
Once thickened, cool the apple butter completely. Transfer it into clean, sterilized jars or airtight containers. You can refrigerate it for up to two weeks or follow proper canning techniques to preserve it for many months.
Step 7: Enjoy!
This homemade apple butter spreads like a dream. Dollop it over toast, swirl it in yogurt, or even use it as a decadent filling for cakes and pastries. Every bite captures the cozy essence of fall in your own kitchen.
How to Serve Crockpot Apple Butter Recipe
Garnishes
To elevate your apple butter experience, try topping it with a sprinkle of toasted chopped pecans or a light dusting of cinnamon. Fresh whipped cream or a dollop of mascarpone can add a creamy contrast that pairs wonderfully with the spiced sweetness.
Side Dishes
Crockpot apple butter pairs beautifully with warm biscuits, crusty bread, or even pancakes. Consider serving it alongside sharp cheddar cheese for an irresistible sweet-and-savory combo that will have everyone asking for more.
Creative Ways to Present
Why not get creative? Use apple butter as a glaze for roasted meats like pork or chicken to add depth and a hint of sweetness. Incorporate it into your morning oatmeal or swirl it into your favorite muffin or quick bread batter for an extra burst of flavor.
Make Ahead and Storage
Storing Leftovers
You can safely store your homemade apple butter in the refrigerator for up to two weeks. Be sure to keep it in an airtight container to maintain freshness and prevent it from absorbing other fridge odors.
Freezing
For longer storage, freeze apple butter in freezer-safe jars or containers. It freezes well for up to six months. When you’re ready to enjoy, simply thaw overnight in the fridge for the best texture and taste.
Reheating
Reheat your apple butter gently on the stove over low heat, stirring occasionally. This prevents burning and restores that warm, just-made feeling quickly. If you prefer, a quick zap in the microwave for 20-30 seconds also works wonders.
FAQs
Can I use any type of apples for this recipe?
Absolutely! Using a mix of sweet and tart apples gives your apple butter a balanced flavor and natural thickening ability. Popular choices include Fuji, Gala, Granny Smith, and Honeycrisp.
Is it necessary to peel the apples?
Peeling ensures a smooth, silky apple butter, but if you don’t mind a bit of texture and added nutrients, you can leave the skins on before blending or mashing.
How long does apple butter last once made?
Stored properly in the fridge, it lasts about two weeks. If canned and sealed correctly, it can last for several months at room temperature.
Can I make this recipe without brown sugar?
Brown sugar adds a depth of flavor, but you can replace it with more granulated sugar or even maple syrup for a different twist, adjusting sweetness to taste.
What if I don’t have a crockpot?
You can make apple butter on the stovetop in a heavy pot over low heat, stirring often to prevent burning. It will require more attention but yields equally delicious results.
Final Thoughts
Nothing beats the soul-warming comfort of this Crockpot Apple Butter Recipe. It’s a simple yet magical way to turn everyday apples into something truly special and memorable. I can’t wait for you to try it and share this little jar of autumn happiness with your family and friends!
Print
Crockpot Apple Butter Recipe
- Prep Time: 30 minutes
- Cook Time: 10 to 12 hours
- Total Time: 10 hours 30 minutes to 12 hours 30 minutes
- Yield: 4 servings (approximately 2 cups)
- Category: Spread
- Method: Slow Cooking
- Cuisine: American
Description
This Crockpot Apple Butter recipe transforms a blend of sweet and tart apples into a rich, spiced spread perfect for toast, biscuits, and desserts. Slow-cooked for hours with cinnamon, nutmeg, cloves, vanilla, and lemon juice, it delivers a smooth, thick texture bursting with autumnal flavors. Easy to prepare and ideal for batch making, this homemade apple butter can be refrigerated or canned for long-term enjoyment.
Ingredients
Apples
- 5 lbs apples (mix of sweet and tart varieties), peeled, cored, and chopped
Spices and Sweeteners
- 1 cup granulated sugar
- 1 cup packed brown sugar
- 1 tablespoon ground cinnamon
- 1/2 teaspoon ground nutmeg
- 1/4 teaspoon ground cloves
- Pinch of salt
Additional Flavorings
- 1 tablespoon vanilla extract
- Juice of 1 lemon
Instructions
- Prepare the Apples: Peel, core, and chop the apples into chunks until you have about 10 cups of chopped apples ready for cooking.
- Combine Ingredients in Crockpot: Place the chopped apples into the crockpot and add the granulated sugar, brown sugar, cinnamon, nutmeg, cloves, salt, vanilla extract, and lemon juice. Stir thoroughly to ensure all ingredients are well combined.
- Cook on Low Heat: Cover the crockpot with its lid and cook on low heat for 8 to 10 hours, stirring occasionally. During this time, the apples will break down and release their juices, becoming very tender.
- Blend or Mash: Once the apples are tender and cooked down, use an immersion blender to puree the mixture until smooth. For a chunkier texture, you can alternatively mash with a potato masher.
- Thicken the Apple Butter: Continue cooking the apple butter uncovered on low heat for an additional 1 to 2 hours to reduce and thicken it to your preferred consistency. Stir frequently to prevent sticking or burning.
- Store or Can: Allow the apple butter to cool completely before transferring it into clean, sterilized jars or containers for storage.
- Refrigerate or Freeze: Store the apple butter in the refrigerator for up to two weeks or freeze for longer preservation. For canning, be sure to follow proper safe canning practices to extend shelf life for several months.
- Enjoy: Serve the homemade apple butter spread on toast, biscuits, or use it as a delicious topping or filling for various desserts to enjoy its rich, spiced flavor.
Notes
- Use a combination of sweet and tart apples for balanced flavor and texture.
- Stir occasionally during cooking to prevent sticking and ensure even cooking.
- The cooking time may vary depending on the size of apple chunks and crockpot model.
- For chunkier apple butter, mash instead of blending.
- Ensure jars and lids are sterilized properly if you plan to can the apple butter for long-term storage.
- Adjust sugar quantity based on your preferred sweetness level or apple tartness.
- Adding a splash of lemon juice helps balance sweetness and enhances flavor.


