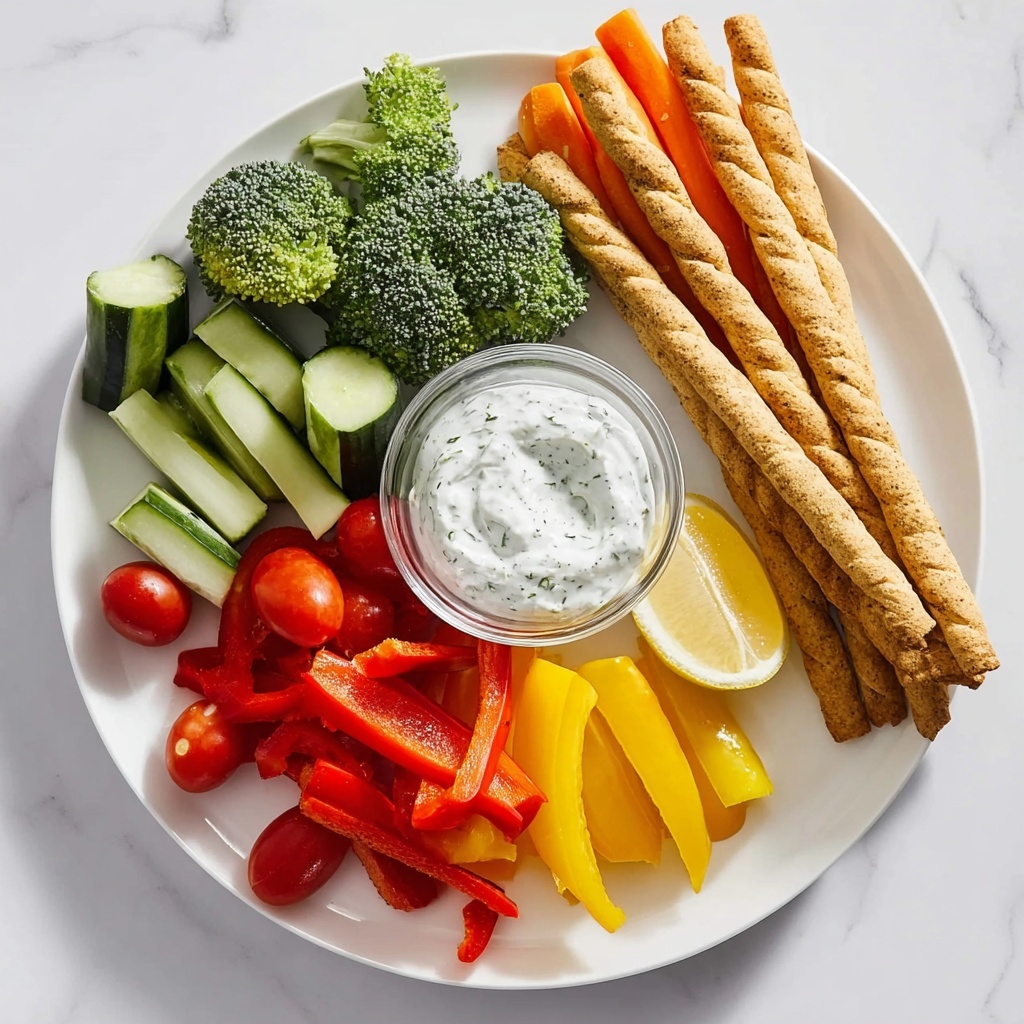
If you’re ready to wow your guests with something both playful and delicious, the Dinosaur Bone Crudités Platter Recipe is exactly what your snack game needs. This delightful dish pairs crunchy, wholesome vegetables with fun, bone-shaped breadsticks that bring a sense of whimsy to any gathering. It’s simple to prepare yet impressive in presentation, making it ideal for family dinners, parties, or even a creative lunch. Plus, the fresh Greek yogurt dip adds that perfect zingy creaminess that ties everything together beautifully.
Ingredients You’ll Need
The magic of this platter lies in its fresh, vibrant ingredients and the easy-to-handle dough that turns into those irresistible bone-shaped breadsticks. Each component plays a crucial role in offering a fantastic blend of flavors, textures, and colors that make this recipe sing on your table.
- 8.8 oz pizza dough: The foundation for your breadstick bones, this can be store-bought or homemade for extra freshness.
- 2 tbsp olive oil: Used to brush the breadsticks, adding richness and helping them brown beautifully.
- 1 tsp coarse sea salt: Sprinkled on top to enhance flavor and give a lovely crunch.
- 1 tsp dried oregano (optional): Adds an earthy herbaceous note that pairs well with the breadsticks.
- 1 large carrot, peeled and cut into sticks: Sweet crunch to balance the savory elements.
- 1 cucumber, cut into spears: Refreshingly crisp and hydrating.
- 1 red bell pepper, sliced into strips: Bright color and subtle sweetness.
- 1 yellow bell pepper, sliced into strips: Adds sunny vibrancy and juiciness.
- 1 cup broccoli florets: Offers a slightly bitter bite and fun texture contrast.
- 1 cup cherry tomatoes: Bursts of juicy sweetness that brighten every bite.
- 7 oz Greek yogurt: The creamy base for our zesty herb dip.
- 1 tbsp lemon juice: Adds fresh acidity to awaken the dip’s flavors.
- 1 tbsp chopped fresh chives: Mild oniony note that lifts the dip.
- Salt and pepper, to taste: To season the dip perfectly.
How to Make Dinosaur Bone Crudités Platter Recipe
Step 1: Prepare the Oven and Baking Sheet
Start by preheating your oven to 400°F and lining a baking sheet with parchment paper. This ensures easy cleanup and prevents sticking, setting you up for perfectly baked breadsticks every time.
Step 2: Shape the Breadsticks
Divide the pizza dough into 12 equal portions. Roll each portion into a 5-inch long rope. To recreate the charming bone shape, tie a loose knot at each end of every rope. This step adds that nostalgic dinosaur bone look that’s both kid-friendly and party-ready.
Step 3: Season the Breadsticks
Arrange your dough bones on the baking sheet. Brush them well with olive oil to promote browning and flavor. Sprinkle coarsely ground sea salt over the top and add dried oregano if you like a touch of herbal warmth. These simple toppings elevate the breadsticks from plain to irresistible.
Step 4: Bake to Golden Perfection
Pop your shaped breadsticks into the oven and bake for 12 to 15 minutes, or until they turn golden brown and feel firm to the touch. Remove them carefully and allow to cool slightly so they hold their shape when arranged.
Step 5: Arrange the Vegetables
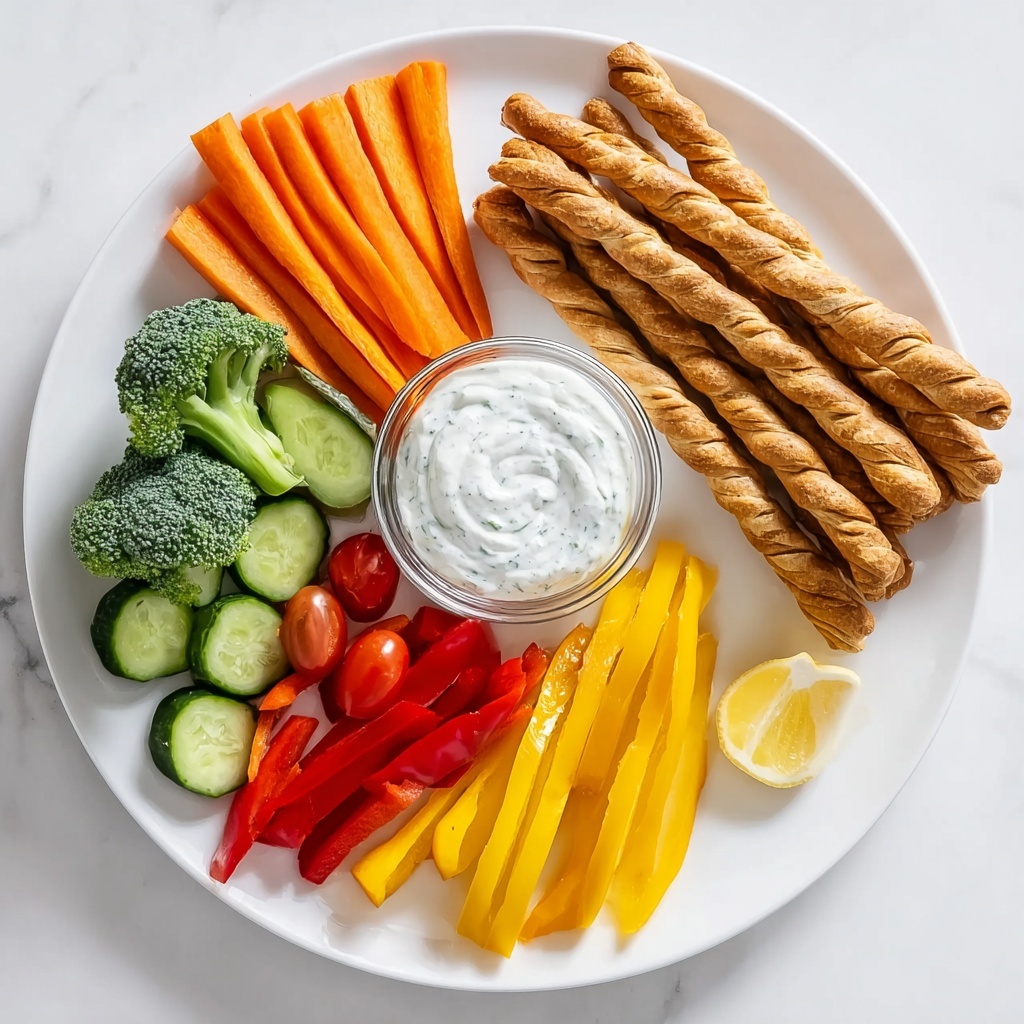
On a large platter, artfully arrange the carrot sticks, cucumber spears, red and yellow bell pepper strips, broccoli florets, and cherry tomatoes. The vibrant colors and varying textures make this platter as pleasing to the eye as it is to the palate.
Step 6: Prepare the Dip
In a small bowl, whisk together Greek yogurt, lemon juice, freshly chopped chives, and a pinch of salt and pepper. This tangy, creamy dip complements the crunchy vegetables and savory breadsticks perfectly.
Step 7: Serve Your Dinosaur Bone Crudités Platter Recipe
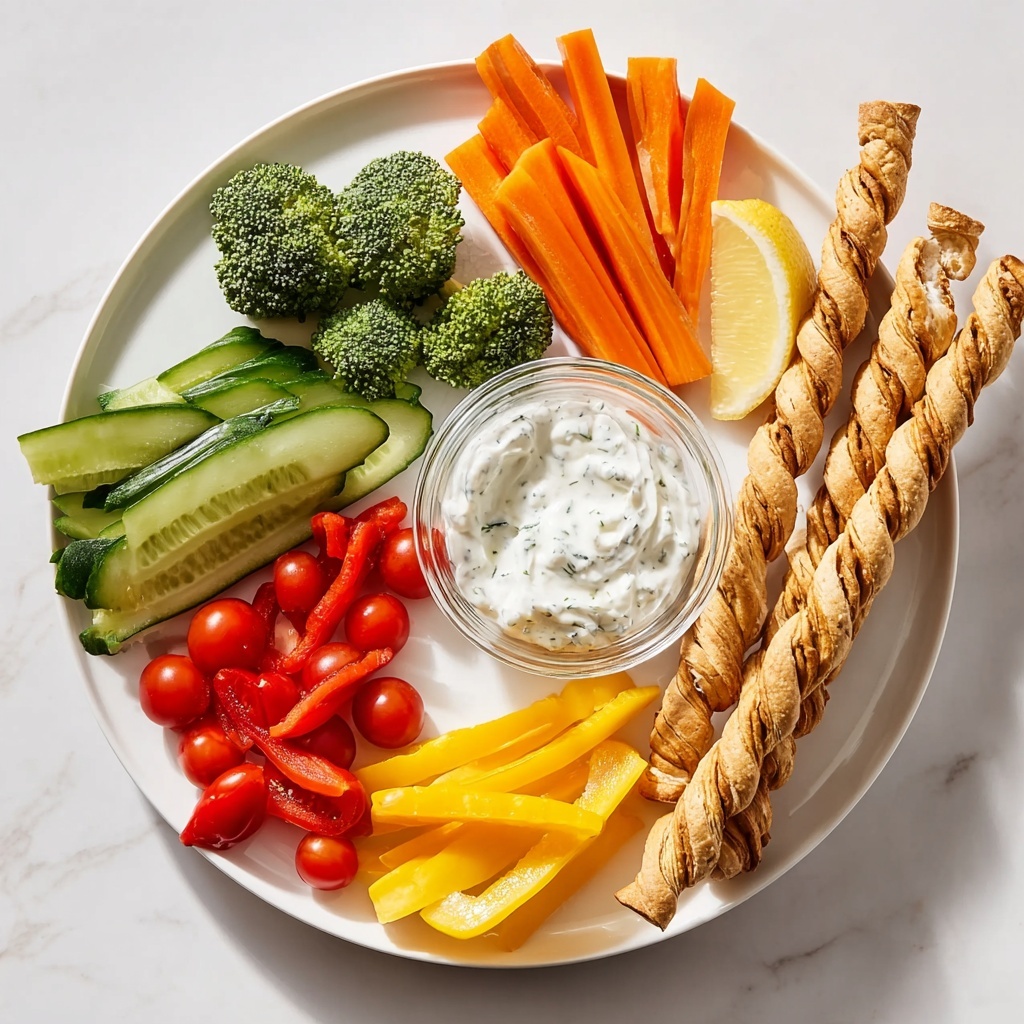
Finally, tuck the golden breadstick bones among the fresh vegetables and place your bowl of dip in the center. This playful and tasty platter is now ready to delight your guests and spark fun conversations.
How to Serve Dinosaur Bone Crudités Platter Recipe
Garnishes
To make your platter even more inviting, consider scattering fresh herbs like parsley or dill on top for an aromatic touch. A sprinkle of paprika or finely grated Parmesan cheese over the breadsticks can also bring extra flavor and appeal.
Side Dishes
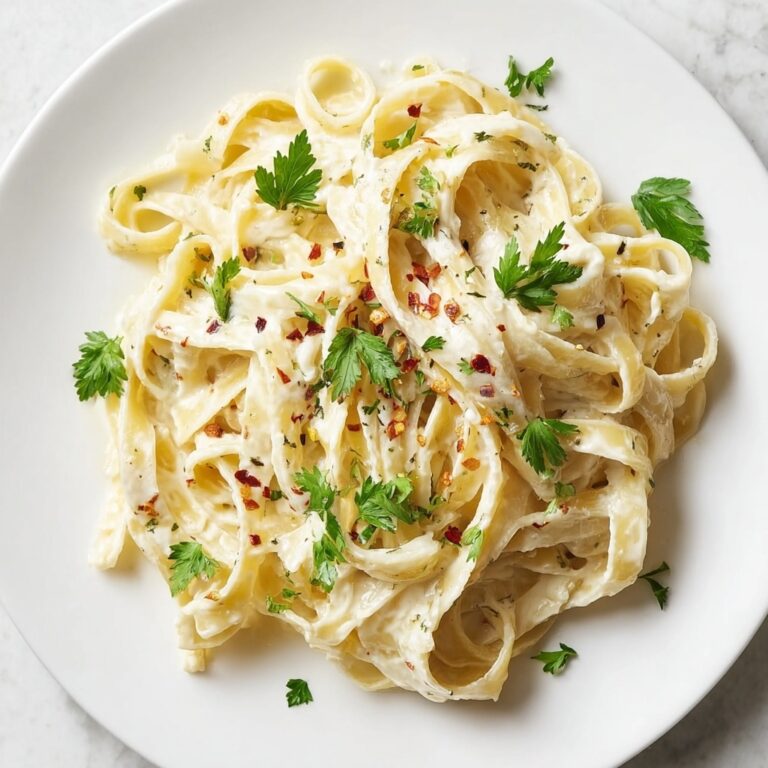
This platter pairs well with light sides such as a crisp green salad or a bowl of olives. For heartier options, slices of roasted chicken or grilled sausage skewers complement the fresh and savory elements beautifully.
Creative Ways to Present
Try serving this Dinosaur Bone Crudités Platter Recipe on a wooden board to amplify the rustic vibe. Alternatively, use small individual cups filled with dip for a grab-and-go party style that keeps things neat and accessible.
Make Ahead and Storage
Storing Leftovers
If you have leftovers, store the breadstick bones in an airtight container at room temperature for up to two days to keep them from drying out. The veggies are best kept refrigerated in a sealed container or wrapped tightly with plastic wrap.
Freezing
While the breadsticks freeze well, it’s best not to freeze the vegetables or the dip. Freeze any extra unbaked breadstick dough portions wrapped tightly in plastic, and bake them fresh when ready for the best texture.
Reheating
Warm leftover breadstick bones in a 350°F oven for about 5 minutes to refresh their crispness. Avoid microwaving, as it can make the breadsticks chewy. Serve veggies cold and freshly crisp for the best experience.
FAQs
Can I make the breadsticks gluten-free?
Absolutely! Use a gluten-free pizza dough alternative and follow the same shaping and baking instructions. Keep in mind that texture may vary slightly but will still be delicious.
What can I substitute for Greek yogurt in the dip?
You can use sour cream or a plant-based yogurt alternative to keep things creamy and tangy without Greek yogurt. Adjust seasoning to taste since flavors may differ.
How far ahead can I prepare the platter?
You can shape and bake the breadsticks a day in advance, then store them at room temperature. Prep and cut the veggies a few hours before serving to keep them fresh and crisp.
Is the dried oregano necessary for flavor?
It’s optional but recommended! Dried oregano lends an herbaceous note that enhances the breadsticks, giving them a more complex and enjoyable flavor.
Can I add other vegetables to the platter?
Definitely! Feel free to add snap peas, radishes, or celery sticks – whatever fresh veggies you love will work well and add to the colorful appeal of your Dinosaur Bone Crudités Platter Recipe.
Final Thoughts
This Dinosaur Bone Crudités Platter Recipe is a joyous way to make healthy snacking fun and memorable. It combines creativity, fresh flavors, and simple steps to deliver a dish that everyone will admire and enjoy. Next time you want to jazz up your gathering with a charming and tasty treat, give this recipe a whirl—you won’t regret it!
Print
Dinosaur Bone Crudités Platter Recipe
- Prep Time: 15 minutes
- Cook Time: 15 minutes
- Total Time: 30 minutes
- Yield: 6 servings
- Category: Appetizer
- Method: Baking
- Cuisine: American
- Diet: Vegetarian
Description
This Dinosaur Bone Crudités Platter is a fun and delicious appetizer perfect for parties or family gatherings. Featuring homemade bone-shaped breadsticks paired with fresh veggies and a creamy Greek yogurt dip, it’s both visually appealing and healthy. The recipe combines baking and fresh chopping techniques to create a delightful platter that everyone will enjoy.
Ingredients
Breadsticks
- 8.8 oz pizza dough (store-bought or homemade)
- 2 tbsp olive oil
- 1 tsp coarse sea salt
- 1 tsp dried oregano (optional)
Vegetables
- 1 large carrot, peeled and cut into sticks
- 1 cucumber, cut into spears
- 1 red bell pepper, sliced into strips
- 1 yellow bell pepper, sliced into strips
- 1 cup broccoli florets
- 1 cup cherry tomatoes
Dip
- 7 oz Greek yogurt
- 1 tbsp lemon juice
- 1 tbsp chopped fresh chives
- Salt and pepper, to taste
Instructions
- Prepare oven and baking sheet: Preheat your oven to 400°F (200°C) and line a baking sheet with parchment paper to prevent sticking and ensure easy cleanup.
- Shape breadsticks: Divide the pizza dough into 12 equal portions. Roll each portion into a 5-inch rope and tie a loose knot at each end to form a bone shape for a fun, thematic presentation.
- Season breadsticks: Arrange the shaped breadsticks on the prepared baking sheet. Brush them evenly with olive oil, then sprinkle with coarse sea salt and dried oregano if desired, adding flavor and texture.
- Bake breadsticks: Place the baking sheet in the oven and bake for 12 to 15 minutes, or until the breadsticks turn golden brown and are fully cooked. Remove and let cool slightly before serving.
- Arrange vegetables: On a large serving platter, neatly arrange the carrot sticks, cucumber spears, bell pepper strips, broccoli florets, and cherry tomatoes to create a colorful and inviting display.
- Prepare dip: In a small bowl, mix together the Greek yogurt, lemon juice, chopped fresh chives, and season with salt and pepper to taste. Stir well to create a creamy and flavorful dip.
- Serve platter: Place the bone-shaped breadsticks among the arranged vegetables on the platter. Serve the platter alongside the prepared dip to complete this fun and healthy appetizer.
Notes
- You can substitute store-bought pizza dough with homemade for fresher taste and texture.
- Feel free to add your favorite herbs or spices to the breadsticks for added flavor.
- Vegetables can be swapped or supplemented with seasonal options like snap peas or radishes.
- The Greek yogurt dip can be made ahead and stored in the refrigerator for up to 24 hours.
- This platter works great for kids’ parties and themed gatherings due to its playful presentation.


