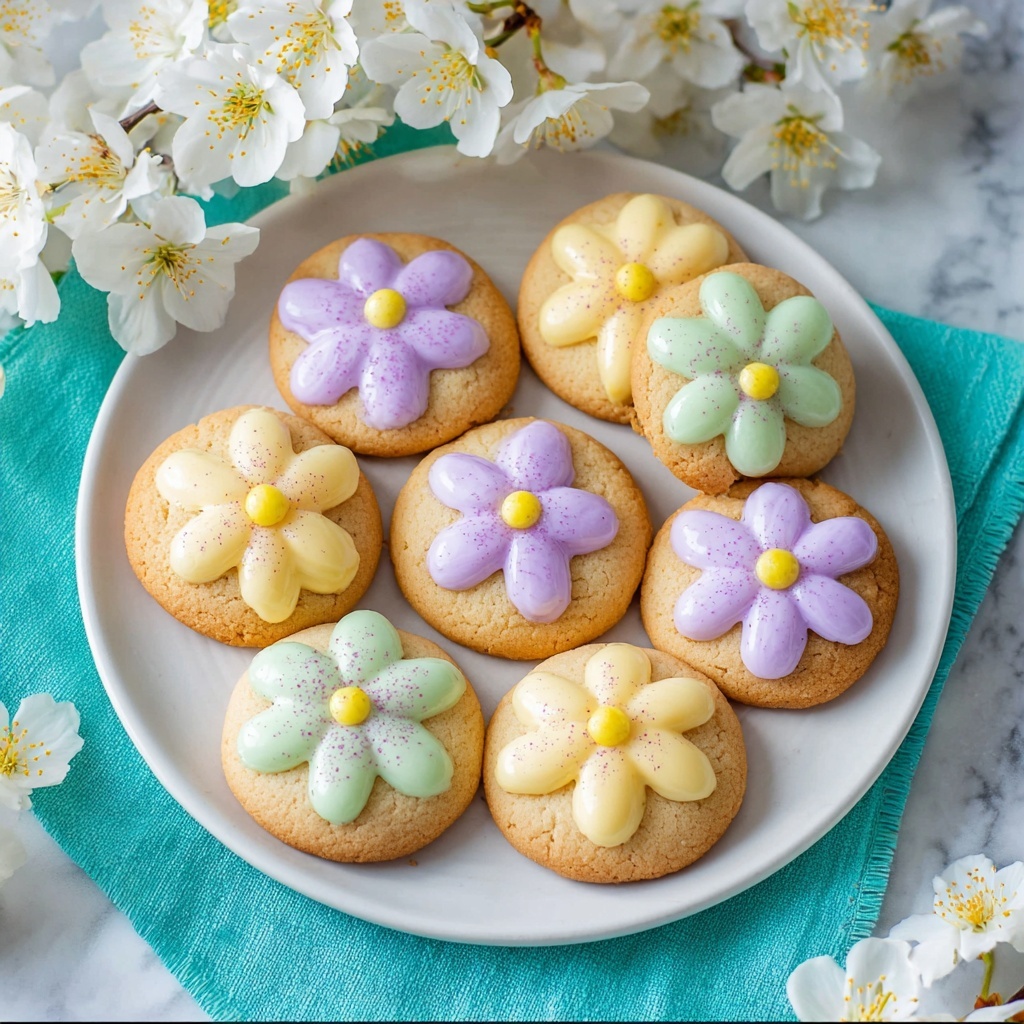
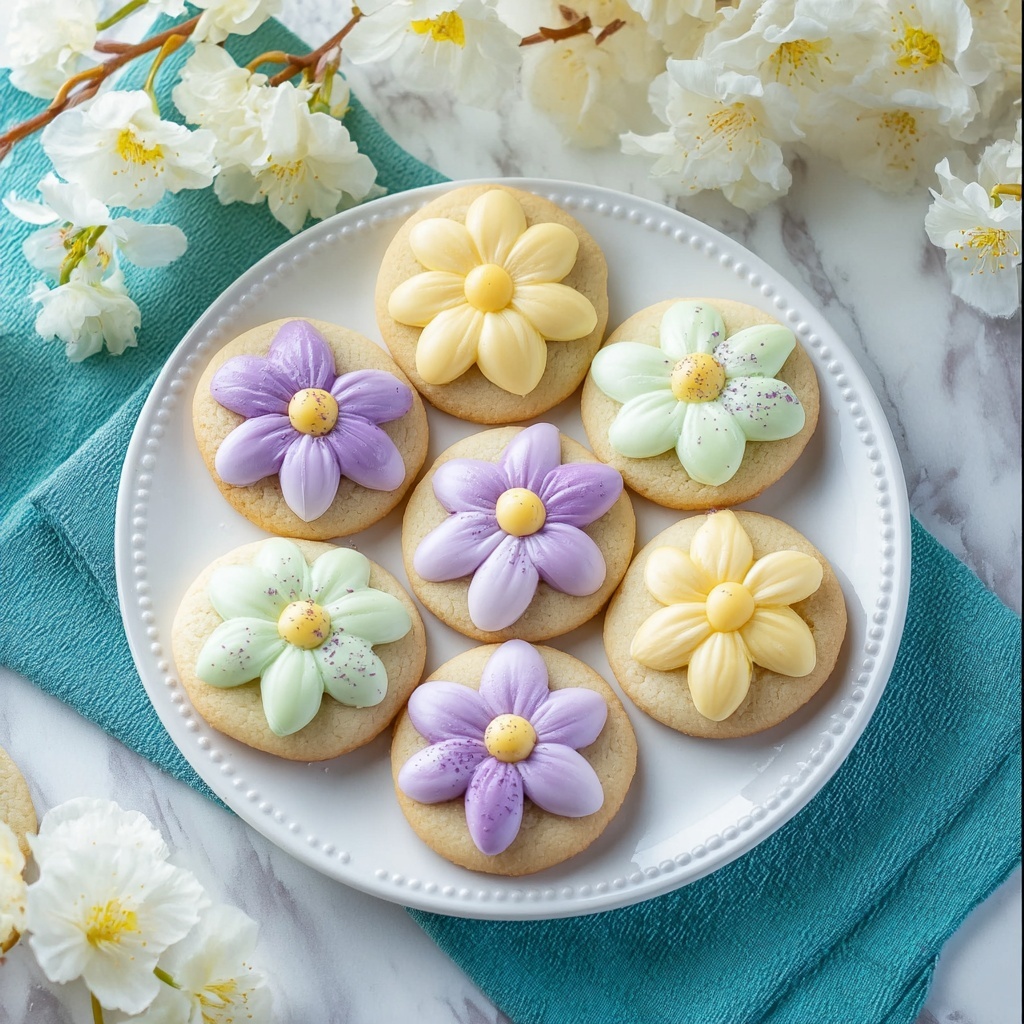
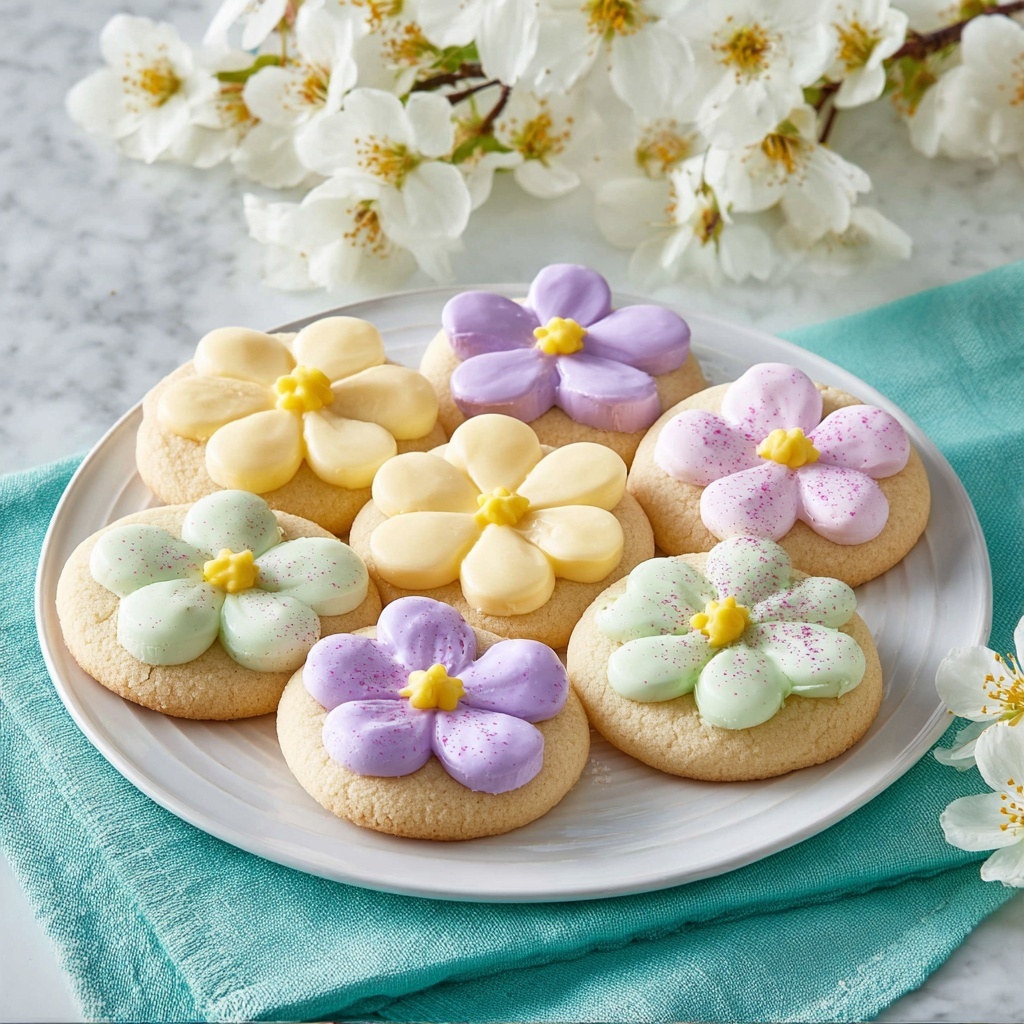
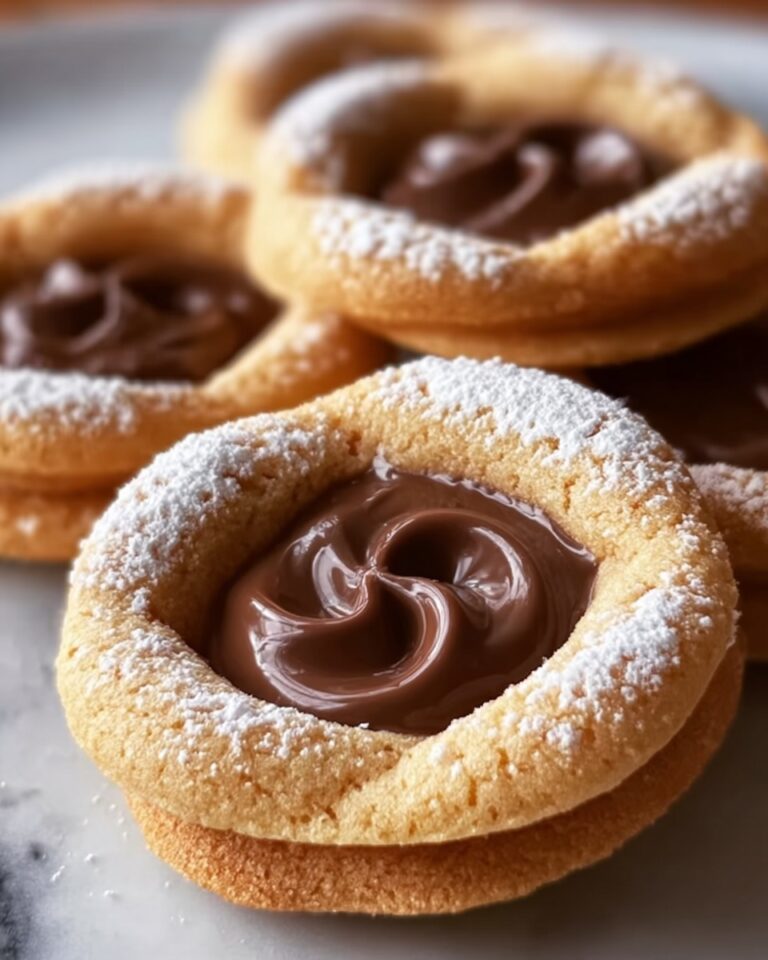
Bright, cheerful, and irresistibly sweet, this Easter Blossom Cookies Recipe is exactly what you need to brighten up your spring celebrations. These delightful cookies combine the tender crumb of a classic sugar cookie with the fun sparkle of pastel sanding sugar and a gooey chocolate kiss nestled right in the center. Whether you’re baking with kids, preparing treats for an Easter brunch, or just craving a nostalgic sweet bite, these cookies bring joy in every single crumb. Get ready to fill your kitchen with buttery aromas and your heart with happiness through this charming recipe.
Ingredients You’ll Need
Every ingredient in this Easter Blossom Cookies Recipe is simple and essential, working beautifully together to create the perfect balance of flavor, texture, and color. The combination ensures a buttery base, a tender crumb, and that irresistible pop of chocolate, while the pastel sanding sugar adds a festive, crunchy finish.
- 1/2 cup unsalted butter, softened: Provides a rich, creamy base that makes the cookies tender and moist.
- 3/4 cup granulated sugar: Sweetens and helps create a lovely crumb with a slight crisp on the edges.
- 1 large egg: Binds everything together while lending a tender texture.
- 1 teaspoon vanilla extract: Enhances the overall flavor with warm, comforting notes.
- 1 1/2 cups all-purpose flour: The primary structure builder, giving the cookies their perfect shape.
- 1/2 teaspoon baking soda: Helps the cookies rise slightly and develop a tender crumb.
- 1/4 teaspoon salt: Balances sweetness and boosts the other flavors.
- Pastel-colored sanding sugar for rolling: Adds a festive look and a delightful sugary crunch.
- 24 chocolate candy kisses, unwrapped: The sweet, melty surprise at the heart of each cookie.
How to Make Easter Blossom Cookies Recipe
Step 1: Prepare the Oven and Baking Sheet
Start by preheating your oven to 350°F and lining a baking sheet with parchment paper. This prep step ensures your cookies bake evenly without sticking, making cleanup a breeze and helping you maintain those perfect cookie bottoms.
Step 2: Cream Butter and Sugar
In a large bowl, beat together the softened butter and granulated sugar until the mixture is light and fluffy. This process incorporates air into the dough, which is key to creating that tender-yet-slightly-crisp texture we’re aiming for.
Step 3: Add Wet Ingredients
Beat in the egg and vanilla extract until combined. These ingredients enrich the dough, lending flavor and structure so your cookies hold their shape beautifully after baking.
Step 4: Combine Dry Ingredients
In a separate bowl, whisk together the all-purpose flour, baking soda, and salt. This step evenly distributes the leavening and seasoning, which will ensure each bite has the perfect balance of flavor and rise.
Step 5: Form the Dough
Gradually add the dry mix to the wet ingredients, stirring until a soft dough forms. If your dough feels too soft or sticky to handle, chilling it for 20 minutes will make rolling easier and keep the cookies from spreading too much during baking.
Step 6: Shape and Coat the Cookies
Scoop tablespoon-sized portions of dough and roll them into smooth balls. Then roll each ball in pastel-colored sanding sugar, coating evenly. This step adds a festive shimmer and a bit of crunch that makes these cookies extra special for Easter celebrations.
Step 7: Bake and Add Chocolate Kisses
Place the sugar-coated dough balls onto your prepared baking sheet, spacing them about 2 inches apart. Bake for 8 to 10 minutes until the edges just set but centers remain soft. Remove the tray from the oven and immediately press a chocolate candy kiss into the center of each cookie. This little touch lets the chocolate gently melt without losing its shape, creating a luscious center.
Step 8: Cool and Enjoy
Let the cookies cool on the baking sheet for a few minutes to set, then transfer them to a wire rack to cool completely. Cooling is crucial so that the cookies firm up just enough while keeping their tender crumb intact.
How to Serve Easter Blossom Cookies Recipe
Garnishes
The pastel sanding sugar already dresses these cookies beautifully, but you can add tiny edible flower decorations or lightly dusted powdered sugar for an extra springtime touch that looks as sweet as the cookies taste.
Side Dishes
Pair these cookies with a cup of freshly brewed tea or a glass of cold milk for a classic treat experience. They also make a charming dessert alongside fruit salad or festive cupcakes at your holiday gatherings.
Creative Ways to Present
Arrange your Easter Blossom Cookies Recipe on a pastel-colored serving platter or nestle them in decorative Easter baskets lined with shredded paper grass. For gifting, wrap them in clear cellophane tied with a spring ribbon to share some Easter joy with friends and family.
Make Ahead and Storage
Storing Leftovers
Once your cookies have fully cooled, store them in an airtight container at room temperature. They will stay fresh and delicious for up to five days, making them perfect for prepping ahead of holiday celebrations.
Freezing
If you want to enjoy these cookies later, freeze the unbaked dough balls after coating them in sanding sugar. When ready, bake from frozen, adding an extra minute or two to the baking time. Fully baked cookies can also be frozen in an airtight container and thawed overnight at room temperature.
Reheating
To enjoy these cookies warm, pop them in a preheated 300°F oven for about 5 minutes or microwave on low for 10 to 15 seconds. This refreshes the texture while keeping the chocolate kiss deliciously melty.
FAQs
Can I use different types of chocolate candies instead of chocolate kisses?
Absolutely! Feel free to swap the chocolate kisses for peanut butter cups, caramel-filled chocolates, or your favorite candy to give this Easter Blossom Cookies Recipe a unique twist. Just make sure they fit nicely in the cookie centers.
What if I don’t have pastel-colored sanding sugar? Can I use regular sugar?
Yes, regular granulated or colored sugar crystals will work fine. The sanding sugar’s main role is decorative, so feel free to get creative with colors or sprinkle multiple hues for a vibrant effect!
Why do the cookies need to be pressed with the chocolate kiss immediately after baking?
Pressing the chocolate into the cookies right out of the oven allows the warmth of the cookie to soften the candy just enough so it sticks well without melting into a puddle, creating a perfect gooey center instead of a mess.
Can I make these cookies gluten-free?
You can substitute the all-purpose flour with a gluten-free baking mix, but be sure to check if additional binders are necessary according to your flour’s instructions. The texture might vary slightly but will still be delicious!
How long can I store these cookies before they go stale?
Stored in an airtight container at room temperature, these cookies stay fresh for up to five days. For longer storage, freezing is your best bet to maintain freshness and flavor.
Final Thoughts
There’s something so heartwarming about the simple joy of Easter Blossom Cookies Recipe. They’re easy to make, festive to look at, and utterly delicious to eat. Whether you’re baking with little ones or creating treats for a spring gathering, these cookies are sure to bring smiles and sweet memories. Give this charming recipe a try—you might just discover a new holiday favorite to cherish year after year!
Print
Easter Blossom Cookies Recipe
- Prep Time: 15 minutes
- Cook Time: 10 minutes
- Total Time: 25 minutes
- Yield: 24 cookies
- Category: Dessert
- Method: Baking
- Cuisine: American
- Diet: Vegetarian
Description
Easter Blossom Cookies are delightful sugar cookies rolled in pastel sanding sugar and topped with chocolate candy kisses, perfect for festive holiday baking. These soft, buttery treats combine a simple dough base with a charming chocolate center, making them a favorite for Easter celebrations and family gatherings.
Ingredients
Cookie Dough
- 1/2 cup unsalted butter, softened
- 3/4 cup granulated sugar
- 1 large egg
- 1 teaspoon vanilla extract
- 1 1/2 cups all-purpose flour
- 1/2 teaspoon baking soda
- 1/4 teaspoon salt
Coating and Topping
- Pastel-colored sanding sugar for rolling
- 24 chocolate candy kisses, unwrapped
Instructions
- Preheat and Prepare: Preheat the oven to 350°F and line a baking sheet with parchment paper to prevent sticking and ensure easy cleanup.
- Cream Butter and Sugar: In a large bowl, cream together the softened butter and granulated sugar until the mixture is light and fluffy, which ensures a tender texture for the cookies.
- Add Egg and Vanilla: Beat in the egg and vanilla extract until well combined to incorporate moisture and flavor into the dough.
- Mix Dry Ingredients: In a separate bowl, whisk together the all-purpose flour, baking soda, and salt to evenly distribute the leavening agent and seasoning.
- Combine Wet and Dry Ingredients: Gradually add the dry ingredients to the wet ingredients, mixing gently until a soft dough forms without overworking it to keep the cookies tender.
- Shape and Roll: Scoop tablespoon-sized portions of dough and roll them into balls. Roll each dough ball in pastel-colored sanding sugar to add sparkle and a sweet crunch to the cookie exterior.
- Arrange and Bake: Place the coated dough balls on the prepared baking sheet about 2 inches apart to allow spreading. Bake in the preheated oven for 8 to 10 minutes, until the cookie edges are set but the centers remain soft.
- Add Chocolate Kiss: Immediately upon removing from the oven, press one chocolate candy kiss into the center of each cookie to create the blossom effect and add rich chocolate flavor.
- Cool: Allow the cookies to cool on the baking sheet for a few minutes to set, then transfer them to a wire rack to cool completely before serving or storing.
Notes
- Chill the dough for 20 minutes if it becomes too soft to handle, which makes shaping easier.
- You can substitute the chocolate candy kisses with different flavored chocolates for variety.
- Store cookies in an airtight container at room temperature for up to 5 days to maintain freshness and texture.


