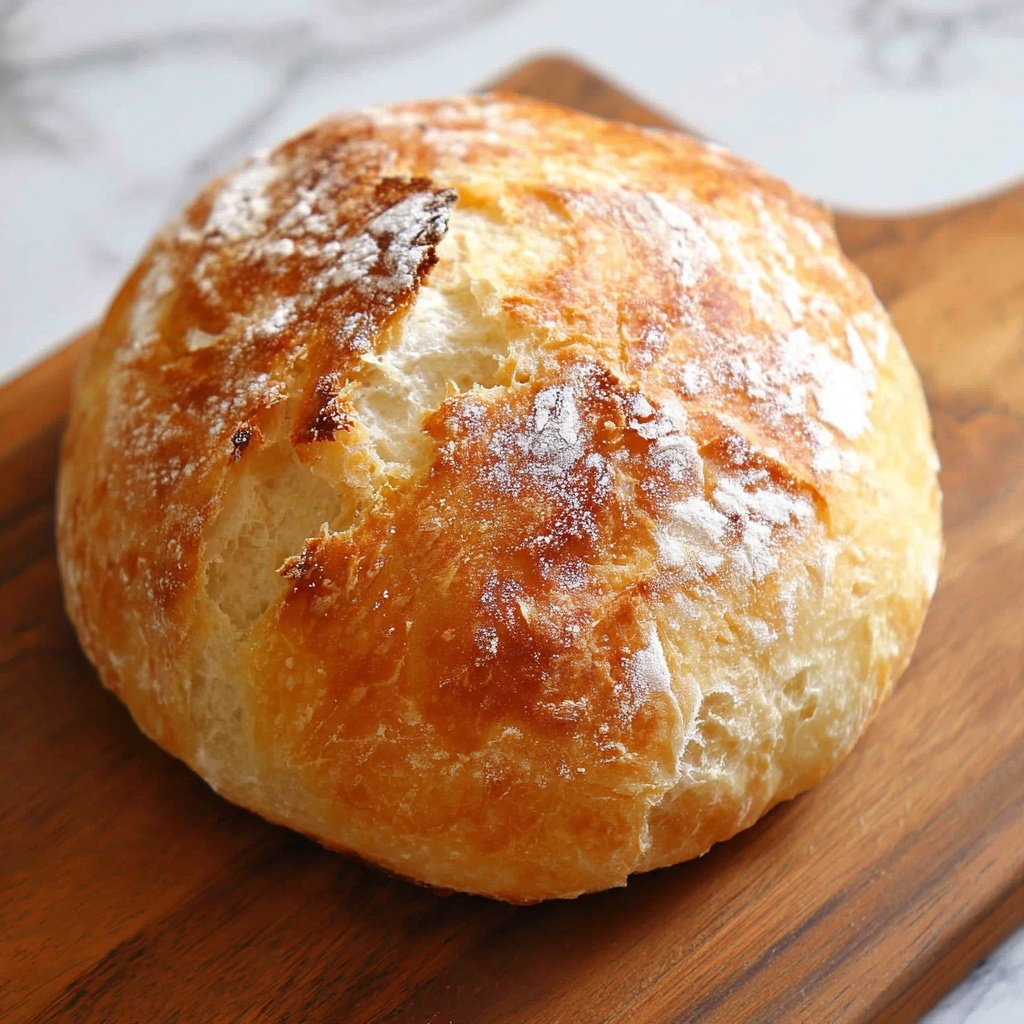
There is something truly magical about homemade bread, especially when it comes together with minimal effort and maximum flavor. This Easy No-Knead Artisan Bread Recipe is the perfect way to bring that warm, crusty bakery experience right to your own kitchen without spending hours kneading dough or mastering complicated techniques. With just a handful of simple ingredients and a bit of patience, you’ll end up with a golden, chewy loaf boasting a crisp crust and tender crumb that’s bound to impress family and friends alike.
Ingredients You’ll Need
The beauty of this Easy No-Knead Artisan Bread Recipe lies in its simplicity. Each ingredient plays a vital role in creating that distinct texture and rich flavor, making the list feel both manageable and essential.
- 3 cups all-purpose flour: Provides the structure and chewiness that form the body of your bread.
- 2 teaspoons kosher salt: Enhances flavor and strengthens the gluten network for a better crust.
- ½ teaspoon instant yeast: Or active dry yeast, this little powerhouse kickstarts the rise, giving the bread its airy texture.
- 1 ⅓ cups warm water (about 110°F): Activates the yeast and hydrates the flour, helping your dough come to life.
How to Make Easy No-Knead Artisan Bread Recipe
Step 1: Combine the Ingredients
Start by whisking the flour, kosher salt, and yeast together in a large mixing bowl. You want to make sure that everything is evenly distributed before you add the warm water. Once combined, pour in the water and stir with a rubber spatula or wooden spoon until the dough forms a sticky mass. This part requires no kneading at all—just a good mix to bring it all together.
Step 2: Let the Dough Rise
Cover your bowl with plastic wrap or a kitchen towel and leave it at room temperature to rise. This slow rise, about 4 hours, allows the yeast to work its magic, producing that lovely airy texture inside the bread. For a twist, you can refrigerate the dough for up to 14 hours, which develops even more flavor and gives you flexibility around your schedule.
Step 3: Shape the Dough
Once your dough has puffed up and is full of bubbles, gently tip it out onto a well-floured surface. Without pressing or kneading, use your hands to shape it into a rough ball. Sprinkle a little flour on top and place it on parchment paper. Let it rest for another 30 minutes, loosely covered with a kitchen towel to keep the dough relaxed and ready for the oven.
Step 4: Preheat Your Oven and Dutch Oven
While your dough is resting, place a Dutch oven or cast-iron pot with its lid inside your oven and preheat to 440°F. This ensures when you bake, the pot will be sizzling hot, which is key to a crispy, crackly crust that defines artisan bread.
Step 5: Bake the Bread
Carefully transfer your dough, still on the parchment paper, into the hot Dutch oven. Cover with the lid and bake for 30 minutes. The lid traps steam, creating the perfect environment for a golden crust to develop. After 30 minutes, remove the lid and bake for a few more minutes until your bread is beautifully browned and crisp on the outside.
Step 6: Cool and Enjoy
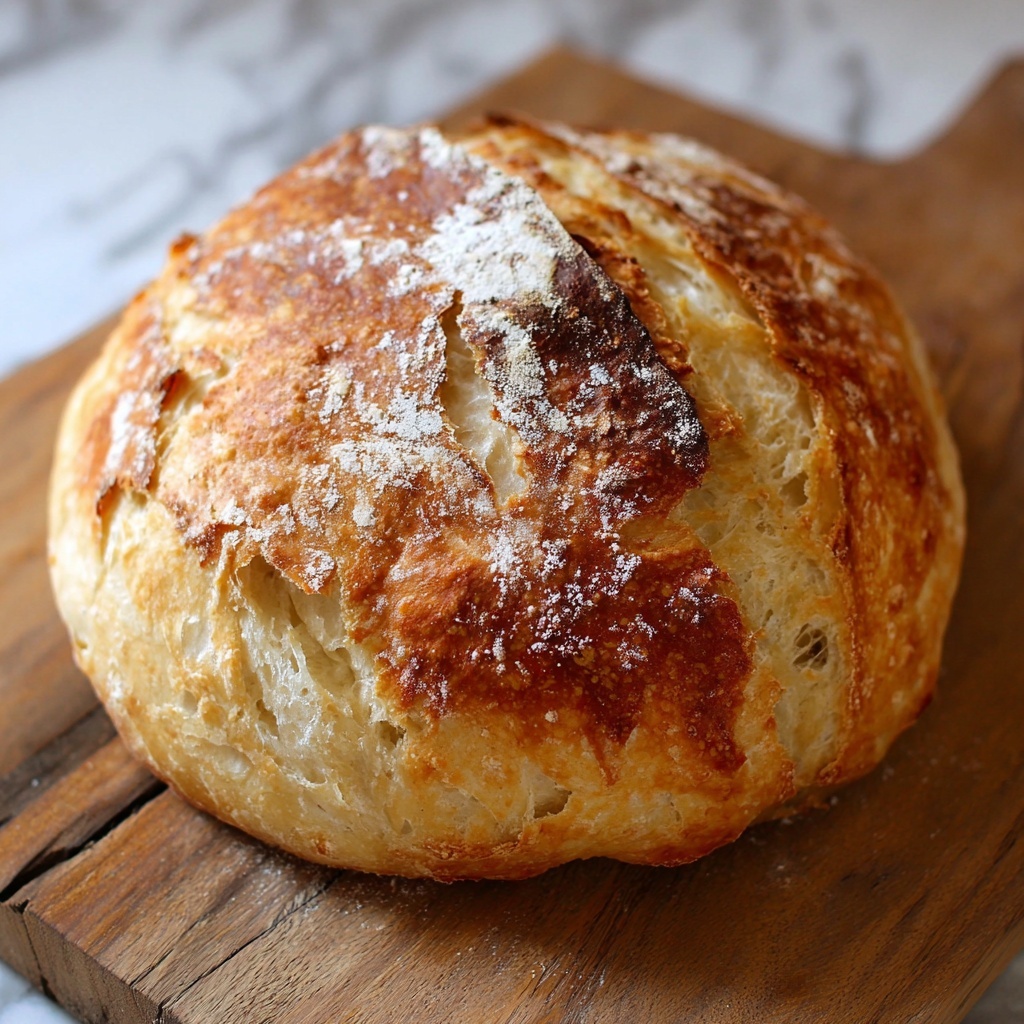
Once baked, transfer your loaf to a wire rack to cool. This is the hard part, but waiting at least 30 minutes before slicing helps the crumb set and ensures every slice will have the right texture and moisture. Then, get ready for that first heavenly bite of fresh homemade bread.
How to Serve Easy No-Knead Artisan Bread Recipe
Garnishes
While this bread shines on its own, adding a sprinkle of flaky sea salt, a drizzle of high-quality olive oil, or a smear of herb butter can elevate the experience. Fresh herbs like rosemary or thyme can also be pressed into the dough before baking for an aromatic touch that’s sure to turn heads.
Side Dishes
This Easy No-Knead Artisan Bread Recipe pairs beautifully with a variety of dishes, from hearty soups and stews to vibrant salads and cheese boards. Its crusty texture is perfect for dipping into olive oil and balsamic vinegar or sopping up rich sauces and gravies.
Creative Ways to Present
Serve your artisan loaf sliced thick for a rustic sandwich, toast individual slices and top with avocado and cherry tomatoes for a simple yet elegant snack, or hollow out the center to create a bread bowl filled with your favorite chili or creamy dip. The possibilities are endless, and the bread’s texture holds up beautifully to any preparation.
Make Ahead and Storage
Storing Leftovers
If you have any leftover bread, store it at room temperature in a paper bag or bread box to maintain its crisp crust while allowing some moisture to escape. Avoid plastic bags, which can make the crust soggy.
Freezing
For longer storage, wrap the cooled bread tightly in plastic wrap and then again in foil before freezing. It will keep well for up to 3 months. When you’re ready to enjoy, thaw at room temperature and reheat to refresh the crust.
Reheating
To bring back the crispy crust and soften the crumb, sprinkle your bread lightly with water and warm it in a preheated oven at 350°F for about 10 minutes. This simple trick revitalizes your artisan bread just like it came fresh from the oven.
FAQs
Can I use different types of flour for this recipe?
Absolutely! While all-purpose flour works beautifully here, you can experiment with bread flour for a chewier texture or even a mix that includes whole wheat for more flavor and nutrients. Just keep in mind different flours may require slight adjustments in water.
Do I have to use a Dutch oven to bake the bread?
Using a Dutch oven or a heavy, lidded pot is highly recommended because it traps steam effectively, which creates the signature crust. If you don’t have one, you can try placing a pan of water in the oven to add steam, but results might vary.
Can I make this bread gluten-free?
This particular Easy No-Knead Artisan Bread Recipe relies on gluten development, so it may be challenging to adapt exactly. However, there are gluten-free no-knead bread recipes available that use alternative flours and binding agents.
How long does the dough need to rise?
The dough needs about 4 hours at room temperature to develop flavor and structure properly. Alternatively, you can refrigerate it for up to 14 hours for a slower, more flavorful rise that fits your schedule better.
Is it necessary to wait before slicing the bread?
Yes! Although it’s very tempting, letting the bread cool for at least 30 minutes is important because the bread continues to set and moisture redistributes. Cutting too soon can result in a gummy texture inside.
Final Thoughts
This Easy No-Knead Artisan Bread Recipe truly captures the joy of baking bread without the fuss of traditional methods. It’s approachable, rewarding, and downright delicious—perfect for anyone wanting to impress with homemade bread that feels special but requires minimal hands-on time. Give it a try, and you’ll find it quickly becomes one of your favorite kitchen staples to share with those you love.
Print
Easy No-Knead Artisan Bread Recipe
- Prep Time: 10 minutes
- Cook Time: 35 minutes
- Total Time: 4 hours 45 minutes
- Yield: 1 loaf
- Category: Bread
- Method: Baking
- Cuisine: American
Description
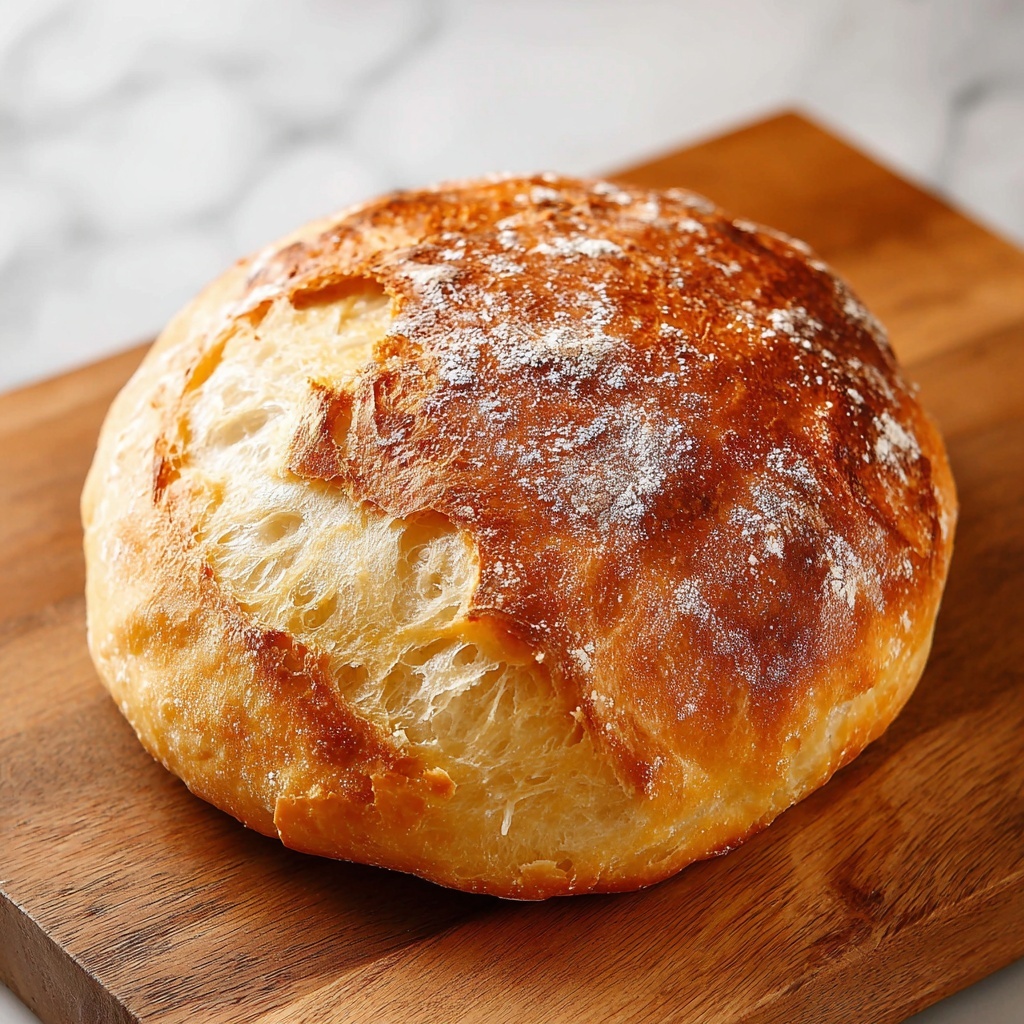
This Easy No-Knead Artisan Bread recipe yields a rustic, crusty loaf with minimal effort. Perfect for beginners, the dough requires no kneading and uses simple pantry ingredients. The long rise time develops deep flavor and texture, while baking in a preheated Dutch oven creates a beautiful, golden crust.
Ingredients
Ingredients
- 3 cups all-purpose flour
- 2 teaspoons kosher salt
- ½ teaspoon instant yeast (or active dry yeast)
- 1 ⅓ cups warm water (about 110°F)
Instructions
- Mix the Dough: Whisk together the flour, kosher salt, and yeast in a large mixing bowl. Add the warm water and stir with a rubber spatula or wooden spoon until a sticky dough forms. Cover the bowl and let it rise at room temperature for 4 hours, or refrigerate for up to 14 hours for a slower fermentation.
- Shape the Dough: Turn the risen dough out onto a lightly floured surface and gently shape it into a ball without deflating it too much. Lightly dust the top of the dough with flour and place it on a sheet of parchment paper. Cover loosely with a kitchen towel and allow it to rest for 30 minutes.
- Preheat Dutch Oven: While the dough rests, place a Dutch oven or cast-iron pot with its lid on into the oven. Preheat the oven and pot to 440°F to ensure a hot baking environment that will create the perfect crust.
- Bake Covered: After the 30-minute rest, carefully uncover the dough and transfer the parchment paper holding the dough into the preheated Dutch oven. Cover with the lid and bake for 30 minutes to trap steam, which helps develop a crisp crust.
- Bake Uncovered & Cool: Remove the lid carefully and continue baking for a few more minutes until the crust turns golden brown. Remove the bread from the pot and transfer it to a wire rack. Allow the bread to cool for at least 30 minutes before slicing to let the crumb set properly. Serve and enjoy your freshly baked artisan bread!
Notes
- Using a Dutch oven or cast-iron pot with a lid is essential for creating steam during baking, which develops the crust.
- You can let the dough rise in the refrigerator for up to 14 hours for more flavor complexity.
- Allow the bread to cool completely before slicing to avoid a gummy texture.
- Warm water should be about 110°F for optimal yeast activation without killing it.
- The recipe is scalable; adjust ingredient quantities proportionally for larger loaves.


