
“`html
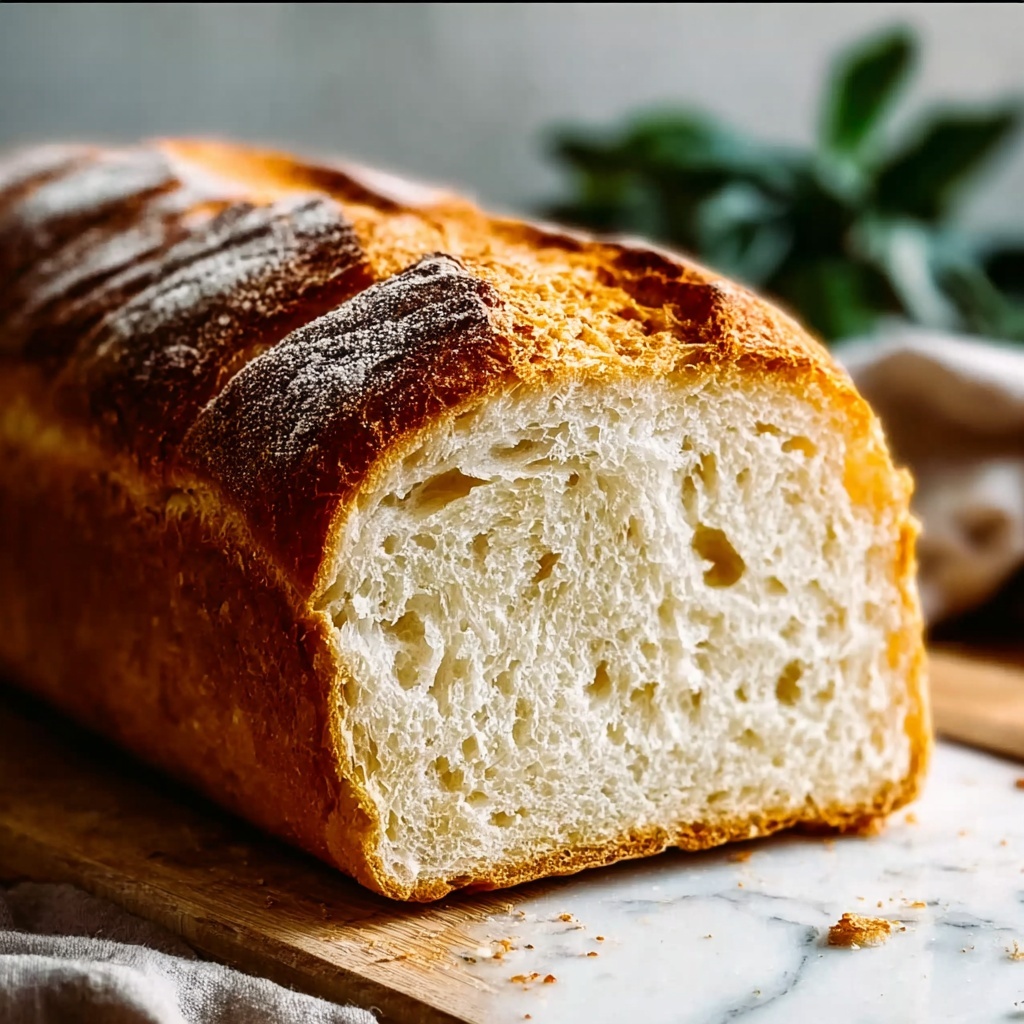
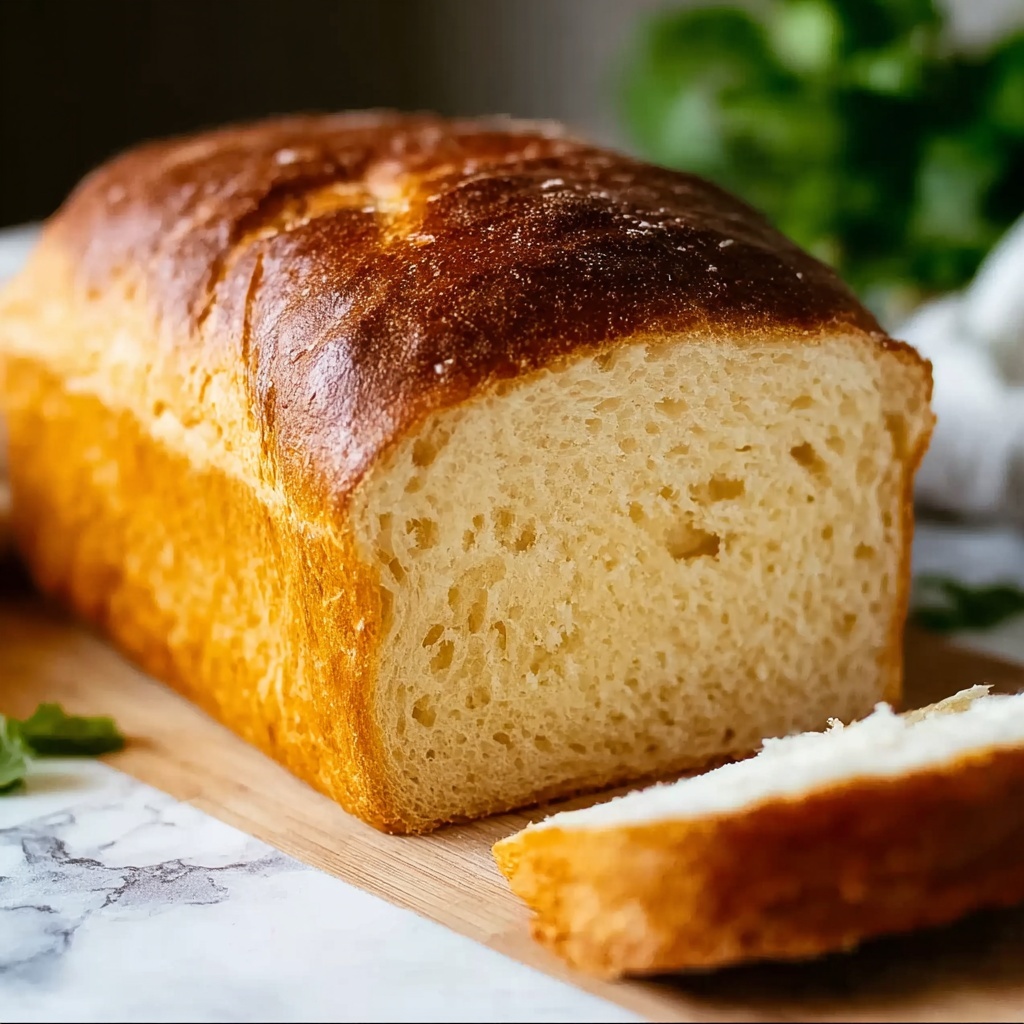
If you’ve ever dreamed of filling your kitchen with the irresistible aroma of freshly baked bread and impressing everyone with a soft, golden loaf, then you are going to love making Grandma’s Perfect Homemade Bread Recipe. This delightful bread is the epitome of comfort food, bringing that nostalgic warmth of a cherished family classic with a crusty outside and a tender, fluffy inside. It’s a simple recipe packed with flavor and texture that truly makes any meal feel special.
Ingredients You’ll Need
Every ingredient in Grandma’s Perfect Homemade Bread Recipe is straightforward and familiar, yet each plays a vital role in creating the bread’s perfect rise, flavor, and crumb. Using pantry staples means you can bake this bread any day of the week and always expect a magnificent result.
- 2 1/4 teaspoons active dry yeast (1 packet): This is the magic that helps your bread rise and become wonderfully airy.
- 1 cup warm water (110°F/45°C): The perfect temperature to activate the yeast without killing it.
- 1 tablespoon sugar: Feeds the yeast and adds a touch of sweetness to balance the flavors.
- 3 tablespoons olive oil (or vegetable oil): Adds moistness and tenderness to your loaf.
- 1 1/2 teaspoons salt: Enhances the flavor and controls yeast activity for ideal fermentation.
- 3 cups all-purpose flour (plus extra for kneading): The backbone of your bread, contributing to structure and texture.
- 1 tablespoon honey (optional): Adds gentle sweetness and a subtle depth of flavor for a special touch.
- 1 tablespoon butter (for greasing the pan): Ensures your bread doesn’t stick and gives a slight buttery finish on the crust.
How to Make Grandma’s Perfect Homemade Bread Recipe
Step 1: Activate the Yeast
Start by dissolving the yeast and sugar in warm water. This little moment is important because it wakes up the yeast and helps you know it’s ready to do its magic. Let it sit for about 5 to 10 minutes until it gets foamy and bubbly. This step guarantees a light and fluffy loaf.
Step 2: Mix the Dough
In a large bowl, combine your flour and salt. Then, pour in the yeast mixture along with the olive oil and honey if you’re using it. Stir everything together until it begins to form a dough. It’s a simple combination, but this is where the foundation of your bread is built.
Step 3: Knead the Dough
Transfer your dough onto a floured surface and start kneading. This process develops the gluten, which ultimately gives bread that wonderful chewy yet tender texture. Knead for about 8 to 10 minutes until the dough is smooth, elastic, and slightly tacky but not sticky.
Step 4: Let the Dough Rise
Place your dough in a butter-greased bowl and cover it with a clean kitchen towel or plastic wrap. Find a warm spot and let it rise for about 1 to 1.5 hours. It should double in size as the yeast ferments and creates air pockets that make the bread airy and soft.
Step 5: Shape the Loaf
Once risen, gently punch down the dough to release excess air, then shape it into a loaf. Place it into a greased loaf pan and cover it again to let it rise a second time for 30 to 45 minutes until it puffs up and fills the pan nicely.
Step 6: Bake to Golden Perfection
Preheat your oven to 375°F (190°C). Bake the loaf for 25 to 30 minutes, or until it’s beautiful golden brown on top and sounds hollow when tapped. This is when your kitchen really starts to smell like heaven.
Step 7: Cool Before Slicing
Let your bread cool in the pan for about 10 minutes, then transfer it to a wire rack to cool completely before slicing. This helps the crumb set properly and prevents the bread from becoming gummy.
How to Serve Grandma’s Perfect Homemade Bread Recipe
Garnishes
While this bread shines on its own, a little extra flair never hurts. Consider brushing the crust with melted butter right after baking for a shiny, richer finish, or sprinkle some coarse sea salt or herbs like rosemary before the second rise for a savory twist.
Side Dishes
Grandma’s Perfect Homemade Bread Recipe pairs wonderfully with soups, stews, and fresh salads. Its crusty exterior and soft interior are perfect for soaking up hearty broths or accompanying creamy spreads like butter, cheese, or a homemade garlic herb dip.
Creative Ways to Present
Impress your guests by slicing this bread into thick pieces and using it as a base for bruschetta or open-faced sandwiches topped with vibrant tomatoes, basil, and a drizzle of balsamic glaze. You can also toast slices for breakfast and serve with jam, honey, or smashed avocado for a casual, tasty meal.
Make Ahead and Storage
Storing Leftovers
If you have leftovers, store the bread in a paper bag or bread box at room temperature to preserve its crustiness while keeping the inside soft. Avoid plastic bags unless you want a softer crust, as they trap moisture.
Freezing
You can freeze the bread by wrapping it tightly in plastic wrap and then aluminum foil. Freeze in a sealed bag for up to three months. When you’re ready, thaw it at room temperature for best results and refresh by warming in the oven.
Reheating
To bring back that fresh-from-the-oven experience, lightly mist the bread with water and warm it in a 350°F (175°C) oven for about 10 minutes. This will revive the crisp crust and soft interior as if it were just baked.
FAQs
Can I use whole wheat flour instead of all-purpose flour?
Absolutely! You can substitute whole wheat flour, but keep in mind it may result in a denser loaf. You might want to try a mix of half whole wheat and half all-purpose flour to maintain a fluffy texture.
What if I don’t have honey – can I skip it?
Yes, honey is optional and mainly adds a gentle sweetness and slight moisture to the bread. If you skip it, your bread will still taste wonderful, just a bit less sweet.
How important is the water temperature when activating the yeast?
Water that’s too hot can kill the yeast, and too cold won’t activate it properly. Ideally, keep it around 110°F (45°C) — warm to the touch but not scalding — to ensure a bubbly, lively yeast start.
Can I make this bread in a bread machine?
Definitely! Just add the ingredients in the order recommended by your machine’s manual. Using the dough cycle will allow you to skip the manual kneading and rising steps, making baking even more convenient.
Why does the bread sometimes come out flat?
Flat bread usually means the yeast didn’t activate properly, the dough didn’t rise long enough, or the water temperature was off during yeast activation. Make sure your yeast foams after the proofing step and give the dough enough time to rise in warm conditions.
Final Thoughts
Making Grandma’s Perfect Homemade Bread Recipe is like inviting a little piece of love and tradition into your kitchen. It’s an approachable recipe that rewards your effort with warm, crusty, and flavorful bread that’s perfect any day of the week. I encourage you to give it a try — soon you’ll have a loaf so delicious, everyone will be asking for seconds and the recipe!
“`
Print
Grandma’s Perfect Homemade Bread Recipe
- Prep Time: 15 minutes
- Cook Time: 30 minutes
- Total Time: 2 hours 45 minutes
- Yield: 1 loaf (approximately 12 slices)
- Category: Bread
- Method: Baking
- Cuisine: American
- Diet: Vegetarian
Description
Grandma’s Perfect Homemade Bread is a classic, soft, and fluffy white bread made from scratch using simple ingredients like active dry yeast, warm water, sugar, olive oil, salt, and all-purpose flour. This comforting recipe requires minimal prep time and uses a straightforward kneading and baking technique to achieve a golden crust and tender crumb, making it an ideal choice for sandwiches, toast, or alongside any meal.
Ingredients
Yeast Mixture
- 2 1/4 teaspoons active dry yeast (1 packet)
- 1 cup warm water (110°F/45°C)
- 1 tablespoon sugar
Dough
- 3 tablespoons olive oil (or vegetable oil)
- 1 1/2 teaspoons salt
- 3 cups all-purpose flour (plus more for kneading)
- 1 tablespoon honey (optional, for extra flavor)
For Greasing
- 1 tablespoon butter (for greasing the pan)
Instructions
- Activate Yeast: In a small bowl, combine the warm water, sugar, and active dry yeast. Stir gently and let it sit for about 5 to 10 minutes until the mixture becomes frothy, indicating the yeast is active.
- Prepare Dough: In a large mixing bowl, combine the flour, salt, olive oil, and honey if using. Pour in the activated yeast mixture and stir until a shaggy dough forms.
- Knead Dough: Transfer the dough onto a lightly floured surface and knead for about 8 to 10 minutes until the dough is smooth, elastic, and slightly tacky. Add more flour as needed to prevent sticking but avoid over-flouring.
- First Rise: Lightly grease a large bowl with olive oil, place the dough inside, and cover it with a clean kitchen towel or plastic wrap. Let it rise in a warm, draft-free spot for 1 to 2 hours, or until doubled in size.
- Shape Bread: Punch down the risen dough to release air bubbles. Shape the dough into a loaf by folding and tucking it into a rectangle or oval shape.
- Second Rise: Grease a loaf pan with butter. Place the shaped dough into the pan, cover loosely, and let it rise again for about 30 to 45 minutes until it nearly doubles in size.
- Bake Bread: Preheat the oven to 375°F (190°C). Bake the bread for 25 to 30 minutes or until the crust is golden brown and sounds hollow when tapped on the bottom.
- Cool Bread: Remove the bread from the oven and allow it to cool in the pan for 10 minutes. Then, transfer it onto a wire rack to cool completely before slicing.
Notes
- Ensure the water is warm but not hot to avoid killing the yeast.
- The optional honey adds a subtle sweetness that enhances flavor and crust color.
- Kneading develops gluten giving the bread structure — do not skip or shorten this step.
- You can substitute olive oil with vegetable oil if preferred.
- Allow the bread to cool completely before slicing to maintain crumb texture.
- Store in an airtight container or plastic bag to keep bread fresh for up to 3 days.


