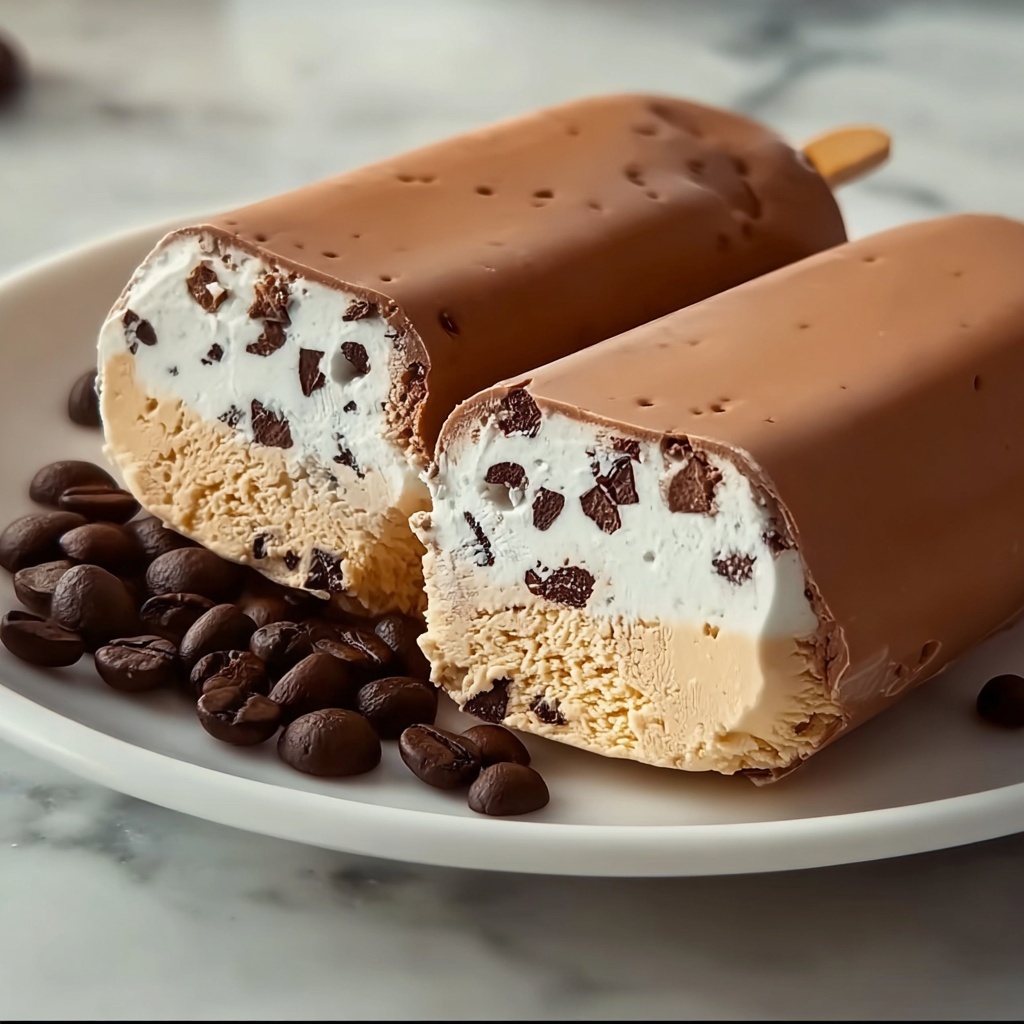
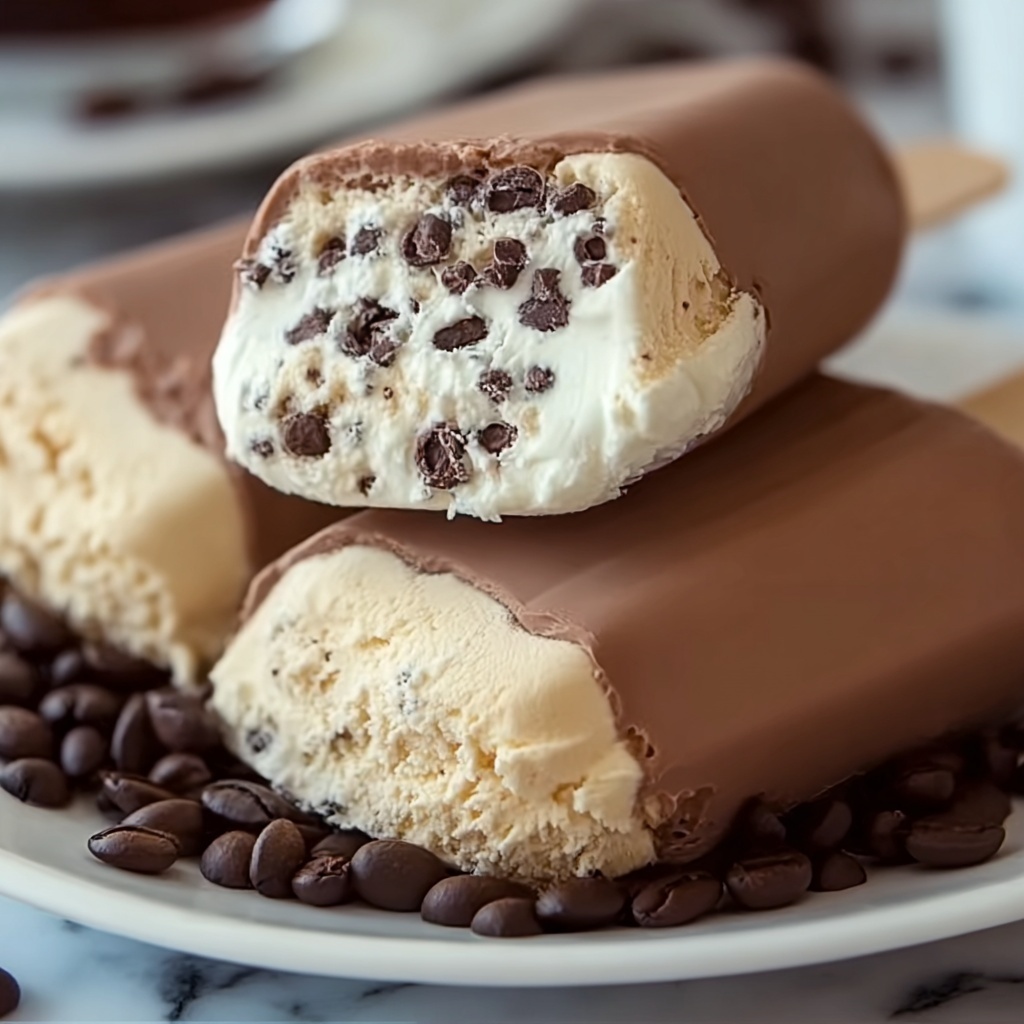
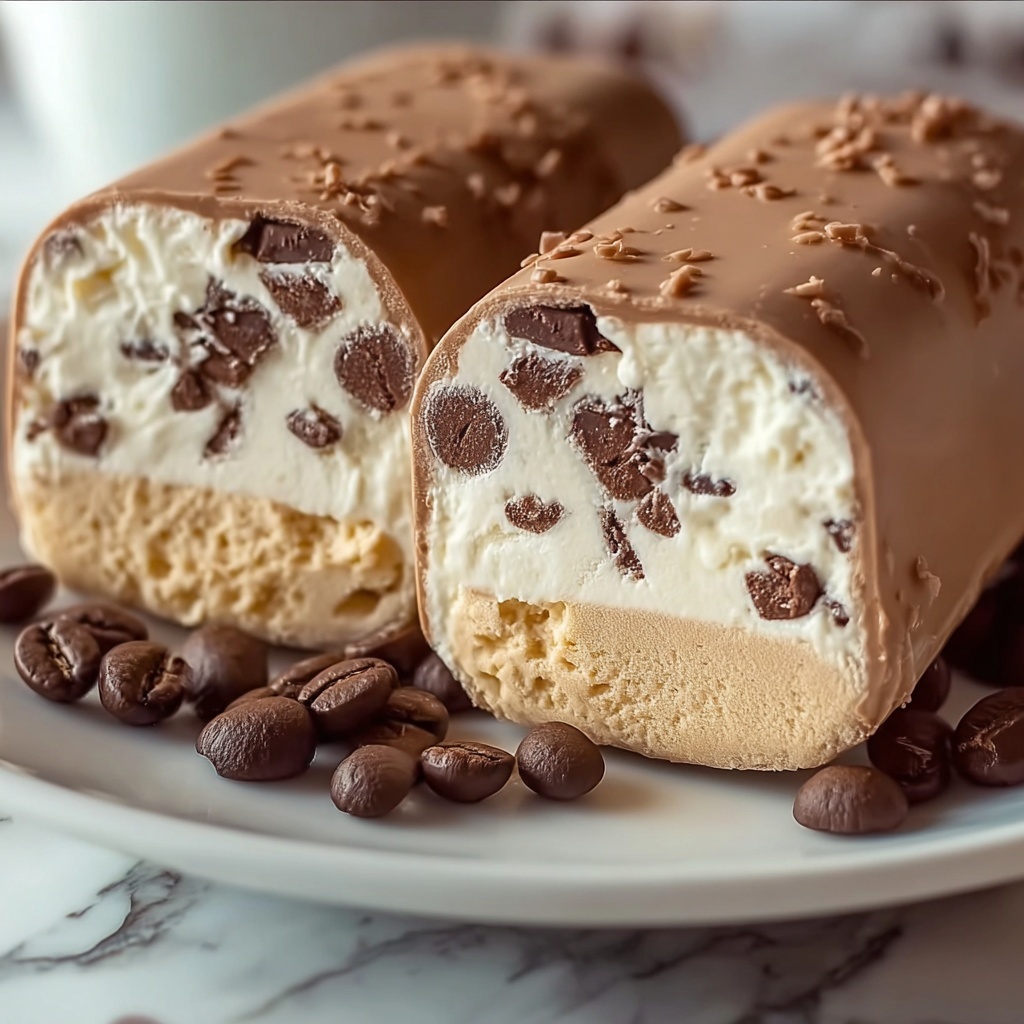
If you’re a coffee lover with a sweet tooth, you are absolutely going to adore this Homemade Coffee Ice Cream Recipe. It’s rich, creamy, and infused with the bold, aromatic flavors of fresh-brewed coffee, creating a luscious treat that feels both indulgent and comforting. Making your own coffee ice cream from scratch is surprisingly straightforward, and the result far surpasses anything you can find at a store. From the smooth custard base to the perfect balance of sweetness and coffee bitterness, this recipe promises a delightful scoop of heaven in every bite.
Ingredients You’ll Need
Gathering simple, high-quality ingredients is the secret to a fantastic ice cream. Each element in this recipe plays an essential role—whether it’s adding creaminess, depth of flavor, or that unmistakable coffee kick—ensuring the final ice cream is smooth, flavorful, and perfectly textured.
- 2 cups heavy cream: This provides the rich, velvety texture that makes ice cream so satisfying.
- 1 cup whole milk: Balances the cream’s richness and helps create a smooth consistency.
- 1 cup brewed strong coffee (cooled): The star flavor, adding a robust, aromatic coffee punch.
- 3/4 cup granulated sugar: Sweetens the ice cream and helps with texture during freezing.
- 4 large egg yolks: The key to a creamy custard base with a luscious mouthfeel.
- 1 teaspoon vanilla extract: Enhances the coffee flavor with a subtle, warm sweetness.
- Pinch of salt: Balances the flavors and intensifies the coffee notes.
How to Make Homemade Coffee Ice Cream Recipe
Step 1: Make the Custard Base
Start by combining the heavy cream, whole milk, and cooled brewed coffee in a medium saucepan. Warm this mixture over medium heat until it’s hot but not boiling, stirring occasionally. This blend forms the creamy canvas that carries the distinct coffee flavor throughout the ice cream.
Step 2: Whisk the Eggs and Sugar
While the milk mixture is heating, whisk together the egg yolks and granulated sugar in a separate bowl. Beat until the mixture becomes pale and slightly thickened—this step is crucial for creating that smooth, rich texture in your ice cream.
Step 3: Temper the Eggs
This step is all about patience and care. Slowly pour the hot milk and coffee mix into the egg yolks while whisking constantly. This gradual combination prevents the eggs from cooking too quickly or scrambling, ensuring a silky custard base.
Step 4: Cook the Custard
Return the combined mixture to the saucepan and cook over medium heat. Stir constantly with a wooden spoon or spatula until the custard thickens enough to coat the back of the spoon—this usually happens at around 170°F to 175°F. Be careful not to let the mixture boil, as that can ruin the texture.
Step 5: Cool the Custard
Remove the saucepan from heat, then stir in the vanilla extract and a pinch of salt. Allow the custard to cool to room temperature before refrigerating it for at least 4 hours or overnight. Chilling is essential for the flavors to meld and for the ice cream to churn properly.
Step 6: Churn the Ice Cream
Pour the thoroughly chilled custard into your ice cream maker and churn according to the manufacturer’s instructions. It typically takes about 20 to 25 minutes to reach a lovely soft-serve texture, perfect for scooping and savoring.
Step 7: Freeze Until Firm
Transfer the churned ice cream into an airtight container and freeze for another 4 hours or more until it firms up nicely. This final freezing step intensifies the texture, making each scoop creamy and satisfying.
Step 8: Serve and Enjoy
Now comes the best part—scooping your Homemade Coffee Ice Cream Recipe into a bowl or cone and indulging in the rich, aromatic goodness you created. Trust me, every spoonful is a celebration of coffee and cream!
How to Serve Homemade Coffee Ice Cream Recipe
Garnishes
To elevate your ice cream serving, consider garnishing with a sprinkle of dark cocoa powder or a few chocolate shavings for a luxurious touch. A handful of crushed nuts or a drizzle of caramel sauce also pairs beautifully, adding a delightful contrast in texture and sweetness.
Side Dishes
This coffee ice cream pairs wonderfully with desserts like warm brownies, apple pie, or a classic chocolate lava cake. The cold, creamy coffee flavor balances the warm, gooey sweets perfectly, creating an irresistible flavor combination.
Creative Ways to Present
Try serving scoops of this Homemade Coffee Ice Cream Recipe inside an espresso-filled glass for an affogato twist. Or, layer it with crushed biscotti and whipped cream in a parfait glass for a stunning, café-inspired dessert that’s sure to impress guests.
Make Ahead and Storage
Storing Leftovers
Store any leftover ice cream in an airtight, freezer-safe container to prevent ice crystals from forming and to retain the creamy texture. Press a sheet of parchment paper on the surface before sealing for added protection.
Freezing
When freezing your ice cream after churning, ensure it’s kept at a consistent temperature below 0°F to maintain the best texture. Avoid frequent temperature changes by storing it in the main section of the freezer, not the door.
Reheating
Unlike cooked dishes, ice cream isn’t intended to be reheated. If it becomes too hard after freezing, simply let it soften at room temperature for 5 to 10 minutes before scooping for the perfect creamy consistency.
FAQs
Can I use instant coffee instead of brewed coffee?
While instant coffee can work in a pinch, brewed strong coffee lends a richer and more authentic flavor to your ice cream. If using instant, dissolve it in a small amount of hot water first and adjust to taste.
Is it necessary to use egg yolks in this recipe?
Egg yolks are key to creating a smooth, creamy custard base with a velvety texture. Omitting them will result in a less rich ice cream, more icy in texture.
Can I make this recipe dairy-free?
Yes, substitute the heavy cream and whole milk with full-fat coconut milk or another creamy plant-based milk, though the flavor and texture will differ slightly from the traditional version.
How long does homemade coffee ice cream last in the freezer?
Properly stored, it should maintain its best quality for up to 2 weeks. After that, ice crystals may develop, affecting texture and flavor.
Can I add mix-ins like chocolate chips or nuts?
Absolutely! Add your favorite mix-ins during the last few minutes of churning to evenly distribute them without disrupting the smooth texture.
Final Thoughts
I can’t recommend this Homemade Coffee Ice Cream Recipe enough for anyone who appreciates the perfect harmony of coffee and creamy sweetness. Taking the time to make it from scratch turns a simple dessert into an extraordinary treat that’s sure to impress yourself and your loved ones. So grab your ingredients, warm up your kitchen, and prepare to enjoy the most satisfying scoop of coffee bliss imaginable!
Print
Homemade Coffee Ice Cream Recipe
- Prep Time: 20 minutes
- Cook Time: 15 minutes
- Total Time: 8 hours 34 minutes
- Yield: 1 quart (about 4 servings)
- Category: Dessert
- Method: Stovetop
- Cuisine: American
Description
This creamy homemade coffee ice cream recipe delivers the rich, bold flavors of freshly brewed coffee combined with a smooth custard base. Made with heavy cream, whole milk, egg yolks, and a hint of vanilla, this classic frozen treat is perfect for coffee lovers looking to enjoy their favorite flavor in a cool, indulgent dessert.
Ingredients
Ice Cream Base
- 2 cups heavy cream
- 1 cup whole milk
- 1 cup brewed strong coffee (cooled)
- 3/4 cup granulated sugar
- 4 large egg yolks
- 1 teaspoon vanilla extract
- Pinch of salt
Instructions
- Make the custard base: In a medium saucepan, combine the heavy cream, whole milk, and brewed coffee. Heat the mixture over medium heat until it’s hot but not boiling, stirring occasionally to blend the flavors evenly.
- Whisk the eggs: In a separate bowl, whisk together the egg yolks and granulated sugar until the mixture becomes pale and slightly thickened, about 2-3 minutes.
- Temper the eggs: Gradually pour the hot milk and coffee mixture into the egg yolks while continuously whisking to prevent the eggs from curdling.
- Cook the custard: Return the combined mixture to the saucepan and cook over medium heat, stirring constantly with a wooden spoon or spatula until it thickens enough to coat the back of the spoon. Aim for a temperature of about 170°F-175°F (77°C-80°C), ensuring the mixture does not boil.
- Cool the custard: Remove the custard from heat and stir in the vanilla extract and a pinch of salt. Allow it to cool to room temperature, then cover and refrigerate for at least 4 hours or overnight until thoroughly chilled.
- Churn the ice cream: Pour the chilled custard into an ice cream maker and churn following the manufacturer’s directions until it reaches a soft-serve texture, usually about 20-25 minutes.
- Freeze: Transfer the churned ice cream into an airtight container and freeze for at least 4 hours or until fully set and firm.
- Serve: Scoop the homemade coffee ice cream into bowls or cones and enjoy immediately for the best creamy texture and rich coffee flavor.
Notes
- Make sure the brewed coffee is fully cooled before mixing with the cream and milk to prevent premature cooking of the eggs.
- Use an instant-read thermometer to monitor the custard temperature to avoid curdling.
- The ice cream maker is essential for achieving a smooth texture; if unavailable, you can stir the mixture vigorously every 30 minutes while freezing to reduce ice crystals.
- For a stronger coffee flavor, increase the amount of brewed coffee or use espresso.
- Store leftover ice cream in an airtight container to prevent freezer burn.


