
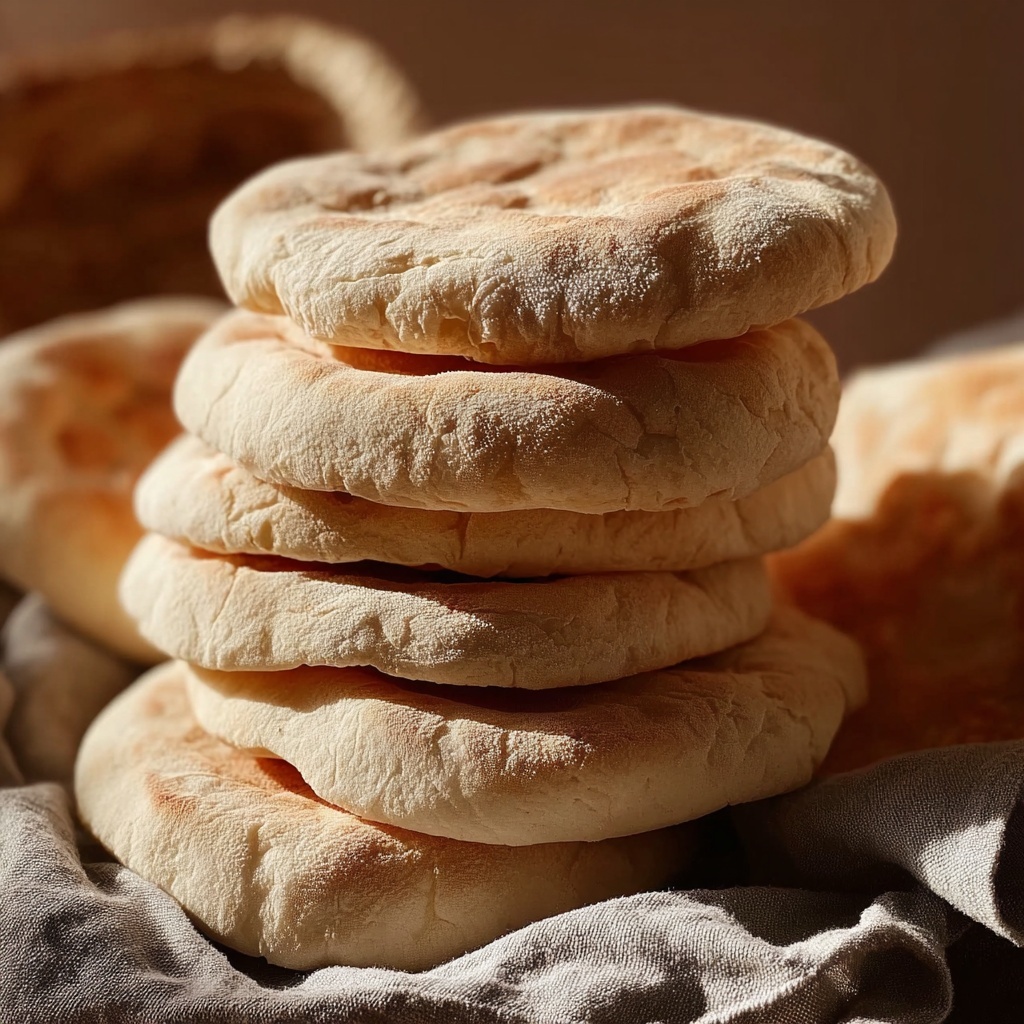
If you have ever wished to make soft, fluffy flatbreads that puff up right in your oven, this Homemade Pita Bread Recipe is your new kitchen best friend. With just a handful of simple pantry staples, you’ll be crafting pillowy pitas that are perfect for stuffing, dipping, or tearing apart to scoop up your favorite dips. There is something truly satisfying about bringing this classic Middle Eastern staple to life from scratch, and once you taste these warm, freshly baked pockets, you’ll find it hard to go back to store-bought bread again.
Ingredients You’ll Need
The magic behind this recipe comes down to a few essential ingredients that blend perfectly to create the ideal texture, flavor, and color of homemade pita bread. Each one plays a key role, from activating the yeast to giving the bread its signature golden crust.
- 2 ¼ teaspoons active dry yeast: The powerhouse ingredient that makes the dough rise and creates those beautiful puffy pockets.
- 1 teaspoon sugar: Feeds the yeast for that perfect yeast activation and adds a hint of subtle sweetness.
- 1 cup warm water: Ideal temperature helps awaken the yeast without killing it, crucial for dough development.
- 2 ½ cups all-purpose flour: Provides the structure and pliability necessary for soft, elastic pita bread.
- 1 teaspoon salt: Enhances flavor and balances the sweetness, while strengthening the gluten network.
- 1 tablespoon olive oil: Adds richness and helps keep your pita bread tender and moist.
How to Make Homemade Pita Bread Recipe
Step 1: Activate the Yeast
Begin by mixing warm water with sugar and yeast in a large bowl. Let this mixture sit for 5 to 10 minutes until you see a foamy layer on top. This signals that the yeast is alive and ready to work its magic, which ensures your pita bread will have that delightful rise and airy texture.
Step 2: Combine the Dough Ingredients
Once your yeast mixture is bubbly, add in the flour, salt, and olive oil. Stir everything until a shaggy dough forms. This is when the fun begins, as you take this rough mixture and turn it into a silky, elastic dough that will be easy to shape into perfect pockets.
Step 3: Knead the Dough
Knead the dough by hand or with a mixer equipped with a dough hook for about 8 to 10 minutes, aiming for a smooth and elastic ball. This kneading step develops the gluten, giving your pita bread its chewy yet tender crumb, and ensures a great puff when baking.
Step 4: Let the Dough Rise
Place your dough in a lightly oiled bowl, cover it with a clean towel or plastic wrap, and store it in a warm spot. Let it rise for about an hour, or until it doubles in size. This first rise is when the flavors mature and the dough becomes airy enough to puff up spectacularly.
Step 5: Prepare for Baking
Preheat your oven to 475°F (245°C) and position a baking stone or a heavy baking sheet upside down in the center to get it nice and hot. This high heat is what gives your pitas their signature quick puff and golden color.
Step 6: Shape the Dough
Punch down the risen dough, then divide it into 8 equal parts. Roll each piece into a ball, then flatten and roll them into 6-inch circles, about ¼ inch thick. This thickness strikes the perfect balance, allowing for a lovely pocket to form while staying tender.
Step 7: Bake the Pitas
Place 2 to 3 pita discs at a time on the preheated baking surface. Bake each batch for 3 to 5 minutes, until they puff up beautifully and turn lightly golden. Remove and immediately cover with a clean towel to keep them soft and pliable while you bake the rest.
How to Serve Homemade Pita Bread Recipe
Garnishes
These pillowy pitas become even more irresistible when paired with simple garnishes. Try brushing them with a drizzle of olive oil and a sprinkle of za’atar or fresh herbs like parsley and mint. A light garlic butter spread right out of the oven is another guaranteed crowd-pleaser.
Side Dishes
Homemade pita bread pairs beautifully with a wide range of Middle Eastern classics. Serve alongside creamy hummus, vibrant baba ganoush, or a fresh cucumber and tomato salad for a light meal. They’re also perfect for scooping up rich stews or accompanying grilled meats and veggies.
Creative Ways to Present
Don’t be afraid to get creative! Cut the pitas into triangles to serve as dippers for your favorite dips, stuff them with falafel and tzatziki for a quick sandwich, or slice them open and fill with roasted vegetables and cheese for a tasty pita pocket. You can even toast them lightly and crumble for homemade pita chips.
Make Ahead and Storage
Storing Leftovers
If you have any pita bread left after your feast, simply store the cooled pitas in an airtight container at room temperature for up to three days. They stay soft and ready to be enjoyed as snacks or meal accompaniments later on.
Freezing
For longer storage, freeze the pitas in a resealable plastic bag. Separate them with parchment paper to prevent sticking. When you want some, just pull out a few and defrost at room temperature or in the microwave.
Reheating
To bring your frozen or leftover pita back to life, warm it gently in a skillet over medium heat for a minute or two on each side, or wrap in foil and heat in a warm oven. This restores their softness and fluffiness, almost like fresh-baked!
FAQs
Can I use whole wheat flour instead of all-purpose flour?
Absolutely! Whole wheat flour adds a nice nutty flavor and boosts the fiber content. Just keep in mind the dough may be slightly denser, so you might need to add a bit more water or knead longer.
How do I get pita bread to puff up in the oven?
The secret is a very hot baking surface and rolling the dough evenly thin. The rapid heat creates steam inside the dough, which causes it to puff. Make sure your oven and baking stone or sheet are fully preheated for the best results.
Is it possible to make pita bread without a baking stone?
Yes! A heavy baking sheet placed upside down works well as a substitute. The key is to have a hot, flat surface in the oven to mimic the effect of a baking stone.
Can I cook pita bread on the stovetop?
Definitely! Heat a cast iron skillet over medium-high heat and cook each pita for 1 to 2 minutes per side until puffed and slightly charred. It’s a quick option if you don’t want to use the oven.
How long does the dough need to rise?
About 1 hour at room temperature, or until it doubles in size. This allows the yeast to develop and the dough to become airy enough to create soft, fluffy pitas when baked.
Final Thoughts
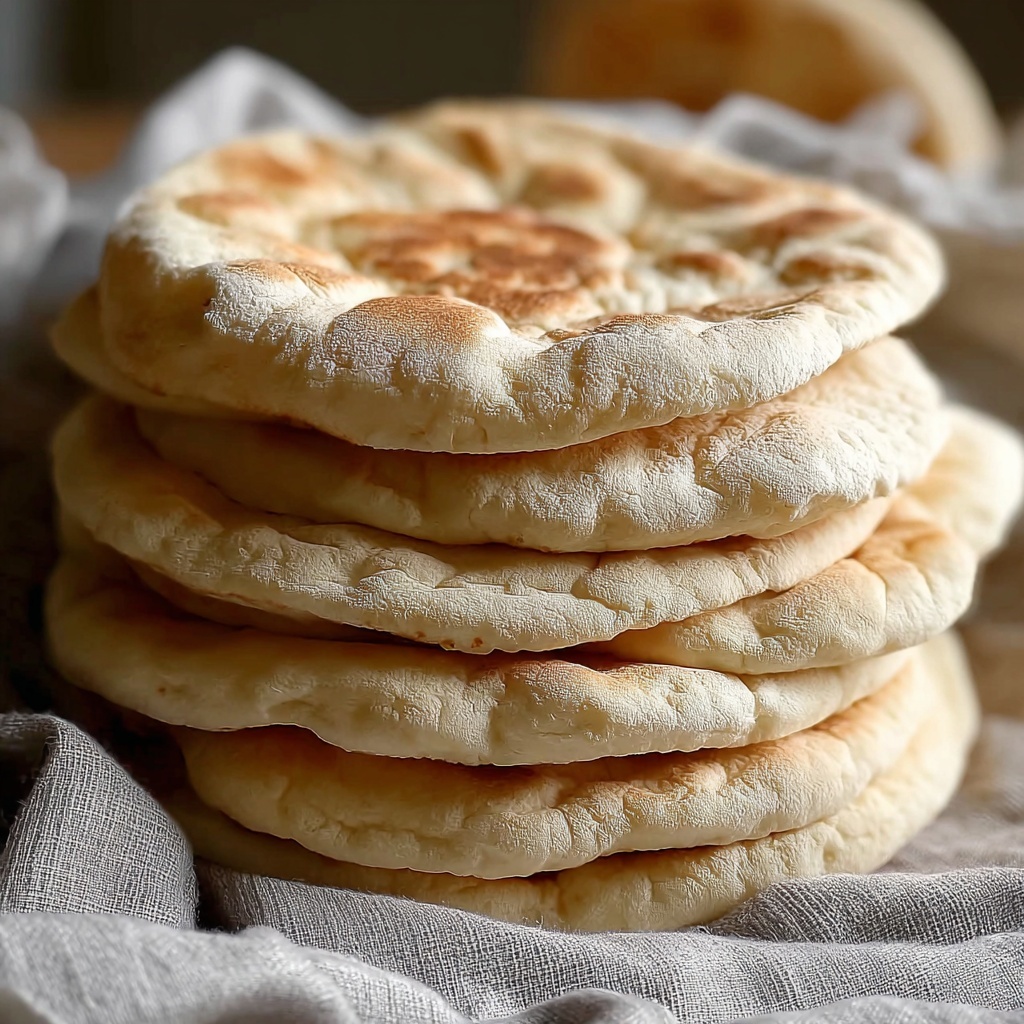
There is something truly special about pulling warm, freshly baked pita bread from your own oven. This Homemade Pita Bread Recipe brings not only delicious flavor but also a wonderful sense of accomplishment to your kitchen. Once you try making it yourself, you’ll see how easy and rewarding it can be, and it will undoubtedly become a staple in your baking adventures. So, roll up your sleeves, get your ingredients ready, and enjoy the irresistible charm of baking your own pita bread at home!
Print
Homemade Pita Bread Recipe
- Prep Time: 15 minutes
- Cook Time: 15 minutes
- Total Time: 1 hour 30 minutes
- Yield: 8 pitas
- Category: Bread
- Method: Baking
- Cuisine: Middle Eastern
- Diet: Vegan
Description
This homemade pita bread recipe offers a simple, authentic way to create soft, fluffy Middle Eastern flatbreads right in your oven. Using basic pantry ingredients like yeast, flour, and olive oil, this recipe yields 8 perfectly puffed pitas ideal for sandwiches, dipping, or serving alongside your favorite dishes.
Ingredients
Dry Ingredients
- 2 ¼ teaspoons active dry yeast (1 packet)
- 1 teaspoon sugar
- 2 ½ cups all-purpose flour (plus more for dusting)
- 1 teaspoon salt
Wet Ingredients
- 1 cup warm water (about 110°F)
- 1 tablespoon olive oil
Instructions
- Activate Yeast: In a large bowl, mix the warm water, sugar, and active dry yeast. Stir gently and let sit for 5 to 10 minutes until the mixture becomes foamy, indicating the yeast is active.
- Make Dough: Add flour, salt, and olive oil to the yeast mixture. Mix until a shaggy dough forms. Knead the dough either by hand or using a stand mixer fitted with a dough hook for 8 to 10 minutes until the dough is smooth and elastic.
- First Rise: Lightly oil a large bowl and place the dough inside. Cover the bowl with a towel or plastic wrap and let the dough rise in a warm, draft-free spot for about 1 hour or until it doubles in size.
- Preheat Oven and Prepare Baking Surface: Preheat your oven to 475°F (245°C). Place a baking stone or heavy baking sheet upside down in the center rack to heat thoroughly.
- Divide and Shape Pitas: Punch down the risen dough to release air. Divide it into 8 equal portions. Roll each portion into a ball, then flatten and roll into a 6-inch circle about ¼ inch thick on a lightly floured surface.
- Bake Pitas: Place 2 to 3 pitas at a time on the preheated baking surface. Bake for 3 to 5 minutes or until the pitas puff up and develop a lightly golden hue.
- Keep Pitas Soft: Remove baked pitas from the oven and cover with a clean kitchen towel to retain moisture and softness while baking the remaining bread.
Notes
- For stovetop preparation, heat a cast iron skillet over medium-high heat and cook each pita for 1 to 2 minutes on each side until puffed and lightly browned.
- Store leftover pitas in an airtight container for up to 3 days or freeze for extended storage.
- Use room temperature ingredients and a warm rising location to ensure proper yeast activation.


