
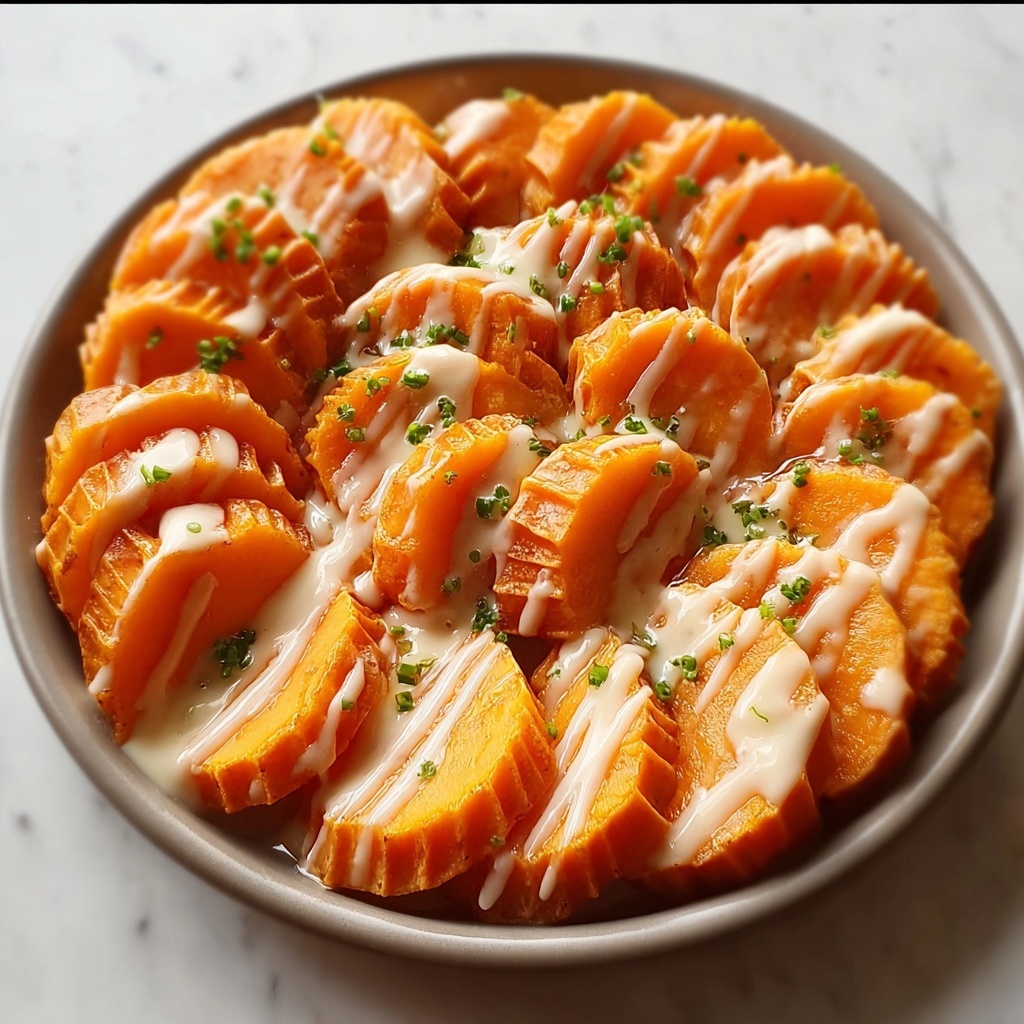
If you’re craving a Filipino classic that’s soft, chewy, and delightfully sweet, then this Kutsinta with Yema Recipe is an absolute must-try. These glossy, amber-colored steamed rice cakes offer a comforting texture with just the right balance of sweetness, and when topped with rich, creamy yema, they transform into an indulgent treat that feels homemade and special. This recipe brings a perfect harmony of traditional flavors and simple preparation, making it an irresistible dessert to share with friends and family.
Ingredients You’ll Need
Gathering the right ingredients is the first step to nailing this simple yet amazing Kutsinta with Yema Recipe. Each component plays a vital role in the cake’s texture, color, or flavor—whether it’s the combination of flours for chewiness or the annatto powder for that golden hue.
- All-purpose flour: Provides structure for the kutsinta, ensuring it holds its shape but stays soft.
- Tapioca flour: Adds that distinctive chewy texture that makes kutsinta so beloved.
- Brown sugar: Infuses every bite with deep caramel notes, adding moisture and warmth.
- Water: Binds the dry ingredients together into a smooth batter perfect for steaming.
- Lye water (lihiya): Gives kutsinta its unique texture and slight firmness; be sure to use the correct amount.
- Annatto powder: Creates the inviting amber color classic to kutsinta cakes.
- Oil for greasing molds: Ensures your kutsinta come out easily without sticking.
- Sweetened condensed milk: Forms the luscious base of the yema topping, rich and creamy.
- Egg yolks: Help thicken the yema and add that velvety richness.
- Butter: Brings a silky finish and depth to the yema’s flavor.
- Vanilla extract: Adds warmth and enhances the sweet creaminess of the yema.
How to Make Kutsinta with Yema Recipe
Step 1: Prepare the Kutsinta Batter
Start by combining the all-purpose flour, tapioca flour, brown sugar, and annatto powder in a large bowl. Whisk in the water gradually until you achieve a smooth, lump-free batter. The annatto powder will lend the batter its beautiful golden-orange tint, which is just a teaser of the deliciousness to come. Lastly, mix in the lye water carefully; it’s essential for achieving that unique kutsinta texture.
Step 2: Steam the Kutsinta
Lightly grease your kutsinta or puto molds with oil, then pour the batter about three-quarters full into each one. Arrange the molds in a steamer over medium heat, making sure the water is boiling gently. Steam for 25 to 30 minutes until they become firm and a toothpick inserted in the center comes out clean. The steaming process creates that soft yet springy texture that makes kutsinta so delightful.
Step 3: Cool Before Removing from Molds
Once steamed, allow the kutsinta to cool slightly. This rest period helps them set further and makes it easier to remove them from the molds without tearing. Patience here ensures your kutsinta look as good as they taste.
Step 4: Make the Yema Topping
While your kutsinta cool, prepare the yema topping. In a saucepan over low heat, combine sweetened condensed milk, egg yolks, butter, and vanilla extract. Stir constantly and gently for about 10 to 15 minutes until the mixture thickens to a spreadable consistency. The slow cooking brings out a luscious, custard-like yema that perfectly complements the chewy kutsinta beneath it.
Step 5: Top and Serve
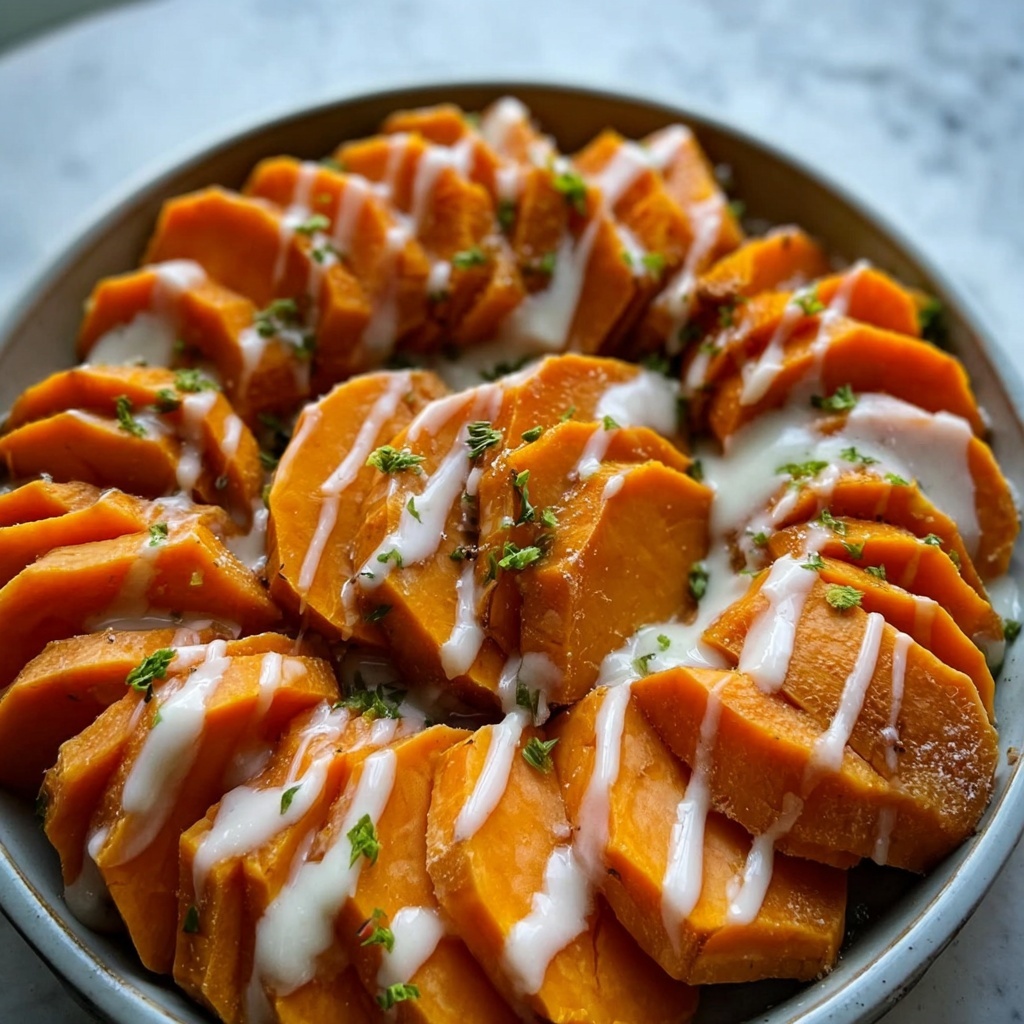
Spoon or pipe the yema on top of each cooled kutsinta piece. You can serve them warm for a melty experience or chilled for a refreshing sweet snack. Either way, the gooey yema topping elevates this humble rice cake into an irresistible dessert.
How to Serve Kutsinta with Yema Recipe
Garnishes
Kutsinta with yema is traditionally topped just with the creamy yema, but if you want to add texture and a bit of contrast, freshly grated coconut is a wonderful choice. It adds a natural sweetness and subtle crunch that balances beautifully with the softness of the kutsinta and the richness of the yema.
Side Dishes
This dessert pairs wonderfully with warm, strong coffee or a cup of sweetened hot chocolate—perfect for merienda or an afternoon pick-me-up. If you’re serving it as a party spread, you might also provide fresh tropical fruits like mango or pineapple to add a juicy burst alongside the rich treats.
Creative Ways to Present
For a festive twist, try serving the kutsinta with yema in mini cupcake liners or on banana leaves for a rustic, authentic touch. You can also pipe the yema topping onto each piece in swirls or rosettes to add a charming visual appeal that’s sure to impress your guests or family.
Make Ahead and Storage
Storing Leftovers
Leftover kutsinta hold up nicely in the refrigerator for 2 to 3 days. Store them in an airtight container to maintain their moisture. It’s best to add the yema topping just before serving so it stays soft and creamy, not dried out.
Freezing
If you want to keep kutsinta longer, they freeze well without the yema. Wrap the cooled cakes individually in plastic wrap and place them in a freezer-safe bag. When you’re ready to enjoy, thaw overnight in the fridge and then steam briefly to refresh their soft texture before topping with fresh yema.
Reheating
To warm leftovers, steam the kutsinta for a few minutes until heated through. This brings back their signature chewiness and softness. You can then spread or pipe your freshly made yema topping on top. Avoid microwaving as it can alter their texture and make them rubbery.
FAQs
What is the purpose of lye water in kutsinta?
Lye water is a traditional ingredient that helps kutsinta develop their distinctive chewy and slightly firm texture. It also affects the glossy appearance and enhances the color when combined with annatto powder.
Can I substitute brown sugar with white sugar?
While you can use white sugar, brown sugar adds a richer, more caramel-like flavor and a deep color that truly defines traditional kutsinta. Using white sugar may result in a less complex taste and paler cakes.
Is there a vegan option for the yema topping?
The classic yema topping requires egg yolks and butter, but you can create a vegan version using coconut milk, plant-based butter, and a thickening agent like cornstarch. The texture and flavor will differ, but it can still be tasty alongside your kutsinta.
How long does it take to steam kutsinta?
Steaming typically takes between 25 to 30 minutes. You’ll know they’re done when the tops become firm, slightly shiny, and a toothpick inserted comes out clean.
Can I make kutsinta without molds?
Yes! You can use small heatproof containers or silicone muffin cups as alternatives, just make sure to grease them lightly to prevent sticking. The shape might vary, but the taste will be just as delightful.
Final Thoughts
This Kutsinta with Yema Recipe is more than just a dessert—it’s a celebration of Filipino culinary tradition wrapped in a soft, sweet package. Whether you’re making it for a special occasion or just to brighten your day, the irresistible combination of chewy kutsinta and creamy yema topping will quickly become one of your favorite go-to treats. Don’t wait to try making these at home; your taste buds and loved ones will thank you!
Print
Kutsinta with Yema Recipe
- Prep Time: 15 minutes
- Cook Time: 40 minutes
- Total Time: 55 minutes
- Yield: 18–24 pieces
- Category: Dessert
- Method: Steaming
- Cuisine: Filipino
- Diet: Vegetarian
Description
Kutsinta with Yema is a classic Filipino steamed rice cake dessert topped with a rich, creamy yema sauce. This chewy, sticky rice cake is naturally colored with annatto powder and sweetened with brown sugar, making it a delightful treat to enjoy warm or chilled. The luscious yema topping, made from condensed milk, egg yolks, butter, and vanilla, adds a decadent contrast to the mildly sweet kutsinta, resulting in a flavorful and comforting dessert perfect for any occasion.
Ingredients
Kutsinta Batter
- 1 cup all-purpose flour
- 1 cup tapioca flour
- 1 1/2 cups brown sugar
- 2 cups water
- 1 tablespoon lye water (lihiya)
- 1 teaspoon annatto powder (for color)
- Oil for greasing molds
Yema Topping
- 1 can (14 oz) sweetened condensed milk
- 4 egg yolks
- 1 tablespoon butter
- 1 teaspoon vanilla extract
Instructions
- Prepare the Kutsinta Batter: In a large bowl, combine the all-purpose flour, tapioca flour, brown sugar, and annatto powder. Gradually whisk in the water until the batter is smooth and free of lumps. Add the lye water and stir to incorporate fully.
- Grease Molds and Pour Batter: Lightly grease puto or kutsinta molds with oil to prevent sticking. Pour the prepared batter into each mold, filling about three-quarters full to allow room for rising during steaming.
- Steam the Kutsinta: Arrange the molds in a steamer and steam over medium heat for 25 to 30 minutes. Check doneness by inserting a toothpick; it should come out clean when the kutsinta is firm and cooked through. Once done, allow the kutsinta to cool before removing them from the molds.
- Prepare the Yema Topping: In a saucepan, combine the sweetened condensed milk, egg yolks, butter, and vanilla extract. Cook over low heat, stirring constantly to prevent curdling, until the mixture thickens to a spreadable consistency, about 10 to 15 minutes.
- Top and Serve: Allow the yema topping to cool slightly. Spoon or pipe the yema over the cooled kutsinta pieces. Serve the dessert warm or chilled according to preference.
Notes
- Kutsinta can be stored in the refrigerator and topped with yema just before serving to maintain texture.
- For a traditional twist, you can substitute the yema topping with freshly grated coconut.
- Adjust the amount of annatto powder to achieve your desired color intensity.


