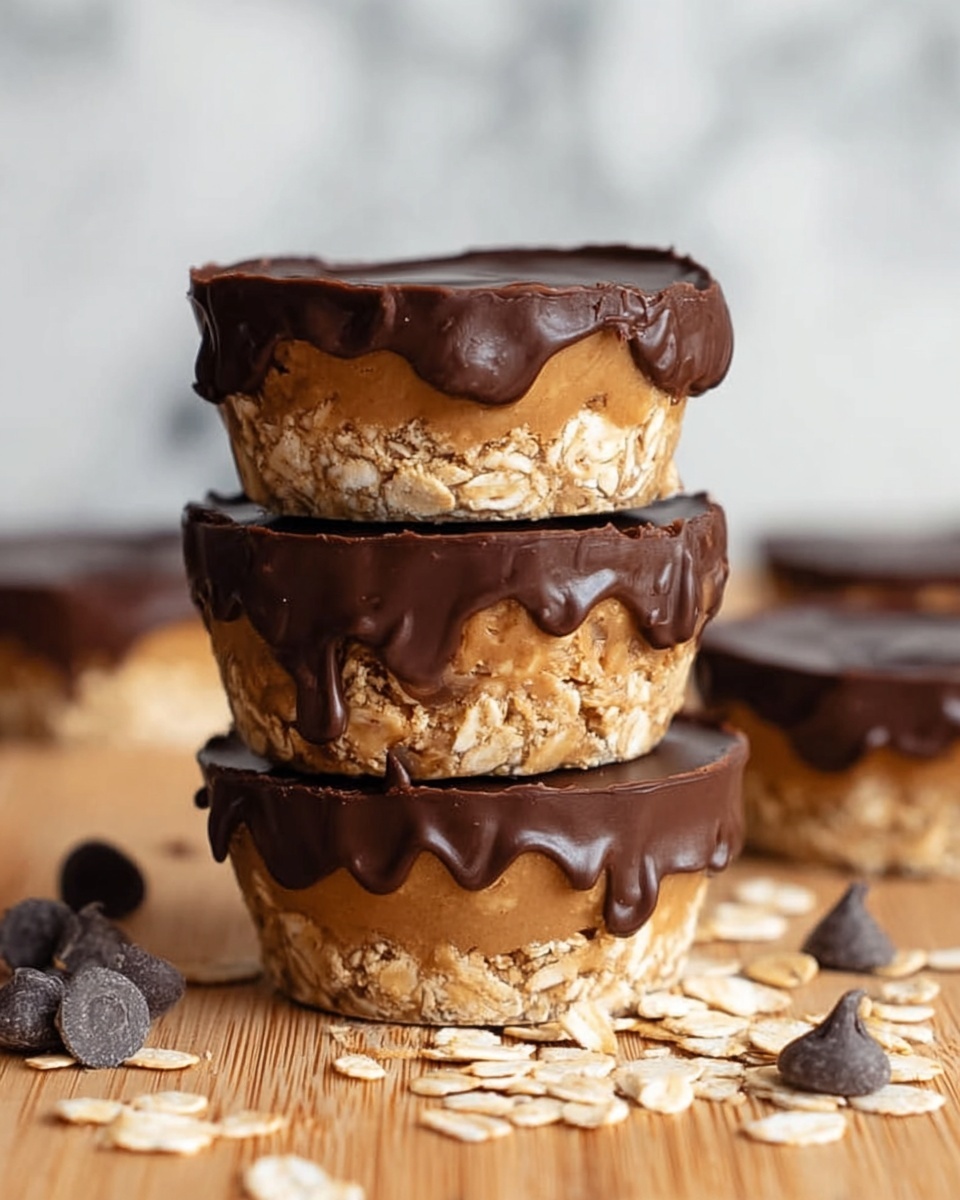
If you are looking for a delightful, easy-to-make treat that combines the wholesome goodness of oats with the rich, creamy flavor of peanut butter, then you absolutely need to try the No-Bake Peanut Butter Oat Cups – 7 Irresistible Treats You’ll Love Instantly Recipe. These little cups are a perfect blend of chewy, sweet, and nutty that come together in just minutes without turning on the oven. Whether you want a quick snack or a grab-and-go breakfast bite, these cups will become your new favorite obsession, offering a satisfying taste and texture that feels like a warm hug in every bite.
Ingredients You’ll Need
The magic of the No-Bake Peanut Butter Oat Cups – 7 Irresistible Treats You’ll Love Instantly Recipe lies in its simplicity and how each ingredient plays a crucial role. You’ll find each component straightforward but instrumental in layering the flavors, balancing textures, and creating those delightful little treats you’ll crave again and again.
- Rolled oats: The base of your cups, providing heartiness and a chewy texture.
- Peanut butter: Adds creaminess and a rich nutty flavor that’s absolutely essential.
- Honey or maple syrup: Natural sweeteners that bind everything together and add just the right amount of sweetness.
- Vanilla extract: Enhances flavor with subtle warmth and depth.
- Chia seeds or flaxseeds (optional): Adds a nutritional boost and a hint of crunch.
- Mini chocolate chips or dried fruit (optional): For extra pops of flavor and fun.
- Salt: A pinch to balance the sweetness and bring out the flavors perfectly.
How to Make No-Bake Peanut Butter Oat Cups – 7 Irresistible Treats You’ll Love Instantly Recipe
Step 1: Toast the oats lightly
Start by warming your rolled oats in a dry pan over medium heat for about 3-5 minutes, stirring often. This step is not mandatory but it releases the nutty aroma of oats which adds a lovely depth to your cups. Just be careful not to burn them!
Step 2: Mix peanut butter and sweetener
In a medium saucepan over low heat, soften the peanut butter and honey (or maple syrup) together until velvety smooth. This little warm-up helps all the flavors marry and makes the mixture more manageable to work with.
Step 3: Combine all ingredients
Remove the peanut butter mixture from the heat and stir in the toasted oats, a pinch of salt, vanilla extract, and any optional add-ins like chia seeds or chocolate chips. Stir with love until every oat is coated and the mix starts to come together.
Step 4: Form the cups
Use a small muffin tin or silicone molds to shape your cups. Spoon the mixture into each cavity, pressing down firmly to compact the oats so the cups hold their shape. This step ensures every bite stays intact and satisfying.
Step 5: Chill and set
Place your filled muffin tin in the refrigerator for at least 20-30 minutes. This chilling step is essential for the cups to firm up and become delightfully chewy, ready to be enjoyed right away or stored for later.
How to Serve No-Bake Peanut Butter Oat Cups – 7 Irresistible Treats You’ll Love Instantly Recipe
Garnishes
For a little extra flair and flavor, you can garnish your oat cups with a drizzle of melted dark chocolate, a sprinkle of sea salt, or finely chopped nuts. These touches add elegance and an exciting twist to the classic treat.
Side Dishes
Pair your No-Bake Peanut Butter Oat Cups with fresh fruit like sliced bananas or strawberries, or a small bowl of yogurt. The creamy, fruity accents complement the rich oat cups perfectly for a balanced snack or light breakfast.
Creative Ways to Present
Wrap individual cups in pretty parchment paper and tie them with twine for delightful picnic snacks or gift ideas. Alternatively, layer them in a glass jar with fruit and yogurt for a stunning, portable parfait that looks as good as it tastes.
Make Ahead and Storage
Storing Leftovers
Store any leftovers in an airtight container in the refrigerator where they will stay fresh and chewy for up to 5 days. This makes them a wonderful make-ahead snack that’s always ready when you need a quick bite.
Freezing
You can freeze these cups by placing them in a sealed container or zip-top bag, separated by parchment paper to prevent sticking. Frozen, they last for up to 2 months and thaw quickly to enjoy anytime you crave a nutritious treat.
Reheating
Since these are no-bake and mostly eaten chilled or at room temperature, reheating usually isn’t necessary. However, if you prefer them a bit softer, simply let them sit at room temperature for a few minutes or microwave for 10-15 seconds.
FAQs
Can I use other nut butters instead of peanut butter?
Absolutely! Almond butter, cashew butter, or sunflower seed butter can be great substitutes, each bringing its own unique flavor and creaminess to the oat cups.
Are these cups suitable for kids?
Yes! They’re naturally sweetened and packed with wholesome ingredients, making them a perfect snack for children. Just watch for any nut allergies and adjust ingredients accordingly.
Can I add protein powder to this recipe?
Definitely. Adding a scoop of your favorite protein powder can make these cups even more filling and suitable for post-workout snacks or on-the-go breakfasts.
How do I make these gluten-free?
Just be sure to use certified gluten-free oats. This keeps the recipe safe for those with gluten sensitivities or celiac disease without changing the taste or texture.
What if I want the cups less sweet?
You can easily reduce the amount of honey or maple syrup to suit your taste. Just keep in mind that the sweetener also helps bind the cups, so don’t cut it out entirely.
Final Thoughts
Once you dive into the No-Bake Peanut Butter Oat Cups – 7 Irresistible Treats You’ll Love Instantly Recipe, you’ll wonder how you ever lived without these charming, tasty bites. They are simple, nourishing, and pack the perfect punch of peanut butter goodness without turning on the oven, making them irresistible anytime. Trust me, sharing these with friends and family will have you all reaching for seconds – and maybe thirds!
Print
No-Bake Peanut Butter Oat Cups – 7 Irresistible Treats You’ll Love Instantly Recipe
- Prep Time: 10 minutes
- Cook Time: 25 minutes
- Total Time: 35 minutes
- Yield: 4 servings
- Category: Main Course
- Method: Stovetop
- Cuisine: American
Description
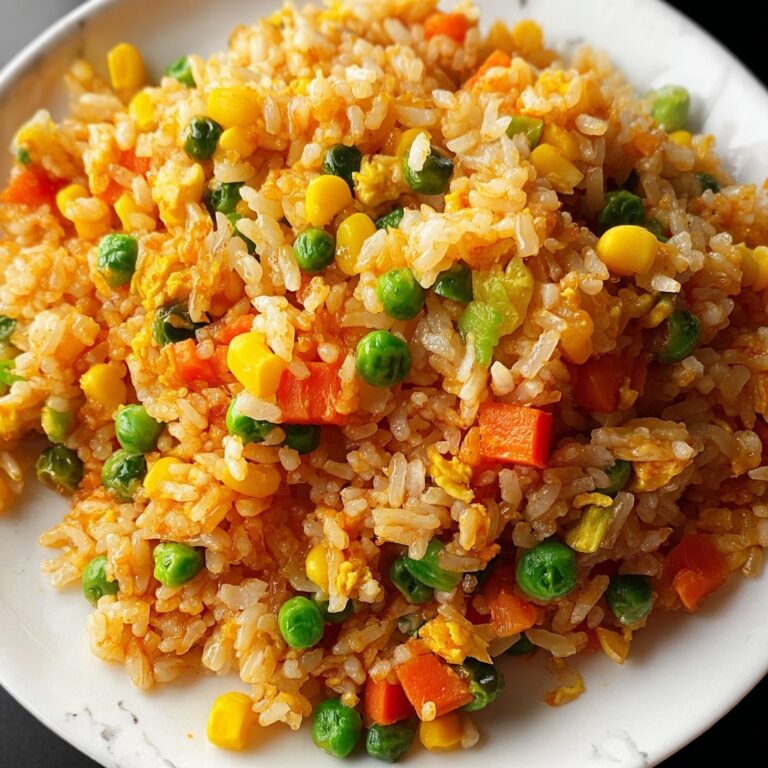
This flavorful shrimp and rice dish features tender shrimp cooked atop a bed of seasoned long-grain white rice, infused with garlic, paprika, and fresh herbs. A perfect one-pan meal combining savory spices and bright lemon for a satisfying, easy dinner.
Ingredients
Main Ingredients
- 1 lb large shrimp, peeled and deveined
- 1 tablespoon olive oil
- 1 tablespoon butter
- 1 small onion, diced
- 3 cloves garlic, minced
- 1 cup long-grain white rice
- 2 cups chicken or vegetable broth
- 1/2 teaspoon paprika
- 1/2 teaspoon salt
- 1/4 teaspoon black pepper
- 1/4 teaspoon crushed red pepper flakes (optional)
- Juice of 1/2 lemon
- 2 tablespoons chopped parsley
Instructions
- Heat aromatics: In a large skillet, heat olive oil and butter over medium heat. Add diced onion and cook for 3–4 minutes until softened.
- Sauté garlic and rice: Stir in minced garlic and rice, cooking for 1–2 minutes until the rice is lightly toasted and the garlic fragrant, enhancing the flavor.
- Add broth and seasonings: Pour in the chicken or vegetable broth, then add paprika, salt, black pepper, and optional crushed red pepper flakes. Bring the mixture to a simmer.
- Cook rice: Cover the skillet and reduce the heat to low. Allow the rice to cook for 15 minutes undisturbed to absorb the liquid.
- Add shrimp: After 15 minutes, uncover and gently stir the rice. Arrange the shrimp on top of the rice, cover again, and cook for an additional 5–7 minutes until the shrimp turn pink and are cooked through, and the liquid is fully absorbed.
- Finish and serve: Remove from heat. Drizzle with fresh lemon juice and sprinkle chopped parsley over the dish before serving for a bright finishing touch.
Notes
- For a spicier dish, increase the amount of crushed red pepper flakes.
- Make sure the shrimp are fully thawed if using frozen to ensure even cooking.
- You can substitute brown rice but increase cooking time accordingly.
- This dish is best served immediately for optimal texture and flavor.
