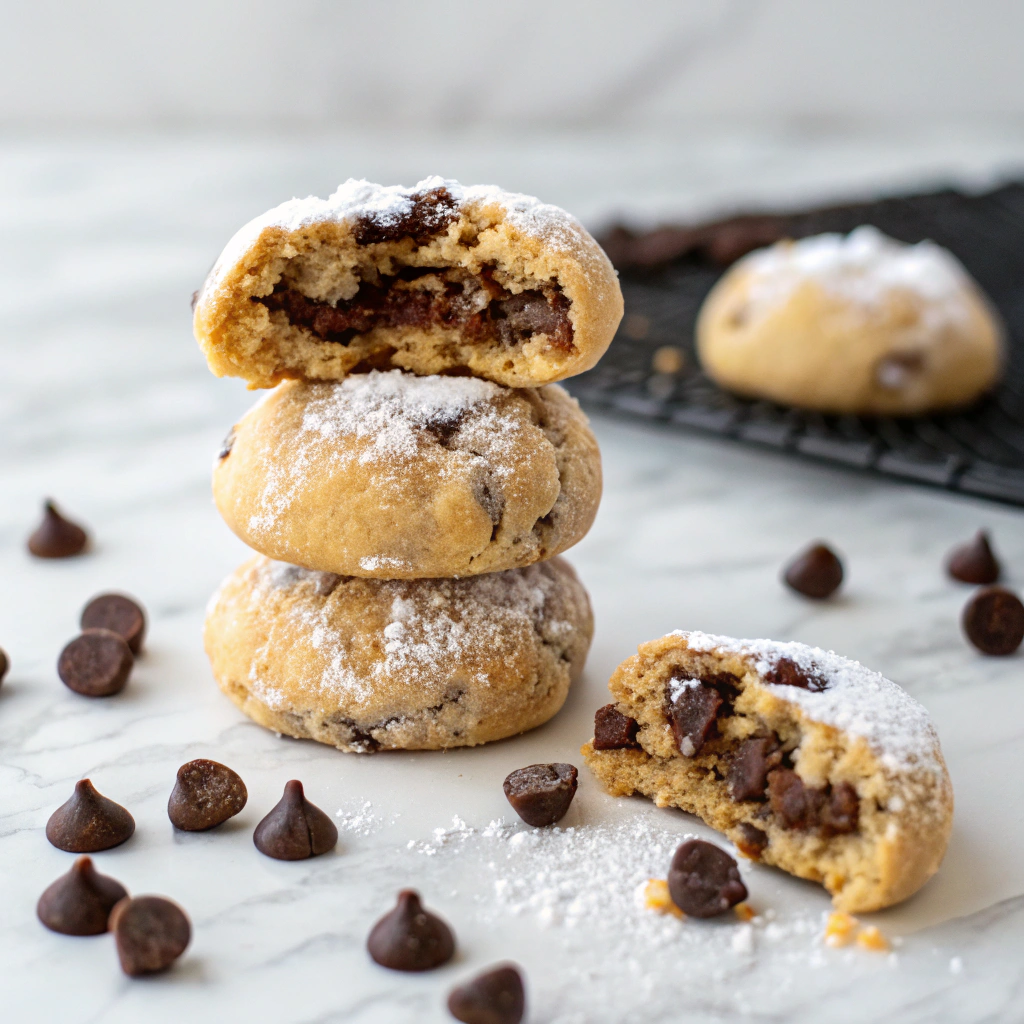
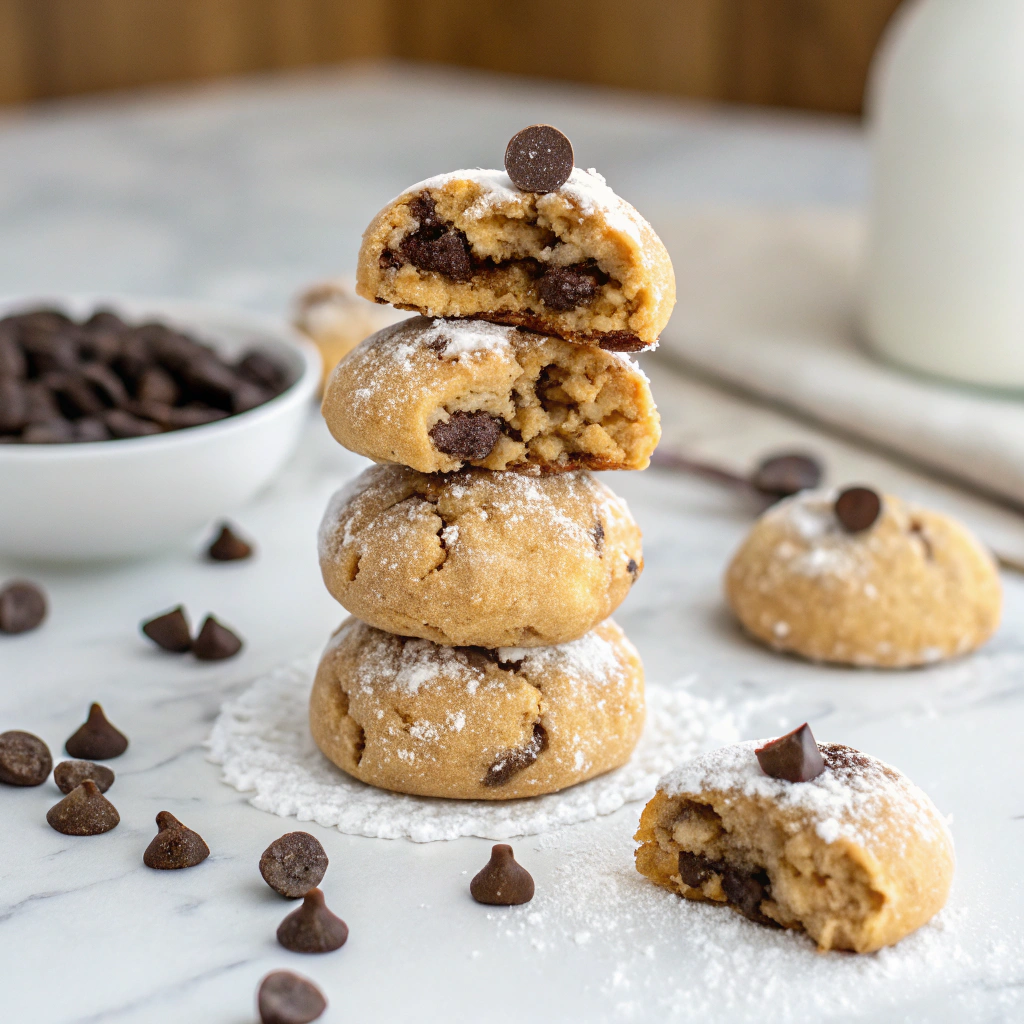
If you have a soft spot for cookies that perfectly balance nutty richness with melty chocolate, you are in for a real treat with this Peanut Butter Chocolate Chip Snowball Cookies Recipe. These delightful cookies combine the creamy warmth of peanut butter with mini bursts of chocolate chips, all wrapped in a snowy coating of powdered sugar that makes every bite feel like a festive celebration. Every step of the way, you’ll find that this recipe brings together simple ingredients to create a cookie that’s irresistibly tender, buttery, and magically crumbly—perfect for cozy afternoons or sharing with friends and family during any season.
Ingredients You’ll Need
This recipe relies on a handful of straightforward ingredients, each playing a crucial role in the final texture and flavor of your cookies. From the richness of the butter to the sweet crunch of mini chocolate chips, these essentials come together to create that perfect peanut butter cookie with an extra snowy charm.
- 1 cup unsalted butter, softened: Brings creamy richness and helps create the tender texture you’re aiming for.
- ½ cup creamy peanut butter: Adds that unmistakable nutty flavor and moisture to keep cookies soft.
- ½ cup powdered sugar (plus extra for coating): Sweetens and helps with the classic snowball cookie coating that adds a lovely visual and melt-in-your-mouth finish.
- 1 tsp vanilla extract: Lifts and deepens flavor with warm aromatic notes.
- 2 ¼ cups all-purpose flour: The base that gives structure to the cookies without making them tough.
- ¼ tsp salt: Balances sweetness and enhances all the other flavors.
- ½ cup mini chocolate chips: The pockets of gooey chocolate that contrast beautifully with the soft dough.
How to Make Peanut Butter Chocolate Chip Snowball Cookies Recipe
Step 1: Preheat the Oven and Prepare Baking Sheets
Start by setting your oven to 350°F (175°C). Line your baking sheets with parchment paper to prevent sticking and ensure even baking. This simple prep step makes cleanup a breeze and keeps your cookies looking perfect.
Step 2: Cream the Butter and Peanut Butter
Using a mixer, beat the softened butter and creamy peanut butter together until the mixture is light and fluffy. This process incorporates air that helps create the cookie’s tender crumb and rich flavor.
Step 3: Add Powdered Sugar and Vanilla
Blend in the powdered sugar and vanilla extract until everything is well combined and smooth. The powdered sugar dissolves to add sweetness without graininess, while vanilla boosts the overall aroma.
Step 4: Mix in Flour, Salt, and Chocolate Chips
Gradually fold in the all-purpose flour and salt to the wet mixture. Don’t overwork the dough; just combine until you see no more flour streaks. Gently fold in mini chocolate chips for those lovely chocolate bursts throughout every cookie.
Step 5: Shape into Snowball Cookie Balls
Roll the dough into 1-inch balls, spacing them about 1 inch apart on the prepared baking sheets. The size is perfect for that classic snowball cookie bite—small but packed with flavor.
Step 6: Bake Until Lightly Golden
Bake your cookies for 10 to 12 minutes. You’ll know they’re ready when the bottoms turn just a light golden color. This ensures the centers remain soft while the edges get a slight crispness.
Step 7: Roll in Powdered Sugar Twice
While the cookies are still warm, gently roll each cookie in powdered sugar to coat thoroughly. Once they’re completely cool, roll a second time to achieve that signature snowy, powdery finish that makes these cookies visually irresistible and enhances their melt-in-your-mouth texture.
How to Serve Peanut Butter Chocolate Chip Snowball Cookies Recipe

Garnishes
Consider sprinkling a pinch of flaky sea salt on top of the cookies just before serving to contrast the sweet coating with a hint of savory. A drizzle of melted chocolate over cooled cookies makes an elegant touch and amps up the chocolate flavor for special occasions.
Side Dishes
These cookies pair beautifully with a cold glass of milk or a warm cup of coffee or tea. For a more indulgent experience, serve alongside a scoop of vanilla ice cream or a dollop of whipped cream—perfect for dessert at any time.
Creative Ways to Present
Package these cookies in a clear jar layered with parchment paper as a charming homemade gift. Alternatively, arrange them on a decorative platter dusted with powdered sugar or cinnamon to create a festive display that makes snack time feel like a celebration.
Make Ahead and Storage
Storing Leftovers
Store leftover cookies in an airtight container at room temperature. They will remain tender and flavorful for up to 5 days, perfect for a sweet treat anytime you need a quick pick-me-up.
Freezing
You can freeze both the unbaked dough balls and the baked cookies. For dough, freeze shaped balls on a baking sheet, then transfer to a freezer bag for up to 3 months. When ready, bake directly from frozen with a slightly extended baking time. Baked cookies also freeze well for up to 2 months—just defrost at room temperature before enjoying.
Reheating
Warm leftover cookies in a microwave for about 10 seconds or in a low oven for 5 minutes to regain that freshly baked softness and melty chocolate goodness. Reheating brings the peanut butter and chocolate notes right back to life.
FAQs
Can I use chunky peanut butter instead of creamy?
Absolutely! Chunky peanut butter will add extra texture with peanut bits in your cookies. It’s a delicious variation if you enjoy a bit of crunch alongside the softness.
What is the purpose of rolling the cookies twice in powdered sugar?
The first roll in powdered sugar while warm helps it stick to the cookie surface. The second roll after cooling ensures a beautiful, thick, snowy finish that defines these snowball-style cookies.
Can I substitute mini chocolate chips with regular-sized ones?
You can, but mini chips distribute more evenly and melt better to give those lovely little bursts of chocolate in every bite. Regular chips might overpower the dough or create uneven chocolate pockets.
Are these cookies gluten-free?
The recipe uses all-purpose flour, so it’s not gluten-free as written. However, you can try swapping the flour for a gluten-free blend with a 1:1 substitution, keeping in mind texture might slightly differ.
Do these cookies keep well over several days?
Yes, when stored properly in an airtight container, they stay soft and tasty for up to 5 days at room temperature, making them great for making ahead or sharing over the week.
Final Thoughts
If you want to bake something that feels special but is incredibly simple to make, this Peanut Butter Chocolate Chip Snowball Cookies Recipe is your answer. It’s a cozy, flavorful treat that never fails to impress and is sure to become a beloved classic in your cookie rotation. Get your ingredients ready, and enjoy the delicious journey of baking these delightful nutty snowballs!
Print
Peanut Butter Chocolate Chip Snowball Cookies Recipe
- Prep Time: 15 minutes
- Cook Time: 12 minutes
- Total Time: 27 minutes
- Yield: 24 cookies
- Category: Dessert
- Method: Baking
- Cuisine: American
Description
These Peanut Butter Chocolate Chip Snowball Cookies are a delightful twist on classic snowball cookies, combining rich peanut butter and mini chocolate chips for a perfect balance of nutty and sweet flavors. Soft, buttery, and coated in powdered sugar, these cookies are perfect for holiday treats or anytime you crave a comforting, melt-in-your-mouth cookie.
Ingredients
Butter & Peanut Butter Mixture
- 1 cup unsalted butter, softened
- ½ cup creamy peanut butter
- ½ cup powdered sugar (plus extra for coating)
- 1 tsp vanilla extract
Dry Ingredients
- 2 ¼ cups all-purpose flour
- ¼ tsp salt
Add-ins
- ½ cup mini chocolate chips
Instructions
- Preheat the Oven – Preheat your oven to 350°F (175°C) and prepare baking sheets by lining them with parchment paper to prevent sticking and ensure even baking.
- Cream the Butter & Peanut Butter – In a large bowl, beat the softened unsalted butter and creamy peanut butter together using an electric mixer until the mixture is light and fluffy, which helps create a tender cookie texture.
- Mix in Sweeteners – Add ½ cup powdered sugar and 1 teaspoon vanilla extract to the creamed mixture. Continue to mix until the ingredients are fully combined and the mixture is smooth.
- Incorporate Dry Ingredients – Gradually add the all-purpose flour and salt to the wet mixture, mixing slowly to incorporate without overworking the dough. Once combined, gently fold in the mini chocolate chips evenly throughout the dough.
- Shape the Cookies – Roll the cookie dough into 1-inch balls and place them on the prepared baking sheets, leaving about 1 inch of space between each to allow for slight spreading during baking.
- Bake – Bake the cookies in the preheated oven for 10 to 12 minutes, or until the bottoms are lightly golden. Remove from the oven and allow the cookies to cool slightly on the baking sheet.
- Coat in Powdered Sugar – While the cookies are still warm, roll each cookie in powdered sugar to coat them thoroughly. After they have completely cooled, roll them again in powdered sugar for that classic snowy finish and extra sweetness.
Notes
- For best results, use softened butter to ensure smooth mixing and the right texture.
- If you prefer a stronger peanut flavor, try chunky peanut butter instead of creamy.
- Ensure cookies cool slightly before the first powdered sugar coating to help it adhere better.
- Store cookies in an airtight container at room temperature for up to one week.
- These cookies freeze well; store coated cookies in a sealed container and freeze for up to 3 months.


