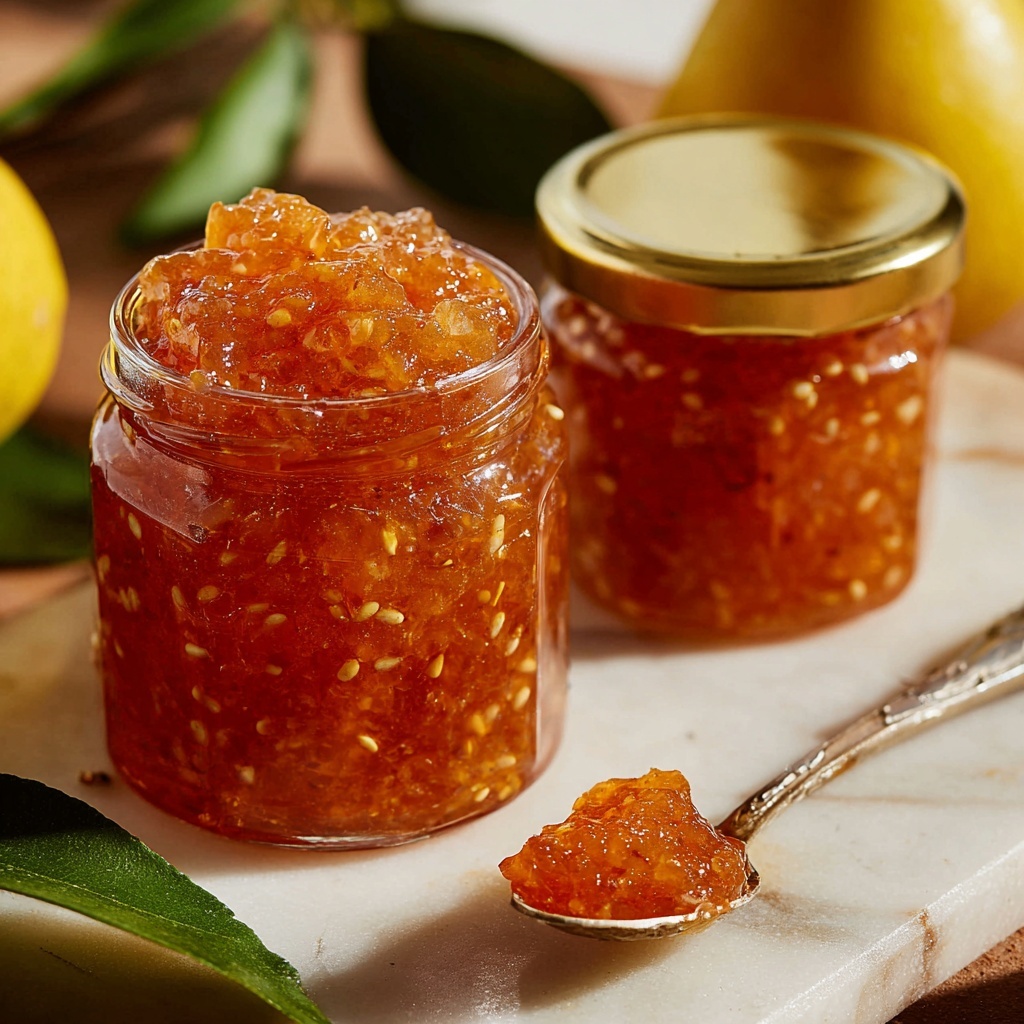
If you love the idea of transforming fresh, juicy pears into a luscious and sweet spread, this Pear Preserves Recipe: Easy Homemade Sweet Spread Recipe is an absolute must-try. There is something incredibly satisfying about making your own preserves at home, where the natural sweetness of ripe pears shines through, gently enhanced by warming spices and just a touch of lemon juice to brighten all the flavors. Whether you’re spreading it on toast, dolloping it onto yogurt, or gifting it in jars to friends, this recipe captures the essence of comfort and homemade goodness in every spoonful.
Ingredients You’ll Need
The beauty of this Pear Preserves Recipe: Easy Homemade Sweet Spread Recipe lies in its simplicity. Each ingredient plays a crucial part, contributing to the final taste, texture, and that delightful balance of sweetness and spice. Let’s dive into the essentials that make this preserve truly shine.
- 4 cups peeled, cored, and chopped ripe pears: Choose pears that are sweet and perfectly ripe for the best natural flavor and texture.
- 2 cups granulated sugar: This sweetens the preserves and helps achieve the perfect jelly-like consistency.
- 1 tablespoon lemon juice: Adds brightness and helps the preserves set by balancing the sweetness.
- 1/2 teaspoon ground cinnamon (optional): Offers a warm, cozy depth that pairs wonderfully with pear’s natural flavor.
- 1/4 teaspoon ground ginger (optional): Adds a gentle spicy kick and warmth to elevate the taste complexity.
- 1/4 teaspoon salt: Enhances all the flavors, making them pop just right.
How to Make Pear Preserves Recipe: Easy Homemade Sweet Spread Recipe
Step 1: Prep and Combine Ingredients
Start by peeling, coring, and chopping your fresh pears into bite-size pieces. This step is key because perfectly ripe pears will melt down beautifully, creating the base of your preserves. In a large saucepan, mix the pears with sugar, lemon juice, and if you like, the cinnamon, ginger, and salt. This combination promises a delightful sweet-spicy harmony.
Step 2: Cook Over Medium Heat
Place the saucepan over medium heat and stir occasionally. You’ll notice the sugar dissolving and the pears releasing their juices—this fruity liquid is exactly what you want to infuse your preserves with natural sweetness and moisture. After about 10 minutes, the mixture will be gently simmering and smelling irresistible.
Step 3: Boil and Thicken the Mix
Turn the heat up to medium-high until the mixture comes to a gentle boil. Then reduce to a simmer, stirring frequently to prevent scorching. Over the next 25 to 30 minutes, your pears will break down further, and the liquid will thicken into that perfect jam-like texture. To test if it’s done, place a small spoonful on a chilled plate—if it gels and holds its shape, your preserves are ready.
Step 4: Cool and Store
Remove the preserves from heat and let them cool slightly. Once cooled, transfer your delicious homemade pear preserves into sterilized jars. You can keep them in the refrigerator for about three weeks or process them in a water bath canner if you want to store them for longer. This last step ensures you enjoy this sweet spread far beyond the pear season.
How to Serve Pear Preserves Recipe: Easy Homemade Sweet Spread Recipe
Garnishes
A simple dollop of pear preserves becomes extra special when you finish it off with a sprinkle of toasted nuts like walnuts or pecans. A few fresh mint leaves or a light dusting of cinnamon can also add a lovely visual and flavor boost.
Side Dishes
This sweet spread is a fantastic companion to buttery toast, warm biscuits, or even as an unexpected delight on savory cheese platters. It pairs beautifully with sharp cheddar, creamy brie, or tangy goat cheese, making it ideal for an elevated snack or appetizer.
Creative Ways to Present
Try swirling pear preserves into morning oatmeal or yogurt for a naturally sweet twist. You can also use it as a filling for pastries or mix it into salad dressings for a fruit-infused zing. The versatility of this Pear Preserves Recipe: Easy Homemade Sweet Spread Recipe makes it perfect for experimenting in the kitchen.
Make Ahead and Storage
Storing Leftovers
If you have any leftovers, store your pear preserves in airtight containers or sterilized jars in the refrigerator. They will keep their fresh flavor and luscious texture for up to three weeks, so you can enjoy a taste of homemade sweetness anytime.
Freezing
To preserve your batch even longer, consider freezing the preserves in freezer-safe containers. Just be sure to leave some room at the top for expansion. Frozen preserves can last several months, making it easy to enjoy pear season all year round.
Reheating
When ready to use frozen or refrigerated preserves, gently warm them in a saucepan over low heat or microwave briefly. Stir well before serving to restore that beautifully smooth, spreadable texture you love.
FAQs
Can I use other types of pears for this recipe?
Absolutely! Bartlett, Bosc, or Anjou pears work wonderfully. Just make sure your pears are ripe and sweet for the best flavor and texture in your preserves.
Do I have to add cinnamon and ginger?
These spices are optional but highly recommended. They bring warmth and depth to the preserves, highlighting the natural sweetness of the pears without overpowering them.
How long will the preserves last without refrigeration?
If properly canned using a water bath and sealed jars, your pear preserves can last up to one year stored in a cool, dark place. Otherwise, refrigeration is essential for freshness.
Can I adjust the sweetness? How?
Definitely! If your pears are very sweet, you can reduce the sugar slightly. For more tart pears, stick to the recipe or even add a bit more sugar to balance the flavor nicely.
Is there an easier way to get a smooth texture?
Yes! Before cooking, use an immersion blender to partially puree the pears. This helps create a smoother, more uniform preserve without losing that homemade charm.
Final Thoughts
Making this Pear Preserves Recipe: Easy Homemade Sweet Spread Recipe is such a joyful experience, and the reward is pure homemade love in a jar. It’s a wonderful way to celebrate the season with your own hands, adding warmth and sweetness to breakfasts, snacks, or gifts for friends and family. Trust me, once you try it, you’ll find yourself reaching for that jar again and again.
Print
Pear Preserves Recipe: Easy Homemade Sweet Spread Recipe
- Prep Time: 15 minutes
- Cook Time: 30 minutes
- Total Time: 45 minutes
- Yield: 3 cups
- Category: Condiment, Spread
- Method: Stovetop
- Cuisine: American, Homemade
- Diet: Vegetarian, Gluten Free
Description
A delightful and easy homemade pear preserves recipe that transforms ripe pears into a sweet, flavorful spread perfect for toast, desserts, or gifting. This simple stovetop method combines fresh pears with sugar and warm spices for a classic American-style fruit spread with a naturally smooth texture option.
Ingredients
Main Ingredients
- 4 cups peeled, cored, and chopped ripe pears
- 2 cups granulated sugar
- 1 tablespoon lemon juice
- 1/2 teaspoon ground cinnamon (optional)
- 1/4 teaspoon ground ginger (optional)
- 1/4 teaspoon salt
Instructions
- Combine Ingredients: In a large saucepan, add the chopped pears, sugar, lemon juice, cinnamon, ginger, and salt. Stir to mix the ingredients thoroughly to prepare for cooking.
- Cook and Dissolve Sugar: Place the saucepan over medium heat and cook, stirring occasionally, until the sugar dissolves completely and the pears start releasing their juices, approximately 10 minutes.
- Boil the Mixture: Increase the heat to medium-high and bring the mixture to a gentle boil, ensuring the heat is high enough to activate thickening but not burn the fruit.
- Simmer and Thicken: Reduce the heat and let the preserves simmer, stirring frequently to prevent sticking, until the mixture thickens to a jam-like consistency. This should take about 25 to 30 minutes. Test the readiness by placing a small spoonful on a chilled plate — if it gels and holds shape, it’s done.
- Cool and Store: Remove the saucepan from heat and let the preserves cool slightly. Transfer the preserves into sterilized jars. Store the jars in the refrigerator for up to 3 weeks or process them in a water bath canner for extended shelf life.
Notes
- For a smoother texture, partially puree the pears with an immersion blender before cooking.
- Adjust the sweetness to taste by reducing sugar for tart pears or increasing it for sweeter pears.
- Consider adding a pinch of nutmeg or a splash of vanilla extract to enhance the flavor complexity.

