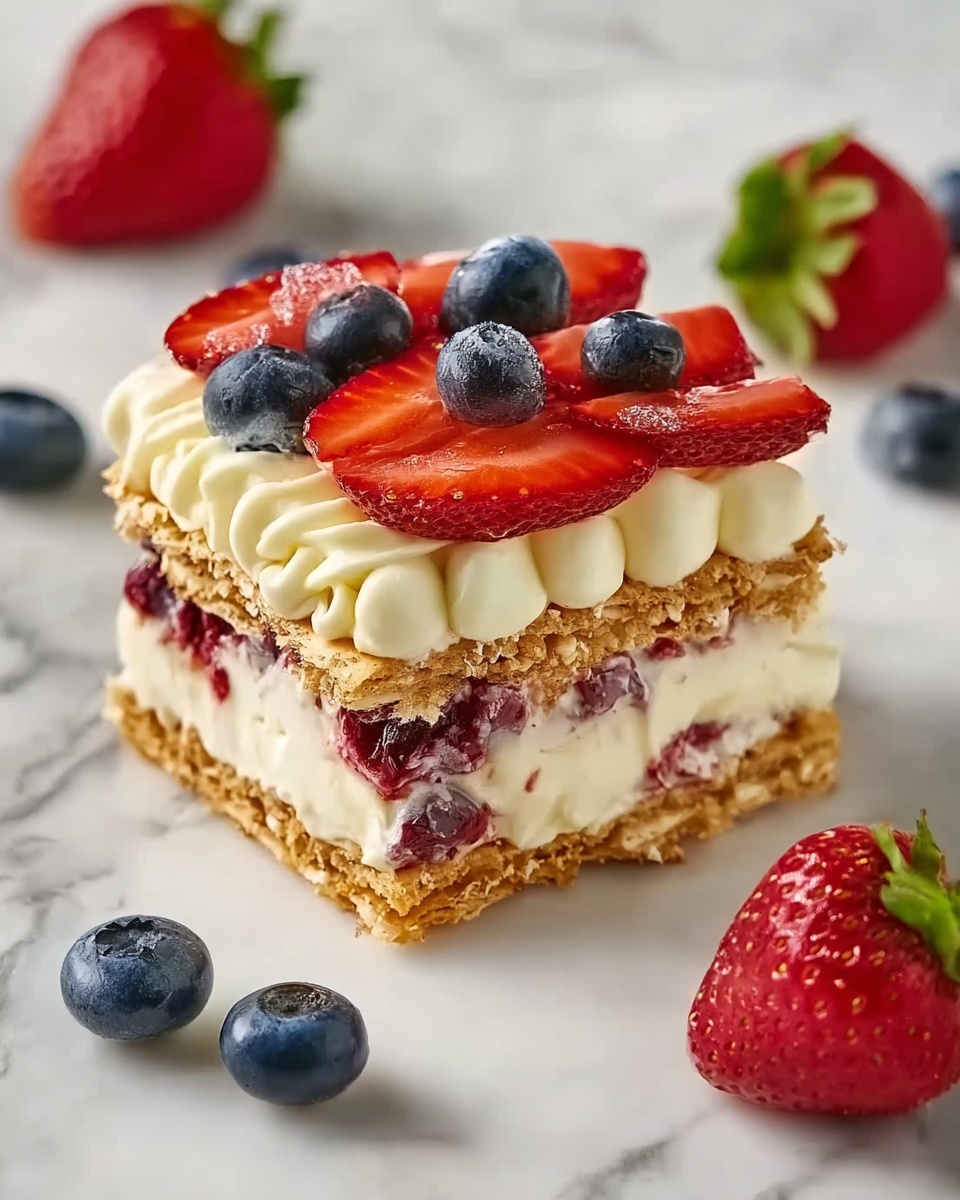
If you are looking for a show-stopping, vibrant dessert that captures the spirit of summer and is incredibly easy to make, the Red White Blue Icebox Cake Recipe is your new best friend. This no-bake delight layers creamy pudding, fresh strawberries, juicy blueberries, and crisp graham crackers to create a light yet decadent treat that’s perfect for picnics, barbecues, or patriotic celebrations. Each bite bursts with fresh flavors and a perfect balance of textures that will have everyone asking for seconds. Trust me, once you try this recipe, it will quickly become a staple in your dessert rotation.
Ingredients You’ll Need
This Red White Blue Icebox Cake Recipe calls for simple, approachable ingredients that work beautifully together to create vibrant layers of flavor and texture. Each element plays a crucial role — graham crackers provide a subtle crunch and structure, cream cheese and pudding mix form a silky, luscious filling, and fresh berries add natural sweetness with a pop of color.
- 22-24 graham crackers: These create the cake’s delicious and slightly crunchy base and layers, so use sturdy ones for best results.
- 8 ounces (227 grams) cream cheese: For that velvety richness and tang that makes the filling irresistible.
- 2 boxes (3.4 oz / 96.4 g each) instant vanilla pudding mix: Adds sweetness and a smooth, creamy texture that’s essential for the filling.
- 3 cups (720 ml) cold 2% milk: Helps to blend the pudding mix and cream cheese into a smooth, luscious cream.
- 2 containers (8 oz / 227 g each) frozen whipped topping, thawed: Used to lighten up the filling and keep the cake airy and soft.
- 3 cups (approx. 450 grams) sliced strawberries: Fresh and juicy, strawberries bring that essential red hue and natural sweetness.
- 2 cups (approx. 300 grams) blueberries: Plump blueberries offer a burst of flavor and the perfect blue color contrast for this themed dessert.
How to Make Red White Blue Icebox Cake Recipe
Step 1: Build the Base Layer
Start by laying a single, snug layer of graham crackers at the bottom of a 9×13 baking dish. This base is crucial because it keeps the cake stable and allows you to build beautiful, neat layers on top. Press the crackers gently but firmly so they fit tightly together without gaps. This ensures the layers won’t shift when slicing later.
Step 2: Prepare the Creamy Filling
In a large bowl, beat the cream cheese and instant vanilla pudding mix with an electric hand mixer until smooth and lump-free, about 2 minutes. Slowly pour in the cold milk while continuing to beat, making sure everything is fully combined into a thick, silky mixture. This filling is the heart of the Red White Blue Icebox Cake Recipe, offering that dreamy texture and delicious flavor that makes the dessert so addictive.
Step 3: Fold in Whipped Topping
Gently fold the thawed whipped topping into the pudding mixture using a spatula until no white streaks remain. This step lightens up the filling, giving it a lovely fluffy, mousse-like consistency that contrasts perfectly with the crunchy crackers and juicy fruit.
Step 4: Layer the Cake
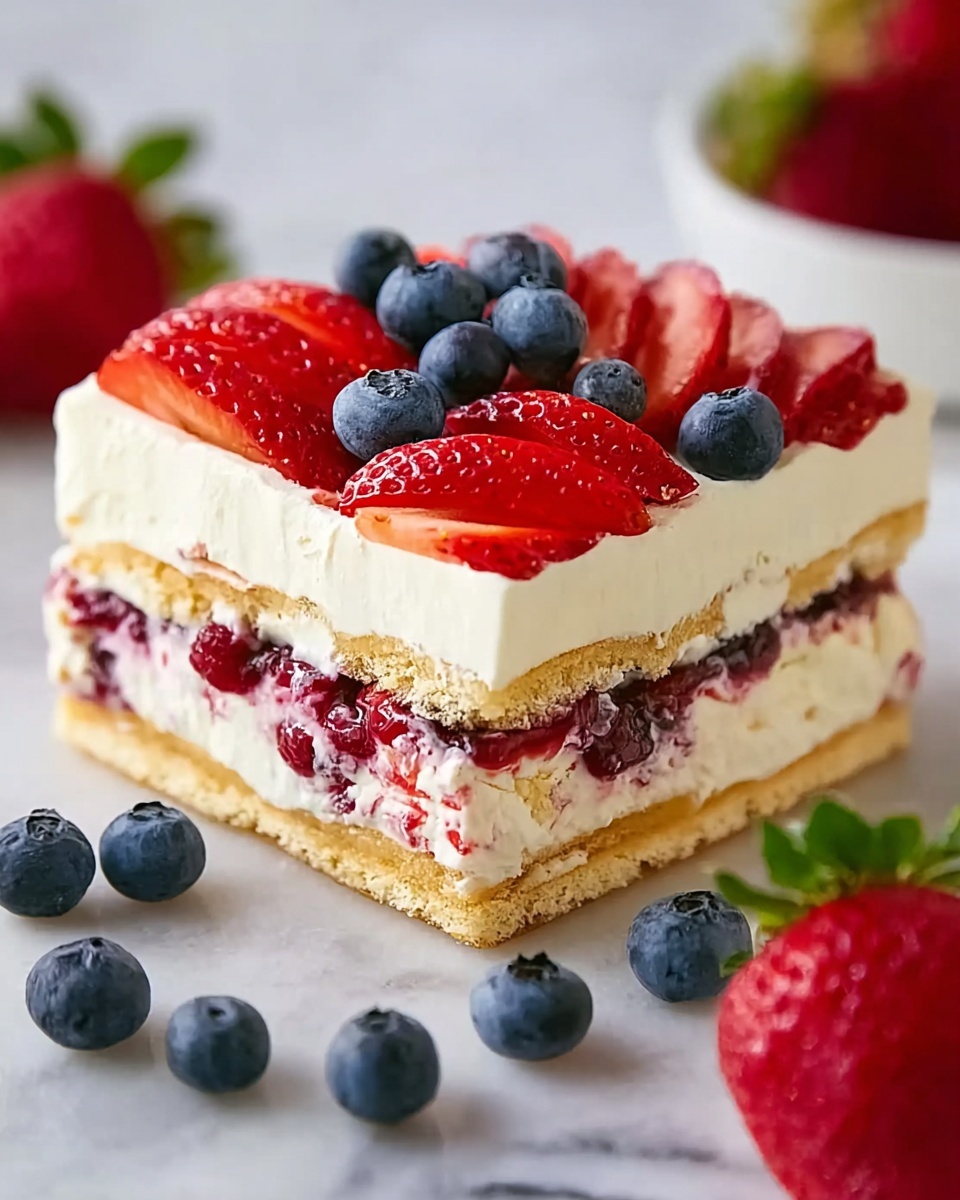
Spoon about one-third of the creamy mixture evenly over your graham cracker base. Next, spread one-third of the sliced strawberries and one-third of the blueberries on top of the cream layer. Repeat this layering two more times, making sure the final layer on top is fruit. This layering not only creates a stunning visual effect but also ensures every bite has a balanced mix of flavors and textures.
Step 5: Chill to Set
Refrigerate your assembled cake for at least 4 hours, ideally overnight. This chilling step allows all the layers to set beautifully and for the flavors to intermingle, turning simple ingredients into a harmonious, crave-worthy dessert.
Step 6: Freeze Before Serving
For the cleanest slices and to avoid crumbling, freeze the cake for 30 to 45 minutes just before serving. This firms up the layers nicely, making your presentation flawless — which is so important for impressing guests and simply making the experience more enjoyable.
Step 7: Slice and Serve
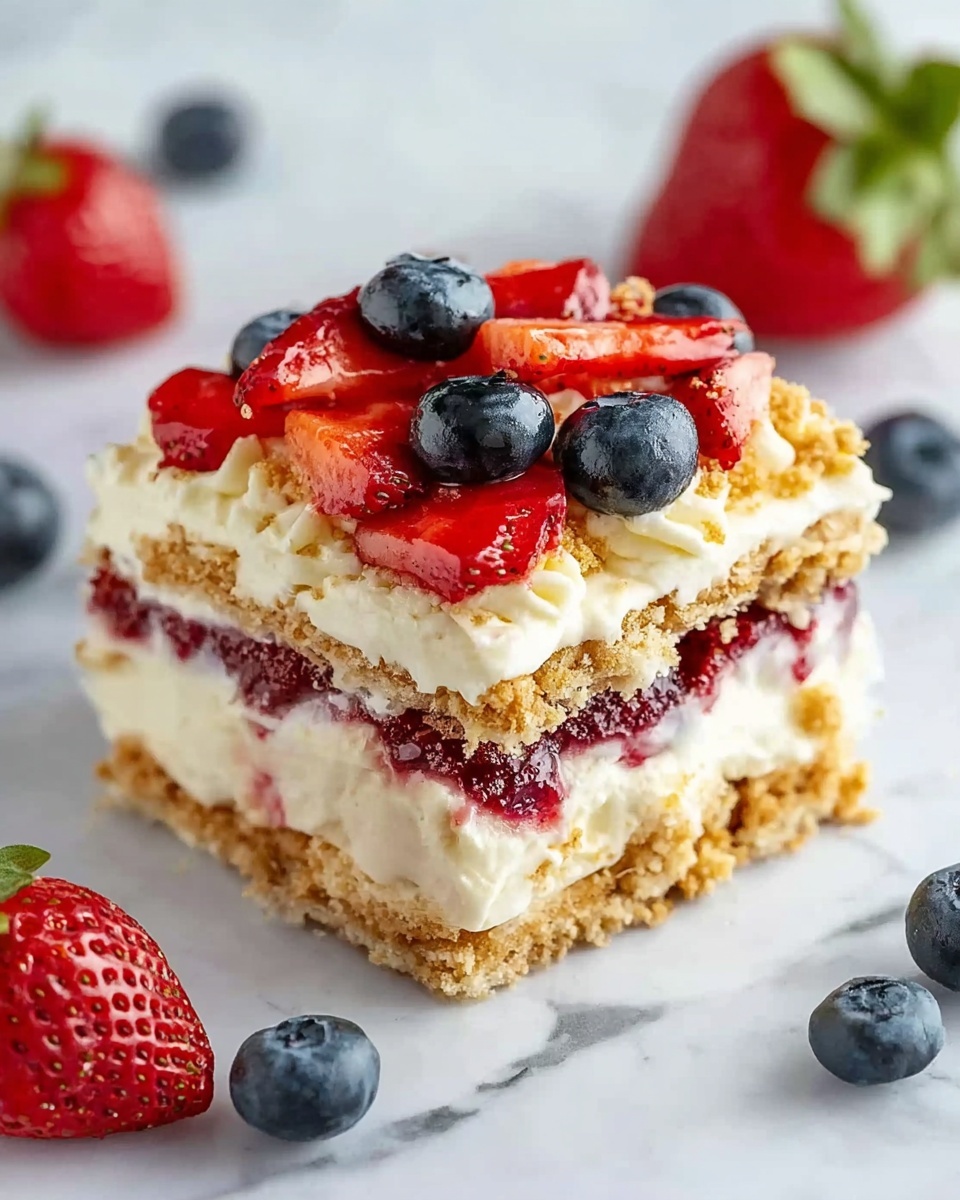
Use a sharp knife to carefully cut through the cake once it’s chilled and firm. To add an extra splash of color and freshness, arrange additional strawberries, blueberries, or even some mint leaves around your cake on the serving platter. This finishing touch elevates the presentation and invites everyone to dive in.
How to Serve Red White Blue Icebox Cake Recipe
Garnishes
For an eye-catching finish, sprinkle extra fresh blueberries and sliced strawberries on top of the cake just before serving. A few mint leaves brighten the look and offer a refreshing aroma that complements the sweet, creamy flavors.
Side Dishes
This cake pairs wonderfully with light and fresh sides such as a crisp green salad with lemon vinaigrette or a simple vanilla bean ice cream scoop. If you want to continue the festive theme, fresh fruit skewers with the same berries make a great accompaniment.
Creative Ways to Present
Present this dessert in a trifle bowl for a casual gathering so everyone can admire the colorful layers, or keep it in the baking dish for an easy, family-style approach. You can also make smaller, individual parfait versions using mason jars for a fun twist on the classic Red White Blue Icebox Cake Recipe.
Make Ahead and Storage
Storing Leftovers
Store any leftover icebox cake covered tightly with plastic wrap or an airtight lid in the refrigerator. It will stay fresh and creamy for up to 3 days, but be mindful that the graham crackers may soften a bit more over time.
Freezing
If you want to freeze your Red White Blue Icebox Cake Recipe, wrap it well with plastic wrap and then foil to prevent freezer burn. Freeze for up to 1 month. Thaw in the refrigerator overnight before serving for the best texture and taste.
Reheating
Since this is a cold dessert, reheating is not recommended. Instead, allow frozen slices to thaw fully in the refrigerator and serve chilled to preserve the creamy texture and fresh fruit flavors.
FAQs
Can I use fresh whipped cream instead of frozen whipped topping?
Absolutely! Fresh whipped cream will work beautifully and add a homemade touch to the cake. Just be sure to whip it to soft peaks and fold it gently into the pudding mixture to maintain that light texture.
How far in advance can I make the Red White Blue Icebox Cake Recipe?
This cake is perfect for making a day ahead. In fact, chilling it overnight helps the flavors meld and the layers to firm up, making slicing and serving easier.
Can I substitute other fruits for the berries?
While strawberries and blueberries give this dessert its iconic red, white, and blue look, you can experiment with other berries like raspberries or blackberries, or even diced peaches for a different flavor profile.
What type of graham crackers should I use?
Regular honey or cinnamon-flavored graham crackers work best. Opt for whole or natural varieties if you prefer less sweetness, but avoid very thin or crumbly crackers to maintain structural integrity.
Is this recipe suitable for kids to help make?
Definitely! The Red White Blue Icebox Cake Recipe is kid-friendly with no baking involved. Kids can enjoy layering the crackers, folding in whipped topping, and arranging the fruit, which makes it a fun homemade treat for the whole family.
Final Thoughts
There’s something so joyful and refreshing about the Red White Blue Icebox Cake Recipe that makes it a must-try for any occasion that calls for a festive dessert. It’s simple enough to prepare in advance, yet impressive enough to earn compliments from guests and family alike. So go ahead, gather those ingredients, dig into this deliciously creamy, fruity, and colorful cake, and watch it quickly become a summer favorite in your home!
Print
Red White Blue Icebox Cake Recipe
- Prep Time: 4 hours 15 minutes
- Cook Time: 0 minutes
- Total Time: 4 hours 15 minutes
- Yield: 12 servings
- Category: Dessert
- Method: No-Cook
- Cuisine: American
- Diet: Vegetarian
Description
This Red White Blue Icebox Cake is a refreshing and patriotic no-bake dessert perfect for any celebration. Layers of crunchy graham crackers, creamy vanilla pudding mixed with cream cheese and whipped topping, and fresh strawberries and blueberries come together to create a visually stunning and delicious treat. Chilled for several hours to set, this cake combines ease of preparation with delightful flavors and textures.
Ingredients
Base
- 22–24 graham crackers (approximately)
Filling
- 8 ounces (227 grams) cream cheese
- 2 (3.4 ounce / 96.4 grams each) boxes instant vanilla pudding mix
- 3 cups (720 ml) cold 2% milk
- 2 (8 ounce / 227 grams each) containers frozen whipped topping, thawed
Fruit Topping
- 3 cups (approximately 450 grams) sliced strawberries
- 2 cups (approximately 300 grams) blueberries
Instructions
- Prepare the Base: Lay a single layer of graham crackers snugly at the bottom of a 9×13 baking dish. This forms the cake’s base and keeps the dessert stable during slicing.
- Make the Creamy Pudding Mixture: In a large mixing bowl, use an electric hand mixer to beat the cream cheese and instant vanilla pudding mix until smooth, about 2 minutes to avoid lumps. Slowly add cold 2% milk while continuing to beat until the mixture is fully combined and even in texture.
- Fold in Whipped Topping: Gently fold the thawed whipped topping into the pudding mixture until no streaks remain, ensuring a light and airy filling.
- Assemble Layers: Spoon about one-third of the creamy pudding mixture evenly over the graham cracker layer. Then add one-third of the sliced strawberries and one-third of the blueberries on top. Repeat this layering process two more times, finishing with the remaining fruit layer on top.
- Chill the Cake: Refrigerate the assembled cake for at least 4 hours to allow the layers to set and the flavors to meld. For best results, chilling overnight is recommended.
- Freeze Before Serving: To create cleaner slices, freeze the cake for 30-45 minutes just before serving. This firms up the layers to minimize crumbling when cutting.
- Serve: When ready to serve, slice carefully with a sharp knife. Arrange extra fresh strawberries, blueberries, or mint leaves on the serving platter for added visual appeal.
Notes
- Use a sharp knife warmed slightly under hot water for cleaner slices.
- Chilling overnight enhances the flavor melding and texture firmness.
- Feel free to substitute the fruit with other fresh berries if desired.
- Ensure whipped topping is fully thawed and gently folded to maintain airiness.
- This dessert is best served cold and consumed within 2 days.


