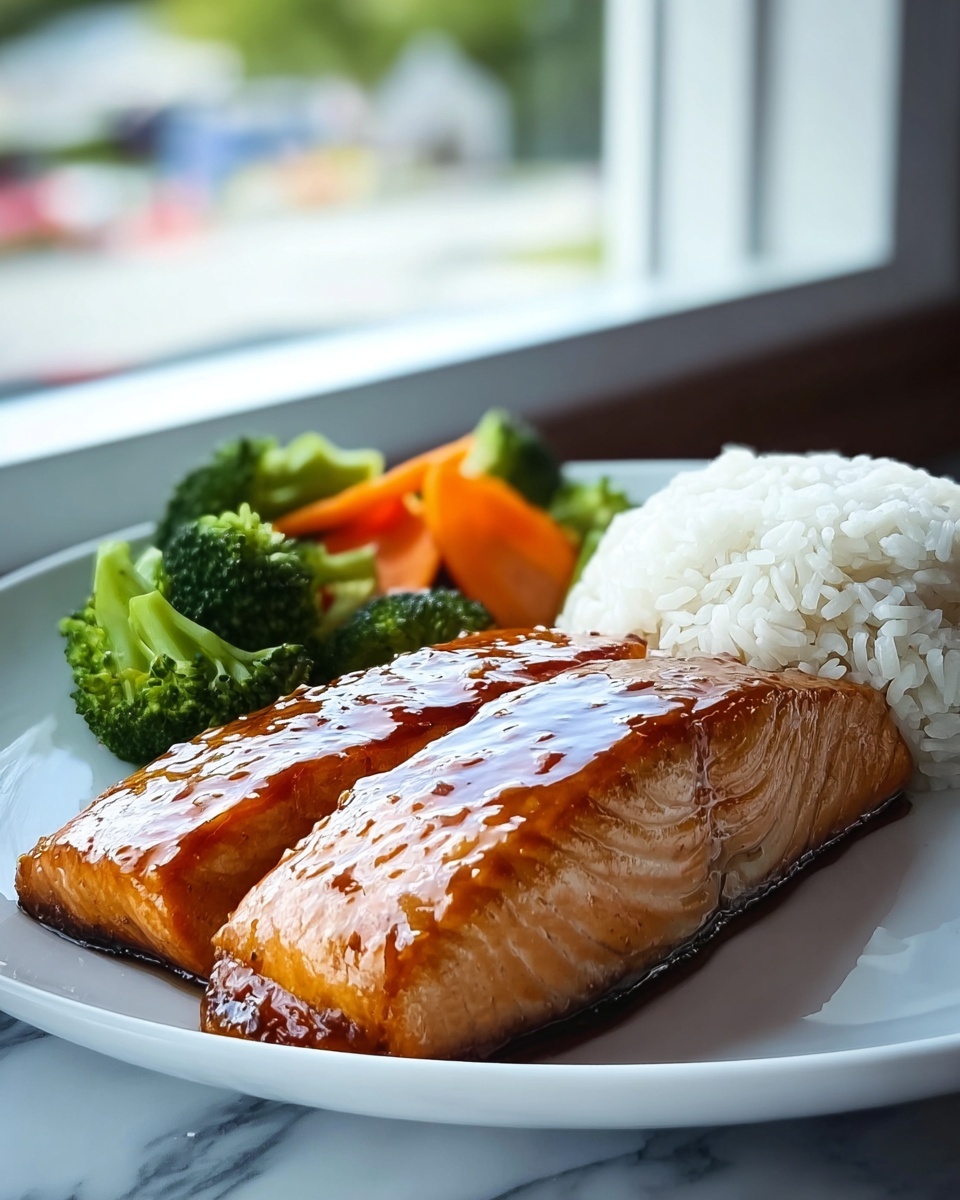
If you crave a dish that effortlessly combines rich flavors with a touch of sweetness while feeling satisfying and wholesome, the Salmon Teriyaki with Steamed Rice Recipe is exactly what you need. This recipe harmonizes tender, perfectly glazed salmon with the humble yet essential steamed rice, creating a balance of savory, slightly sweet, and umami-packed bites that will quickly become your go-to weeknight dinner or impressive meal for guests. Whether you’re a seasoned cook or a kitchen newbie, this dish lets you shine without fuss, and it’s packed with vibrant color and texture that makes every forkful a delight.
Ingredients You’ll Need
Gathering your ingredients for the Salmon Teriyaki with Steamed Rice Recipe is a breeze. Each component plays a crucial role—fresh salmon delivers protein and buttery texture, teriyaki sauce injects a sweet-savory punch, and the steamed rice provides the perfect comforting backdrop to soak up all those delicious flavors.
- Fresh salmon fillets: Choose skin-on for a crispy finish that adds texture and flavor.
- Teriyaki sauce: Opt for a homemade or high-quality store-bought sauce for the best balance of sweet and savory.
- Sushi rice or short-grain rice: The sticky texture helps the rice clump beautifully for easy eating and soaking up sauce.
- Rice vinegar: Enhances the rice with a subtle tanginess that brightens the dish.
- Sesame seeds: Toasted sesame seeds add an irresistible crunch and nutty aroma.
- Green onions: Freshly chopped, they bring a mild oniony freshness and a pop of color.
- Vegetable oil or sesame oil: For cooking the salmon with a lovely golden crisp.
How to Make Salmon Teriyaki with Steamed Rice Recipe
Step 1: Prepare the Rice
Start by rinsing your sushi rice under cold water until the water runs clear to remove excess starch and ensure fluffy grains. Cook the rice according to package instructions or in a rice cooker, then gently toss it with a splash of rice vinegar once done. This adds a gentle tang that complements the rich fish perfectly.
Step 2: Cook the Salmon
Heat your oil of choice in a non-stick skillet over medium heat. Pat the salmon fillets dry to get the best sear and place them skin-side down first. Cook for 4 to 5 minutes per side, or until the fish is just cooked through and boasting a golden crust. This method locks in moisture while giving a satisfyingly crisp texture to the salmon’s skin.
Step 3: Glaze with Teriyaki Sauce
When the salmon is nearly done, brush it generously with teriyaki sauce, letting it caramelize slightly in the pan. This quick glazing step infuses that classic sweet-savory flavor that makes this recipe so addictive. Don’t be shy with the sauce; it’s where the magic happens!
Step 4: Plate with Steamed Rice
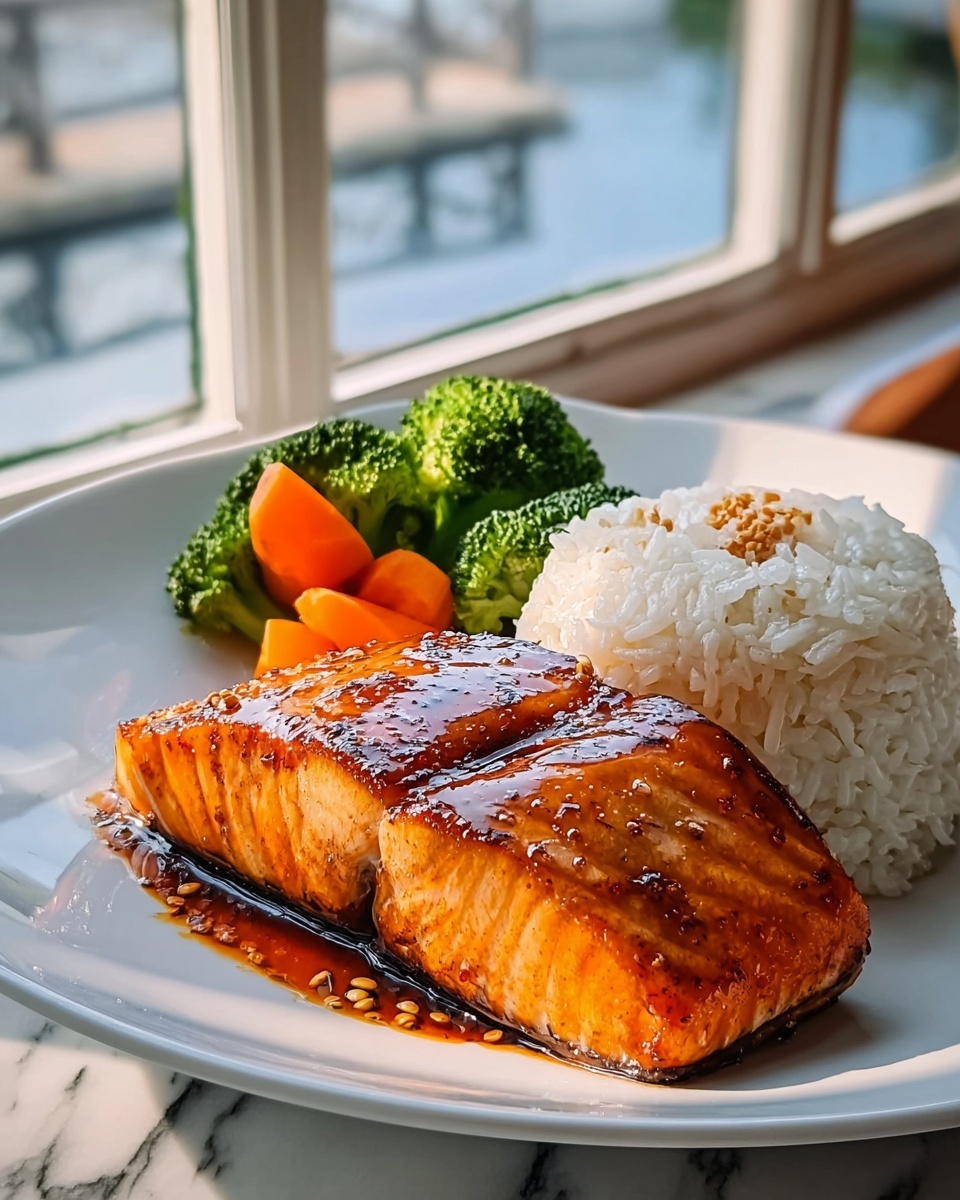
Fluff the perfectly steamed rice and serve a hearty scoop alongside your glazed salmon. The rice doesn’t just balance the flavors—it acts as a canvas that soaks up every bit of teriyaki goodness, making each bite deeply satisfying.
How to Serve Salmon Teriyaki with Steamed Rice Recipe
Garnishes
To elevate the dish, sprinkle toasted sesame seeds over the salmon just before serving for an added crunch and nutty aroma. Freshly chopped green onions also bring a bright, peppery contrast that cuts through the rich glaze wonderfully.
Side Dishes
Keep it simple and fresh with steamed or stir-fried vegetables like broccoli, snap peas, or baby bok choy. Their crispness and mild flavors balance the rich salmon beautifully and keep the meal light yet fulfilling.
Creative Ways to Present
For a fun twist, try serving the salmon teriyaki over a bed of flavored sushi rice or alongside pickled ginger and a drizzle of spicy mayo for a sushi bowl feel. Plating the fillets on banana leaves or wooden boards can also give your meal an appealing, restaurant-quality vibe that amazes your guests.
Make Ahead and Storage
Storing Leftovers
If you find yourself with leftovers, store the salmon and rice separately in airtight containers in the refrigerator to maintain freshness. Consuming within 2 days ensures the best texture and flavor.
Freezing
While the salmon teriyaki with steamed rice recipe is best enjoyed fresh, you can freeze cooked salmon for up to one month. Wrap tightly in plastic wrap and aluminum foil to minimize freezer burn. Avoid freezing the rice to keep its delicate texture intact.
Reheating
Reheat salmon gently in a low-temperature oven or covered skillet to preserve moisture, brushing again with a little teriyaki sauce to keep it flavorful. For rice, a quick steam or microwave with a splash of water restores its softness without drying out.
FAQs
Can I use other types of fish for the teriyaki recipe?
Absolutely! While salmon is wonderfully rich and fatty, you can also use firm white fish like cod or halibut. Just adjust cooking times accordingly to avoid overcooking delicate fish.
Is it better to make teriyaki sauce from scratch?
Making your own sauce lets you customize sweetness and salt levels, but high-quality store-bought sauces can save time and still provide excellent flavor. Try both to see what suits your taste best!
What’s the best way to get crispy salmon skin?
Ensure your salmon is completely dry before cooking and cook skin-side down over medium heat without moving it too much. This helps develop a crispy, flavorful crust that adds wonderful texture.
Can I prepare the rice ahead of time?
You can cook rice in advance and refrigerate it, but it’s best served freshly steamed or gently reheated to maintain that perfect fluffy texture we all love with this recipe.
How do I make the dish gluten-free?
Simply use a gluten-free tamari or teriyaki sauce instead of regular soy sauce. Double-check ingredient labels to ensure all components comply with your dietary needs.
Final Thoughts
The Salmon Teriyaki with Steamed Rice Recipe is truly a celebration of flavors wrapped in simplicity and wholesome goodness. It’s the kind of meal that invites you to slow down, savor each bite, and feel proud of what you’ve created in your kitchen. Trust me, once you try this delicious dish, it will easily become a beloved staple in your recipe collection. So grab that salmon and bring this joyful, tasty dinner to your table soon!
Print
Salmon Teriyaki with Steamed Rice Recipe
- Prep Time: 10 minutes
- Cook Time: 15 minutes
- Total Time: 2 hours 25 minutes
- Yield: 16 bars
- Category: Snack
- Method: No-Cook
- Cuisine: American
- Diet: Vegetarian
Description
These no-bake pistachio chocolate bars combine crunchy nuts, rich dark chocolate, and a sweet coconut topping for a delicious and healthy treat. Perfect for a quick snack or dessert, these bars require minimal prep and set in the fridge for a satisfying, wholesome indulgence.
Ingredients
Nut Layer
- 1 cup shelled pistachios
- 1 cup dark chocolate chips
Coconut Topping
- 1/2 cup shredded coconut
- 1/4 cup honey
- 1/4 cup coconut oil
- 1/2 tsp vanilla extract
- Pinch of salt
Instructions
- Chop Pistachios: In a food processor, pulse the shelled pistachios until they are finely chopped but not powdered, creating a crumbly texture perfect for layering.
- Melt Chocolate: Place the dark chocolate chips in a saucepan over low heat and stir continuously until completely melted and smooth, ensuring the chocolate doesn’t burn.
- Combine and Press Nut Layer: Mix the melted chocolate with the chopped pistachios thoroughly, then press this mixture evenly into a lined baking dish to form the base layer of the bars.
- Prepare Coconut Mixture: In the same saucepan, gently melt the coconut oil and honey together until combined. Remove from heat and stir in shredded coconut, vanilla extract, and a pinch of salt until well blended.
- Top Nut Layer: Pour the coconut mixture evenly over the chocolate-pistachio base, spreading it out smoothly to cover the entire surface.
- Set Bars: Place the baking dish in the refrigerator and chill for at least 2 hours to allow the bars to set and firm up before cutting into 16 bars for serving.
Notes
- For a vegan option, replace honey with maple syrup or agave nectar.
- Use dark chocolate with at least 70% cocoa for a richer flavor and less sugar.
- Ensure the saucepan is on low heat when melting ingredients to prevent burning.
- Line the baking dish with parchment paper for easy removal of bars.
- Store bars in an airtight container in the refrigerator for up to one week.


