There’s nothing quite like the satisfaction of nurturing your own natural yeast culture from scratch, which is exactly what this Sourdough Starter Recipe makes possible. It’s a simple yet magical process that transforms just flour and water into a bubbling, tangy foundation for some of the most delicious homemade breads you’ll ever taste. With patience and a little love, you’ll soon have a lively starter that’s ready to raise loaves bursting with flavor and character. Let me guide you through every step of crafting this essential and rewarding kitchen companion!
Ingredients You’ll Need
Believe it or not, the ingredients for this Sourdough Starter Recipe are minimal but incredibly important. Each type of flour contributes its own charm, supporting the friendly wild yeasts and bacteria that give sourdough its signature flavor and rise. And of course, clean, uncontaminated water is vital to help everything get going smoothly.
- All-purpose flour: Unbleached versions work best since they support natural yeast growth without chemicals.
- Whole wheat flour: Adds a robust, earthy flavor and encourages faster fermentation thanks to its nutrient-rich bran.
- Rye flour: Known for attracting wild yeast, it develops intense and complex flavor profiles.
- Bread flour: Its higher protein content helps create a stronger, more active starter that can support well-risen breads.
- Room temperature water: Filtered or dechlorinated to avoid inhibiting yeast growth, essential for the culture’s vitality.
- Large glass jar or plastic container: Keeps your starter safe; avoid metal as it can react with acids.
- Clean kitchen towel or coffee filter: Allows the starter to breathe while keeping out dust and insects.
- Rubber band or string: For securing the cover without airtight sealing.
- Wooden or plastic spoon: Perfect for gentle stirring without damaging the starter.
How to Make Sourdough Starter Recipe
Step 1: Create Your Initial Mixture
Start by combining half a cup of your chosen flour with half a cup of room temperature water in your clean jar. Stir thoroughly until the mixture is smooth, similar in texture to thick pancake batter, making sure no dry flour remains. Cover the jar loosely with your kitchen towel or coffee filter, securing it with a rubber band. This allows air to flow freely, inviting wild yeasts while keeping unwanted particles out. Next, place the jar in a cozy, warm, and draft-free spot like the top of your fridge or inside your oven (with just the light on) to give those yeast spores the perfect environment to wake up.
Step 2: Begin Daily Feeding Routine
On day two, it’s time to feed your starter and keep it thriving. Discard half of the mixture—this step keeps your culture balanced and prevents it from becoming too large or acidic. Then add another half cup of fresh flour and half cup of water, stirring well to mix everything thoroughly. You might notice bubbles forming within 12 to 24 hours—these little bubbles are your wild yeast getting busy! The starter might also develop a slightly vinegary scent, which is a healthy sign of fermentation in action.
Step 3: Monitor and Adjust
By days three and four, your starter’s activity will really ramp up. You should see it nearly doubling in size 4 to 8 hours after each feeding and forming a bubbly, dome-like surface. The aroma will shift from simple yeastiness to a pleasantly tangy fragrance. Occasionally, you may see a layer of liquid on top called “hooch”—this just means your starter is hungry and ready for its next feeding; simply stir it back in. Remember that temperature really influences fermentation speed, so adjust your feeding schedule if your starter is sluggish or overly active.
Step 4: Test for Readiness
Between days five and seven, it’s time for the exciting “float test.” Take a spoonful of your freshly fed starter and drop it gently into a glass of water. If it floats, congratulations! Your starter is bubbly and strong enough to leaven bread. At this stage, your starter will reliably double in size and carry that signature tangy aroma without any unpleasant smells, signaling it’s ready for baking adventures.
Step 5: Establish Long-term Maintenance
Once your starter is mature, nurturing it becomes second nature. For avid bakers, feeding it daily at room temperature keeps it lively and ready. If you need a break, refrigerate the starter and feed it once a week to slow its activity without losing vitality. When you want to bake, bring it back to room temperature, feed it, and wait until it bubbles up again before using it. This cycle ensures your sourdough starter remains your dependable baking partner for years to come.
How to Serve Sourdough Starter Recipe
Garnishes
Your sourdough starter itself isn’t eaten directly, but when it comes to serving your resulting bread, think of garnishes like a sprinkle of flaky sea salt, a swipe of cultured butter, or a drizzle of extra virgin olive oil to elevate the flavor. These little touches celebrate the tangy, complex notes your starter has developed in every bite.
Side Dishes
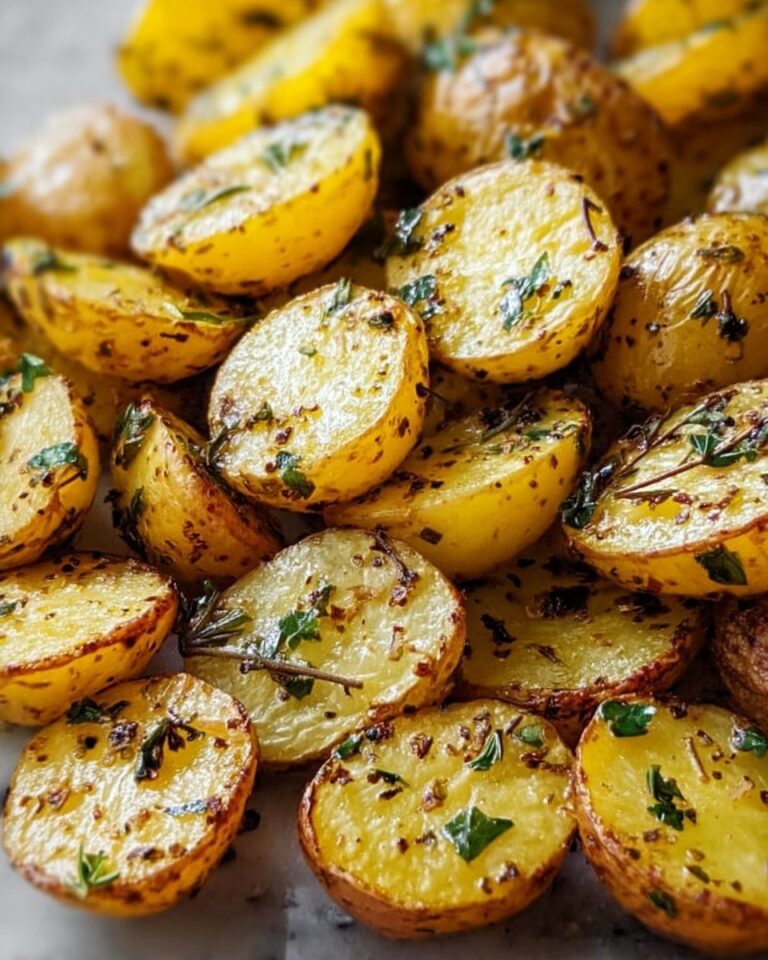
Sourdough bread pairs wonderfully with a variety of sides, from vibrant salads bursting with fresh herbs to creamy cheeses and charcuterie boards. Soup and stew are also perfect companions, soaking up the sourdough’s crusty texture and complementing its mild tang with hearty warmth.
Creative Ways to Present
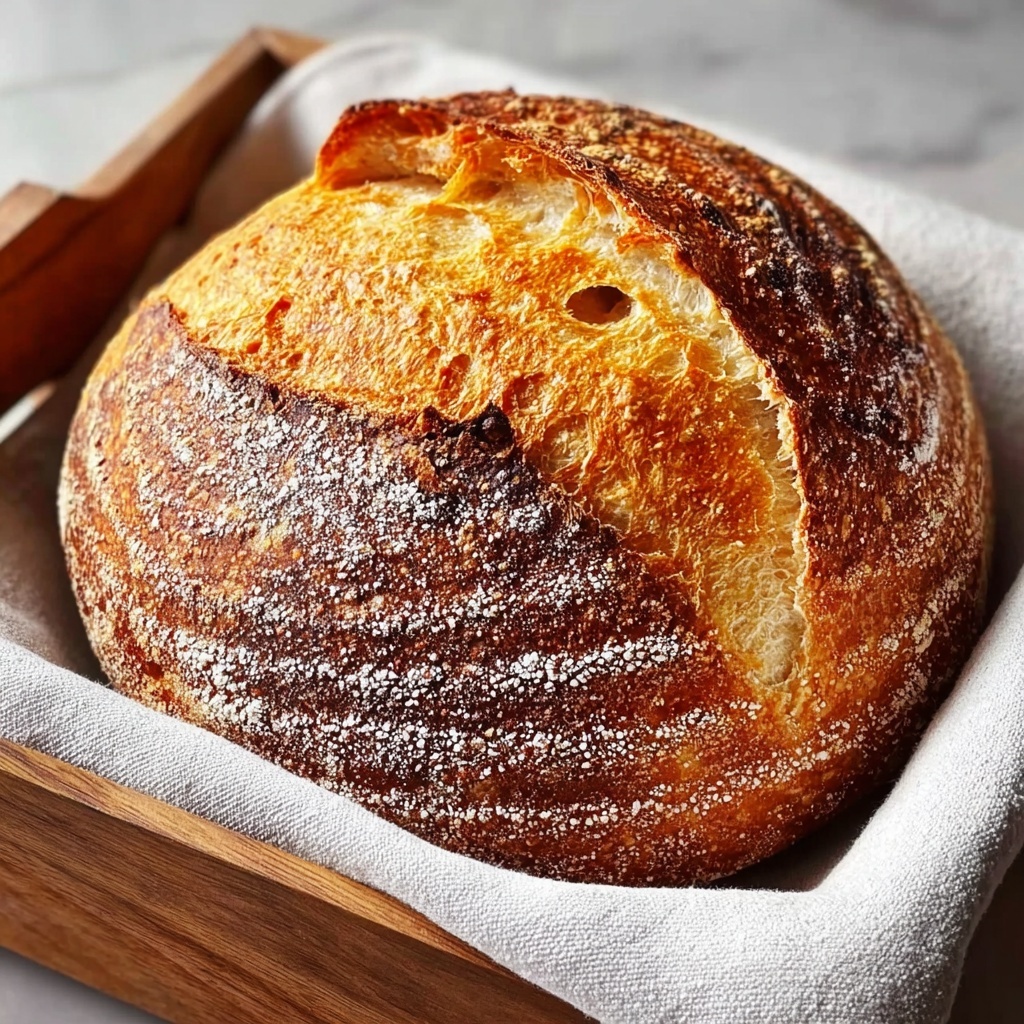
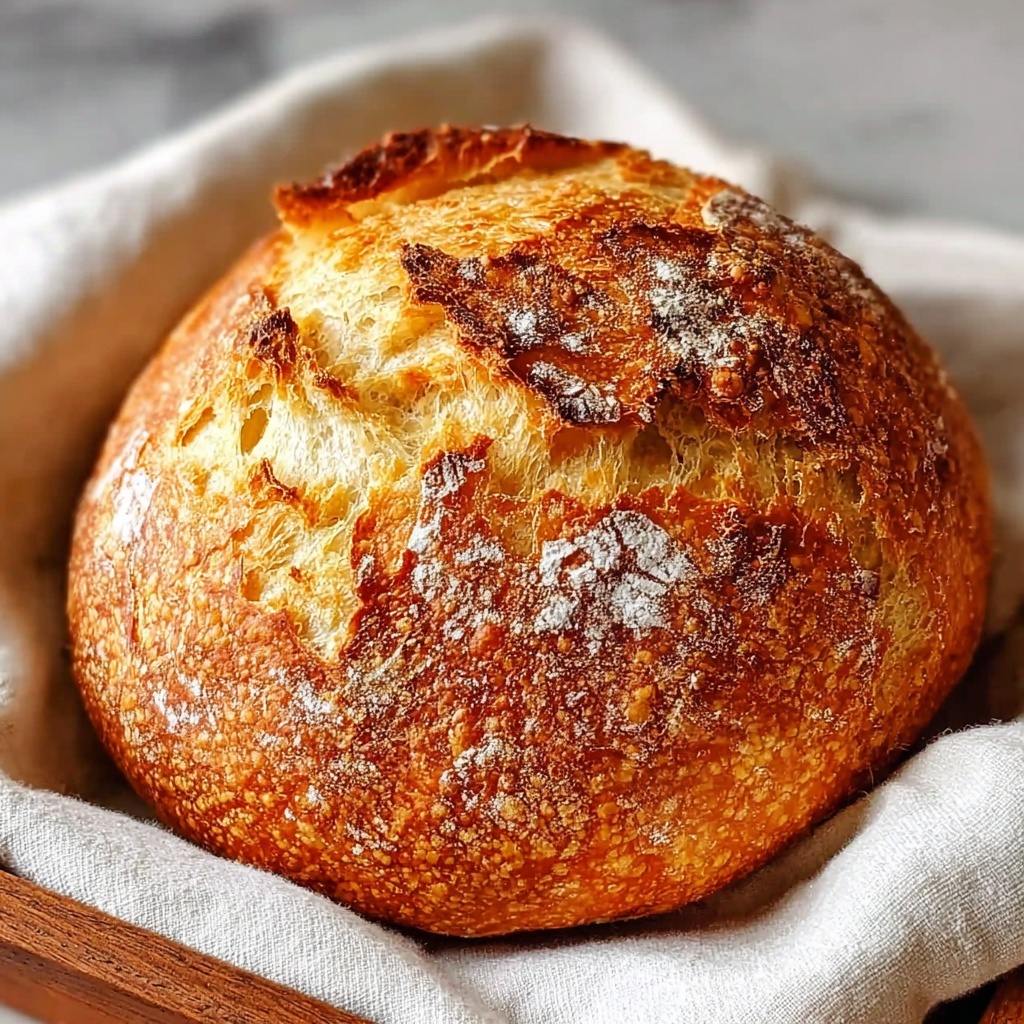
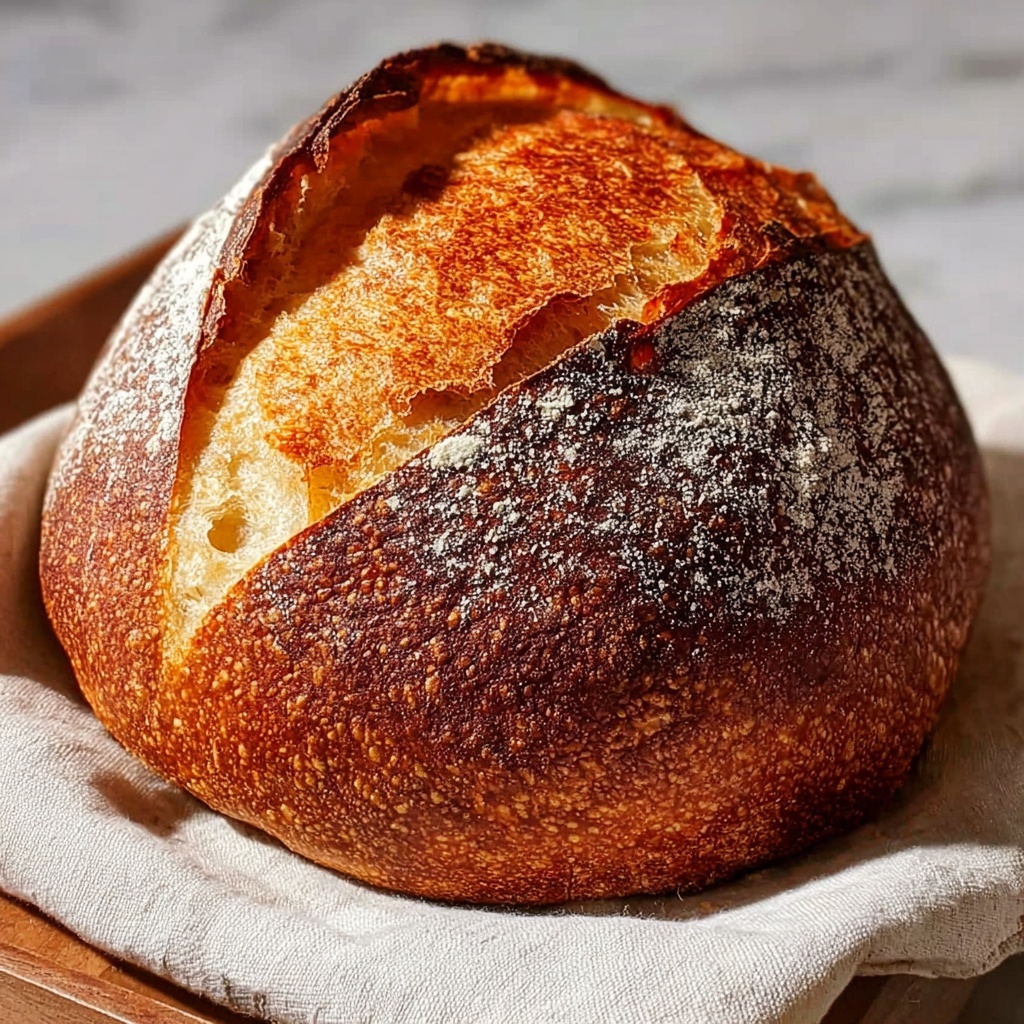
Presenting sourdough bread made with your own starter can be a culinary statement in itself. Slice thick rustic chunks for dipping into fondue or olive oil blends, or craft elegant open-faced sandwiches topped with colorful veggies, smoked salmon, or whipped ricotta. Let the hearty texture and deep flavor of your sourdough shine as the base for countless creative culinary exploits.
Make Ahead and Storage
Storing Leftovers
If you find yourself with more starter than you need or after baking sessions, it’s easy to store leftovers. Keep your starter in a loosely covered container in the fridge to slow its activity. Remember to feed it once a week to keep it healthy and bubbly.
Freezing
While freezing sourdough starter is possible, it’s best reserved for long-term storage. Transfer a portion into a freezer-safe container, and thaw it slowly, then feed several times after thawing to revive its vigor before baking.
Reheating
Sourdough starter doesn’t require reheating but does appreciate being warmed to room temperature before feeding or baking. This “wake-up” helps ensure active fermentation, so your bread rises beautifully and develops those irresistible flavors.
FAQs
How long does it take to make a sourdough starter using this recipe?
Generally, it takes about 5 to 7 days for your sourdough starter to become fully active and ready for baking. You’ll notice bubbles forming as early as 2 days, but the starter reaches maturity when it reliably doubles in size and passes the float test.
Can I use any flour to create my sourdough starter?
While you can use many flours, unbleached all-purpose, whole wheat, rye, and bread flours are preferred because they provide the nutrients and natural yeasts that help cultivate a strong starter. Avoid bleached or heavily processed flours that might inhibit fermentation.
What does it mean when I see a liquid called ‘hooch’ on top of my starter?
Hooch is a harmless alcoholic liquid that forms when your starter is hungry and needs feeding. You can stir it back into the starter or pour it off before feeding to keep your culture balanced and ready to grow.
How often should I feed my sourdough starter?
For starters kept at room temperature, feeding every 12 to 24 hours is ideal. If refrigerated, feed roughly once a week to maintain the yeast’s health without requiring daily attention.
Can I use this starter recipe to make gluten-free sourdough bread?
This particular starter recipe is designed with wheat and rye flours and may not work well for gluten-free baking. Gluten-free sourdough starters often require different flours and techniques to create a successful culture.
Final Thoughts
Making your own sourdough starter is such a rewarding experience, turning simple ingredients into a living culture that can transform your baking forever. This Sourdough Starter Recipe is the perfect way to begin your journey into the wonderful world of natural fermentation and homemade bread. I can’t wait for you to nurture your starter and enjoy every tangy, crusty, delicious slice that follows!
Print
Sourdough Starter Recipe
- Prep Time: 5 minutes
- Cook Time: 0 minutes
- Total Time: 7 days (including daily fermenting and feeding time)
- Yield: Enough starter to maintain a culture that yields about 6 servings of bread dough
- Category: Bread Making
- Method: No-Cook
- Cuisine: International
- Diet: Vegetarian
Description
This detailed sourdough starter recipe guides you through cultivating a healthy wild yeast culture over 5-7 days using simple ingredients and natural fermentation. Perfect for aspiring home bakers who want to create a robust, tangy starter from scratch with easy-to-follow daily feedings and maintenance tips.
Ingredients
Starter Base
- 1/2 cup all-purpose flour (unbleached works best for wild yeast cultivation)
- 1/2 cup room temperature filtered or dechlorinated water
Feeding Ingredients
- 1/2 cup all-purpose flour per feeding (you may also use whole wheat flour, rye flour, or bread flour to modify flavor and activity)
- 1/2 cup room temperature filtered or dechlorinated water per feeding
Equipment
- Large glass jar or plastic container (avoid metal)
- Clean kitchen towel or coffee filter
- Rubber band or string
- Wooden or plastic spoon for stirring
Instructions
- Create Your Initial Mixture: In a clean jar, combine 1/2 cup of flour with 1/2 cup of room temperature water. Stir thoroughly until the mixture is smooth and resembles thick pancake batter with no dry flour. Cover loosely with a kitchen towel secured by a rubber band to allow airflow but keep out dust and insects. Place the jar in a warm, draft-free spot such as the top of your refrigerator or inside an oven with just the light on to maintain consistent warmth.
- Begin Daily Feeding Routine: Starting on day two, discard half of your starter to prevent overgrowth and maintain balance. Then add 1/2 cup fresh flour and 1/2 cup water to the remaining starter and stir well. Look for small bubbles within 12-24 hours, indicating yeast activity. A slightly alcoholic or vinegary smell is normal and signifies fermentation.
- Monitor and Adjust: On days three and four, your starter’s activity usually increases, doubling in size 4-8 hours after feedings and forming a bubbly dome. The aroma changes to a pleasant tang. If liquid (hooch) appears on top, stir it back in. Adjust feeding frequency based on activity levels and room temperature as cooler temps slow fermentation and warmth accelerates it.
- Test for Readiness: Between days five and seven, perform the “float test” by dropping a spoonful of starter into water; it should float if it’s ready for baking. The mature starter should double predictably in height, emit a tangy but not off-putting smell, and maintain regular peak times typically within 4-12 hours of feeding.
- Establish Long-term Maintenance: Once your starter is fully established, maintain it by feeding daily at room temperature if baking often, or refrigerate and feed weekly if baking less frequently. Before baking, bring refrigerated starter back to room temperature and feed it until active before use.
Notes
- Use filtered or dechlorinated water to avoid inhibiting wild yeast growth.
- Whole wheat, rye, or bread flour can be used to adjust flavor and starter vigor.
- Discarding half the starter at each feeding prevents overgrowth and helps maintain a healthy culture.
- Store starter in a warm, draft-free place for optimal fermentation.
- If liquid appears on top, it is normal “hooch” indicating hunger; stir it back in before feeding.
- Feeding frequency may need to be adjusted based on temperature and starter activity.
- A starter can live indefinitely with proper care and feeding routines.
- Always use non-metal utensils and containers to avoid adverse reactions with acidic starter.


